


As an affiliate, I earn from qualifying purchases, but this doesn't affect the reviews or recommendations—your trust is important to me!
Exploring France: Mastering DIY Eiffel Tower Model Building Step by Step

Today, We're Making:
- DIY Eiffel Tower Model Building
- 'Bastille Day Paper Lanterns' - Crafting paper lanterns using white, blue, and red papers to represent the French flag. Parents and kids can then decorate them with famous French sayings, symbols, and even the date to mark the significance of the day.
- 'Edible French Flag Dessert' - This interactive culinary craft requires vanilla yogurt (white).
Build Your Own Eiffel Tower: A DIY Model Building Adventure
Have you ever caught yourself gazing at a postcard from Paris, fascinated by the towering brilliance of the Eiffel Tower and wishing you could hold a piece of that magic in your own hands? Well, you're about to step into a miniature world of French architecture with an exciting DIY project.
With your curiosity as your guide and creativity as your compass, you'll journey on a DIY Eiffel Tower model building adventure. This step-by-step guide will transform your home into a construction site, reminiscent of Gustave Eiffel's workshop.
Surprisingly, the Eiffel Tower Replica you are about to create isn't just an average home craft project. It's a blend of art, science, history and most of all, your gateway to mastering model building techniques that will serve you in countless DIY projects to come.
On y va (Let's go)!
Gathering Your Supplies
To begin your journey into DIY Eiffel Tower Model Building, you'll need to equip yourself with the necessary tools. With the correct equipment and supplies, the Eiffel Tower Replica you are about to create will be easier to construct and ensure a faithful representation of the original masterpiece. So, without further ado, let's dive into the treasure trove of model building.
Firstly, the heart of your project, the Eiffel Tower Kit. Many kits are available online that include pre-cut parts, making the building process smoother. Next up, the extra tools you'll need include a craft knife, cutting mat, glue, tweezers, and a good helping of patience and precision. Lastly, don't forget paints and brushes to bring your model to life!
You can also have on hand DIY art projects inspirations, particularly Paris-themed crafts, to ensure you stay on the right aesthetic track. You might be amazed how these little extras can add a whiff of French charm to your makes.
Understanding the Blueprint
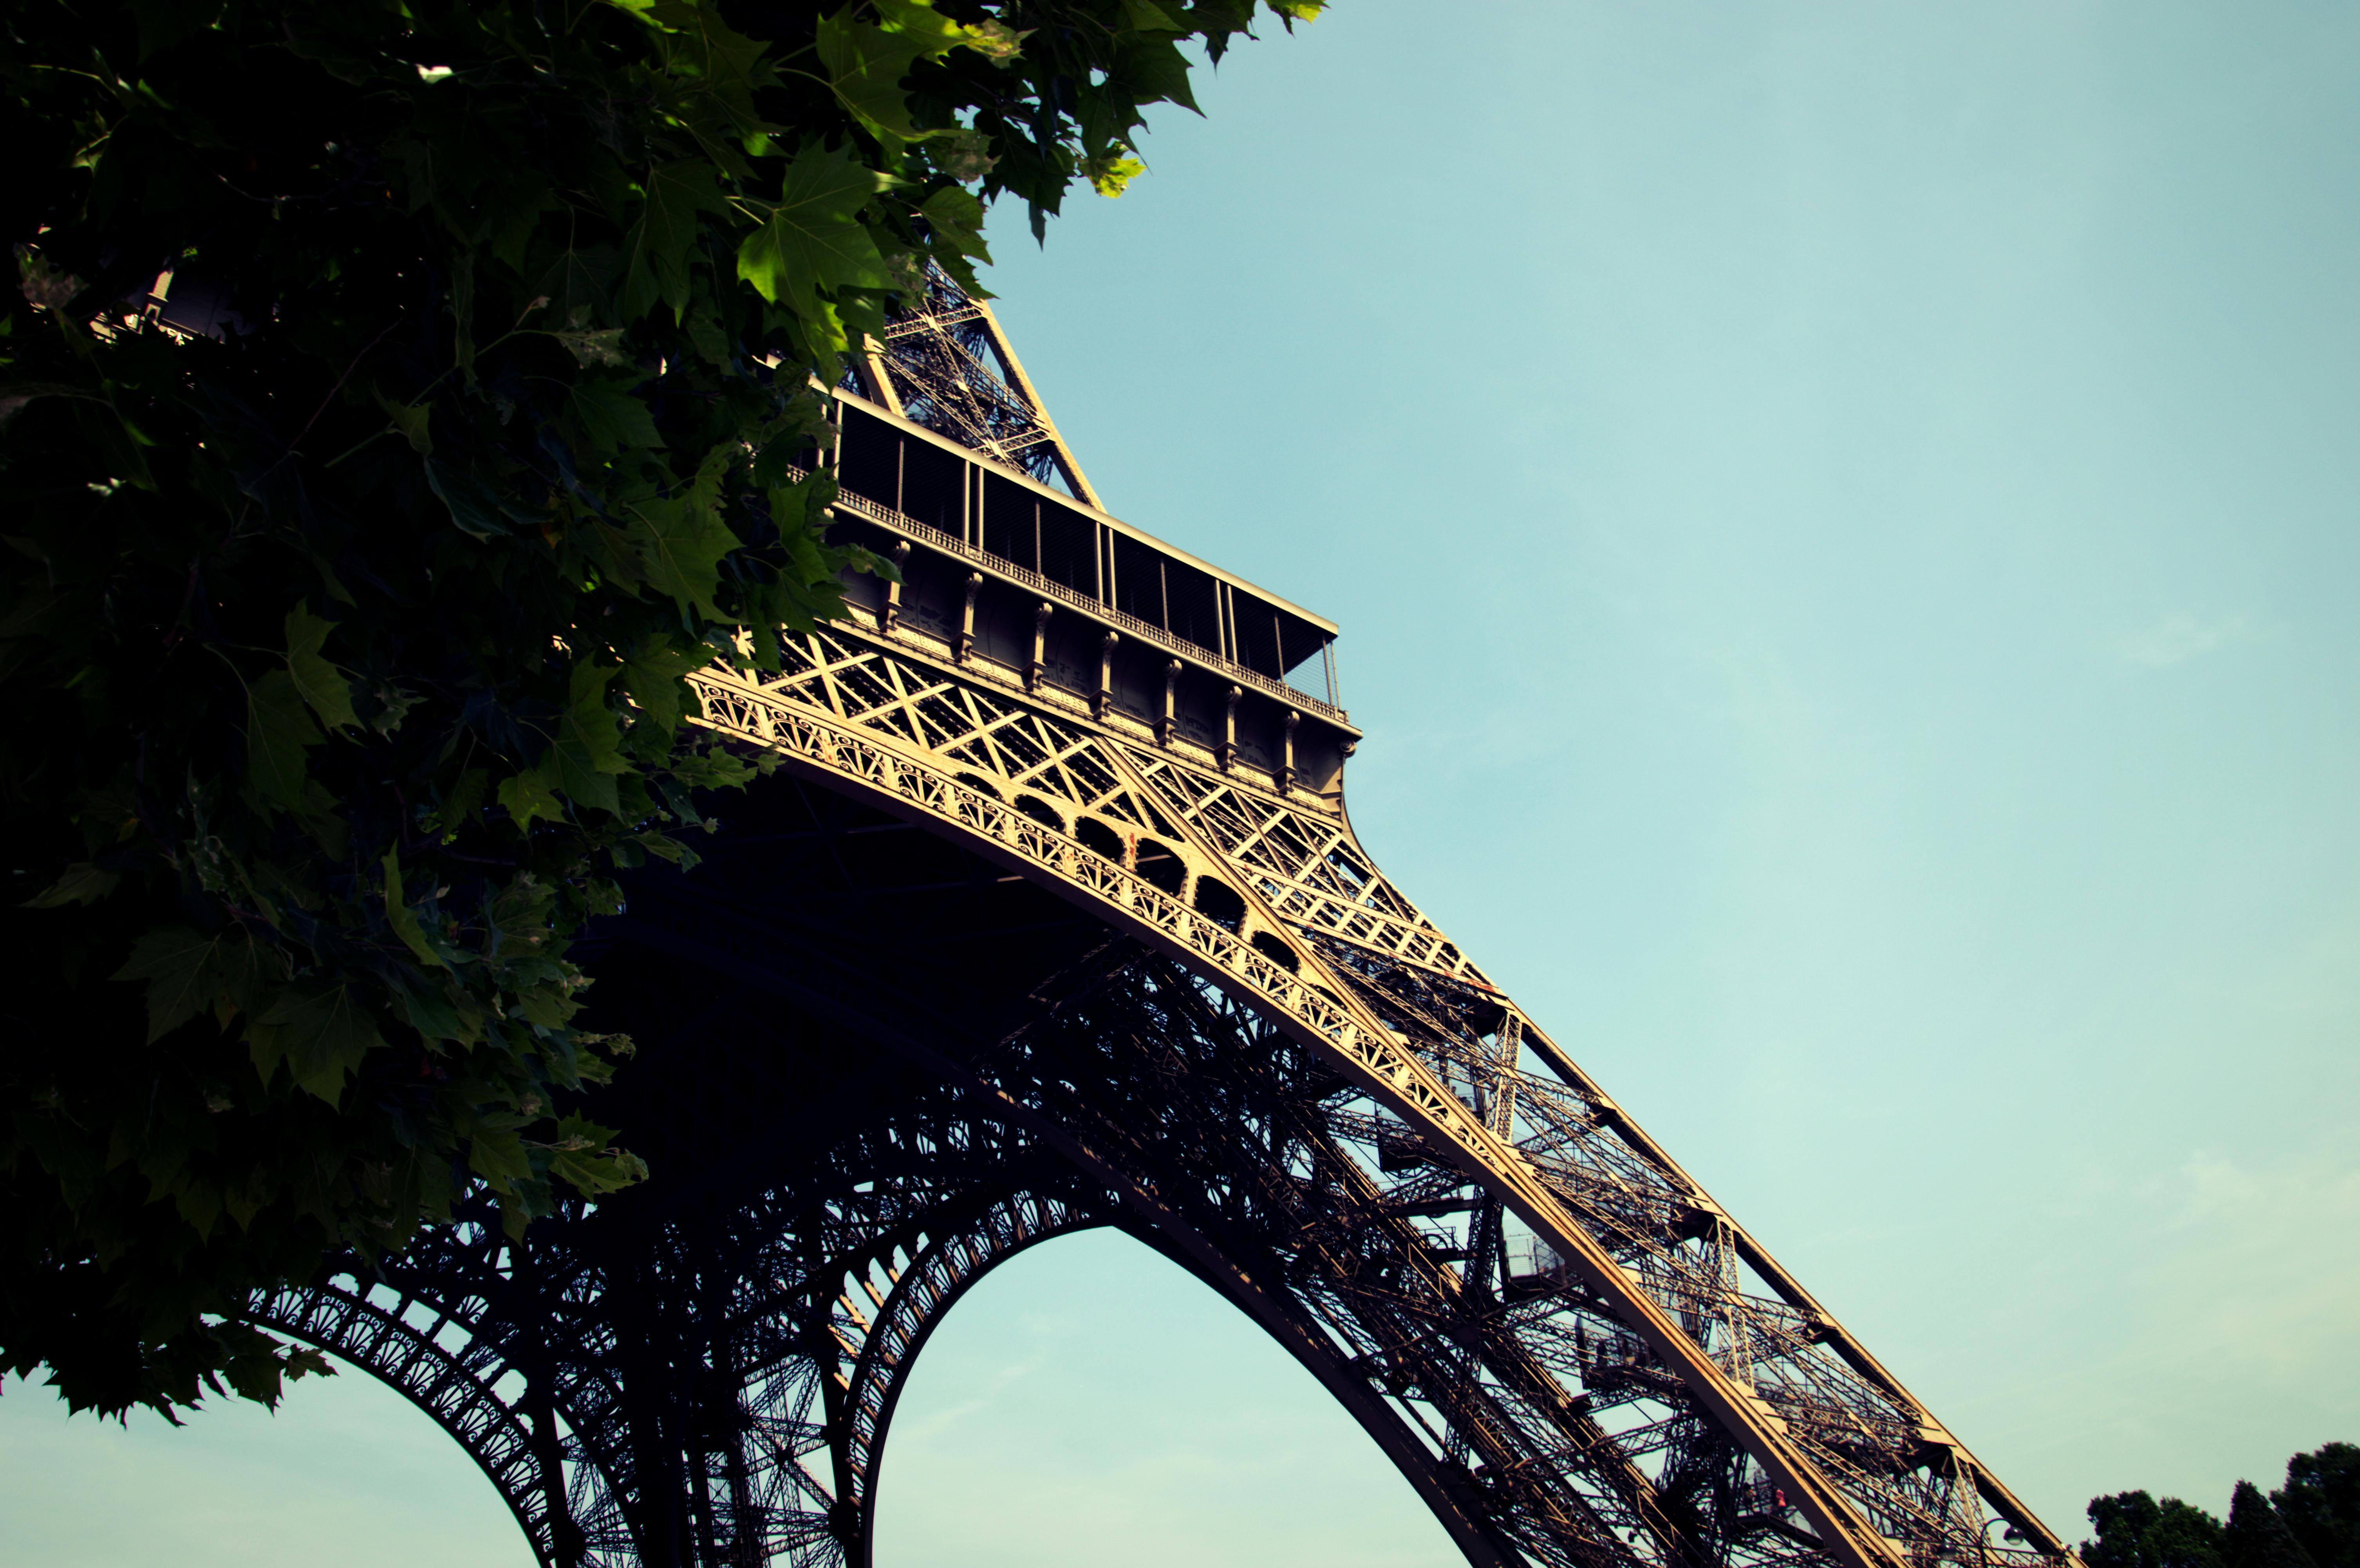
To truly master the art, you don't merely assemble; you comprehend the structure. So, let's admire the Eiffel Tower Blueprint before we immerse ourselves in crafting. This step is vital in architectural model building, giving you a keen understanding of the structure and design.
The Eiffel Tower's construction is an architectural marvel, a symphony in wrought iron crafted by Gustave Eiffel. The legs of the tower spread at the base and curve inward as they reach the top, creating a distinct and captivating silhouette. As you look at the blueprint, you will notice the lattice structure that provides stability without sacrificing the aesthetic charm of the tower.
Prepping Your Workspace
As with all DIY projects, having a clear and tidy workspace is essential for success. Set aside a dedicated space for your Eiffel Tower craft project, where your materials can stay safe and organized.
Next, layout your tools within easy reach. Take the time to study your Eiffel Tower kit, familiarize yourself with the various parts, and understand how they will fit together.
A pro tip in model building techniques is to sort out the pieces before you start. It saves you time in the long run, and you're less likely to make mistakes.
Step by Step Construction
No DIY is worth its salt without a step by step guide. Take your time with each stage, and remember, slow and steady wins this building race.
Start with the base of the structure, ensuring it's steady and level. This will hold the weight of the entire Eiffel Tower structure, so stability is crucial here. Moving upwards, follow the instructions carefully, paying attention to the minute details, intricate wrought-iron patterns, and subtle arches that give the Eiffel tower its iconic look.
Embrace that every tiny piece of the tower serves a purpose, bringing you one step closer to your own slice of Paris. Remember, the process is as beautiful as the end product. Enjoy the ride on this DIY Eiffel Tower Model Building adventure.
Your Parisian Masterpiece
And voila! Your journey has etched a myriad of Parisian nights right into your living room. While gazing at your masterpiece, remember the patience, the precision, the tiny frustrations, and little triumphs.
Remember the Journey
Recall the texture of the pieces, the scent of the glue, the careful brushstrokes that breathed life into your Eiffel Tower. Each moment spent on this DIY project threads a unique story, a story that stands tall, just like your wondrous re-creation of the iconic Eiffel Tower.
Hold Paris in Your Hands
If you ever dreamt of holding a piece of Paris magic in your own hands, here it is. Congratulations on mastering the art of DIY Eiffel Tower Model building.
Until Your Next Adventure
Until your next DIY adventure, this Eiffel Tower model stands as a testament to your unfettered creativity, steadfast dedication, and love for traversing new frontiers right from your workspace.
You May Also Like These:
Bastille Day Paper Lanterns
Celebrate Bastille Day by crafting these beautiful paper lanterns. Here’s a step-by-step guide to help you create these patriotic, fun lanterns.
Ingredients
- White construction paper
- Red and blue crayons or markers
- Scissors
- Glue or stapler
- String or ribbon for hanging
Instructions
- Decorate the paper: Using your red and blue crayons or markers, decorate one side of your white construction paper with French tricolor patterns or Bastille Day-themed drawings.
- Cut the paper: Once you’ve finished your decorations and the ink is dry, take your scissors and cut the paper in half lengthwise.
- Fold and cut: Fold your paper halves in half again lengthwise. Then, cut lines along the folded edge, stopping about an inch away from the other edge.
- Create the lantern shape: Unfold your papers and roll them into tubes so that the cut lines run vertically. Use a small amount of glue or a stapler to secure the edges.
- Add a handle: Cut a piece of string or ribbon and attach it to the top of your lantern, creating a handle for hanging.
These Bastille Day paper lanterns are perfect for decorating your home in patriotic flair. Happy crafting and Happy Bastille Day!
French Flag Craft Project
Materials:
- White cardboard or poster board
- Blue, white, and red construction paper
- Scissors
- Glue stick
- Black marker
- Famous French sayings (optional)
Steps:
- Cut out three identical rectangles from the blue, white, and red construction paper.
- Glue the rectangles onto the cardboard or poster board. Start with the blue rectangle on the left, followed by the white rectangle, and then the red rectangle on the right. This will form the French flag.
- Allow the glue to dry completely. While waiting, search for famous French sayings that you would like to include in your craft project.
- Write the French sayings onto the flag using a black marker. You can write directly on the colors, or cut out bubble shapes from the leftover blue, white, or red paper and glue them on top of the flag. Make sure to attribute the saying to its author (if known).
- Allow the marker ink and/or glue to dry completely before displaying your artwork.
Ta-da! You've created your own French flag with famous French sayings. This can be a great decorative piece for a Francophile's room or a helpful tool for a French language learner. Enjoy!
French Flag Craft Instructions
Ingredients:
- White, blue and red craft paper
- Scissors
- Glue
- Marker pens (optional)
Method:
Step 1:
Cut the blue, white, and red craft papers into even-sized rectangles. In the French flag, the blue, white and red sections are of equal width, running vertically from the flag's pole.
Step 2:
Starting from the left, glue the blue paper rectangle onto your backdrop (another piece of paper or a poster board works well). Ensure it's straight and secure before moving onto the next step.
Step 3:
Next, glue the white rectangle directly next to the blue one. Do the same with the red rectangle next to the white. You should now have a perfect replica of the French flag.
Step 4:
Choose some famous French sayings to write on each color. If you don't know any, the internet is a great resource! Use a marker pen to carefully write them onto the flag, creating a memorable piece of art that celebrates French culture.
Et voila! Your French flag craft is complete. Bon travail!
Ingredients:
- Felt sheets in various colors
- High-quality craft glue
- White cardstock
- Scissors
- Colorful craft paints
- Paintbrushes
Instructions:
- Select a symbol: Decide on the symbol you want to make. This could be a simple shape, a letter, number, or more complex symbols like stars, hearts, etc.
- Prepare the Template: Draw or print the symbol onto white cardstock and cut it out to create a stencil.
- Cut the Felt: Using your stencil, trace the symbol onto your chosen color of felt. Carefully cut out the shape from the felt.
- Apply Glue: Apply a thin layer of craft glue onto the back of your felt symbol.
- Stick Together: Stick the felt symbol onto a second layer of felt or fabric. Press down firmly and ensure it is fully adhered.
- Painting: If desired, paint additional details onto your symbol using the craft paints and brushes. Remember to let it dry before touching or moving it.
- Finishing Up: Once your symbol craft has dried, you can display it on a wall, sew it onto clothing, or use it in other crafts.
Edible French Flag Dessert
Mark the significance of the day with this delicious and interactive culinary craft. This edible French flag dessert is not only tasty but also a fun and educational activity for kids.
Ingredients
- Vanilla Yogurt (representing white color of the flag)
- Fresh blueberries (representing blue color of the flag)
- Fresh raspberries or strawberries (representing red color of the flag)
- Three clear serving glasses or bowls
Instructions
- Wash the fresh blueberries and raspberries (or strawberries) thoroughly.
- In the first clear serving glass, layer the bottom with blueberries.
- Spread a layer of vanilla yogurt over the blueberries.
- In the second clear serving glass, fill it up to the same height with only vanilla yogurt.
- In the third clear glass, layer the bottom with raspberries (or strawberries).
- Spread a layer of vanilla yogurt over the raspberries or strawberries.
- Repeat the process until all the glasses are filled to the top.
- Align the glasses in the order of blueberries-yogurt, yogurt only, and raspberries-yogurt. This will resemble the French flag.
- Refrigerate for an hour before serving.
- Enjoy your edible French Flag dessert!


