


As an affiliate, I earn from qualifying purchases, but this doesn't affect the reviews or recommendations—your trust is important to me!
Exploring : Mastering the Art of Homemade Sushi: A DIY Workshop

Today, We're Making:
- - Homemade Sushi Making Workshop
- - DIY Veggie Handrolls: A fun and healthier take on the sushi workshop where kids can let their creativity fly with different sorts of vegetables wrapped in rice and seaweed
- - Mini Miso Soup Cups: individual portions of the classic Japanese soup, made fun-sized for kids and teaching basic seasonings
- - Japanese Flavored Popcorn: Popcorn made with familiar Japanese flavors like nori seaweed and soy sauce for a fun, casual snack
Mastering the Art of Homemade Sushi: A DIY Workshop
Have you ever stood in awe at a sushi bar, marveling at the precision and expertise of a sushi chef as they effortlessly roll, slice, and present a beautiful array of colorful, mouth-watering sushi rolls? The art of homemade sushi making might seem elusive and intimidating, but the truth is, with a little guidance and just the right sushi-ingredients, you too can transform your kitchen into a mini sushi workshop.
Welcome to our one-stop guide, where we demystify the process of 'Mastering the Art of Homemade Sushi: A DIY Workshop'. In this journey, we move beyond the usual sushi rolls and sashimi, delving into the nuances of hand rolled sushi, sushi vinegar, and even sushi plating. It's going to be a flavorful ride into the vibrant world of Japanese cuisine. So, roll up your sleeves, because we're about to embark on a thrilling dive into DIY sushi, unraveling its delicious secrets one sushi rice grain at a time.
Turning Your Kitchen into a Homemade Sushi Making Workshop
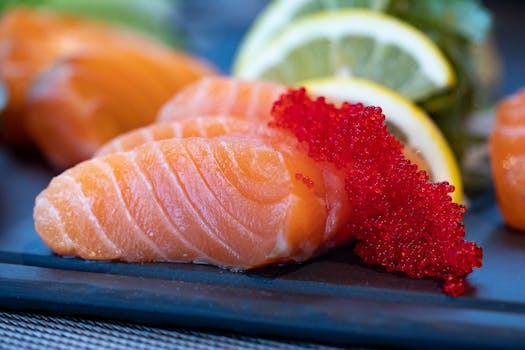
Pour a cup of green tea and get comfortable, because we're turning your home into a sushi workshop, where the countertop becomes a culinary canvas. Start by assembling your sushi toolkit. Make sure you have a sharp knife, a bamboo sushi mat for rolling, and naturally, a variety of fresh sushi-grade fish. Your choice of fish is crucial, after all, this is where the tantalizing flavors come alive. Opt for glossy, bright-colored slices of tuna, salmon, or if you're feeling adventurous, why not eel? Complement these with fillers of creamy avocado, crunch cucumber, or pickled radish.
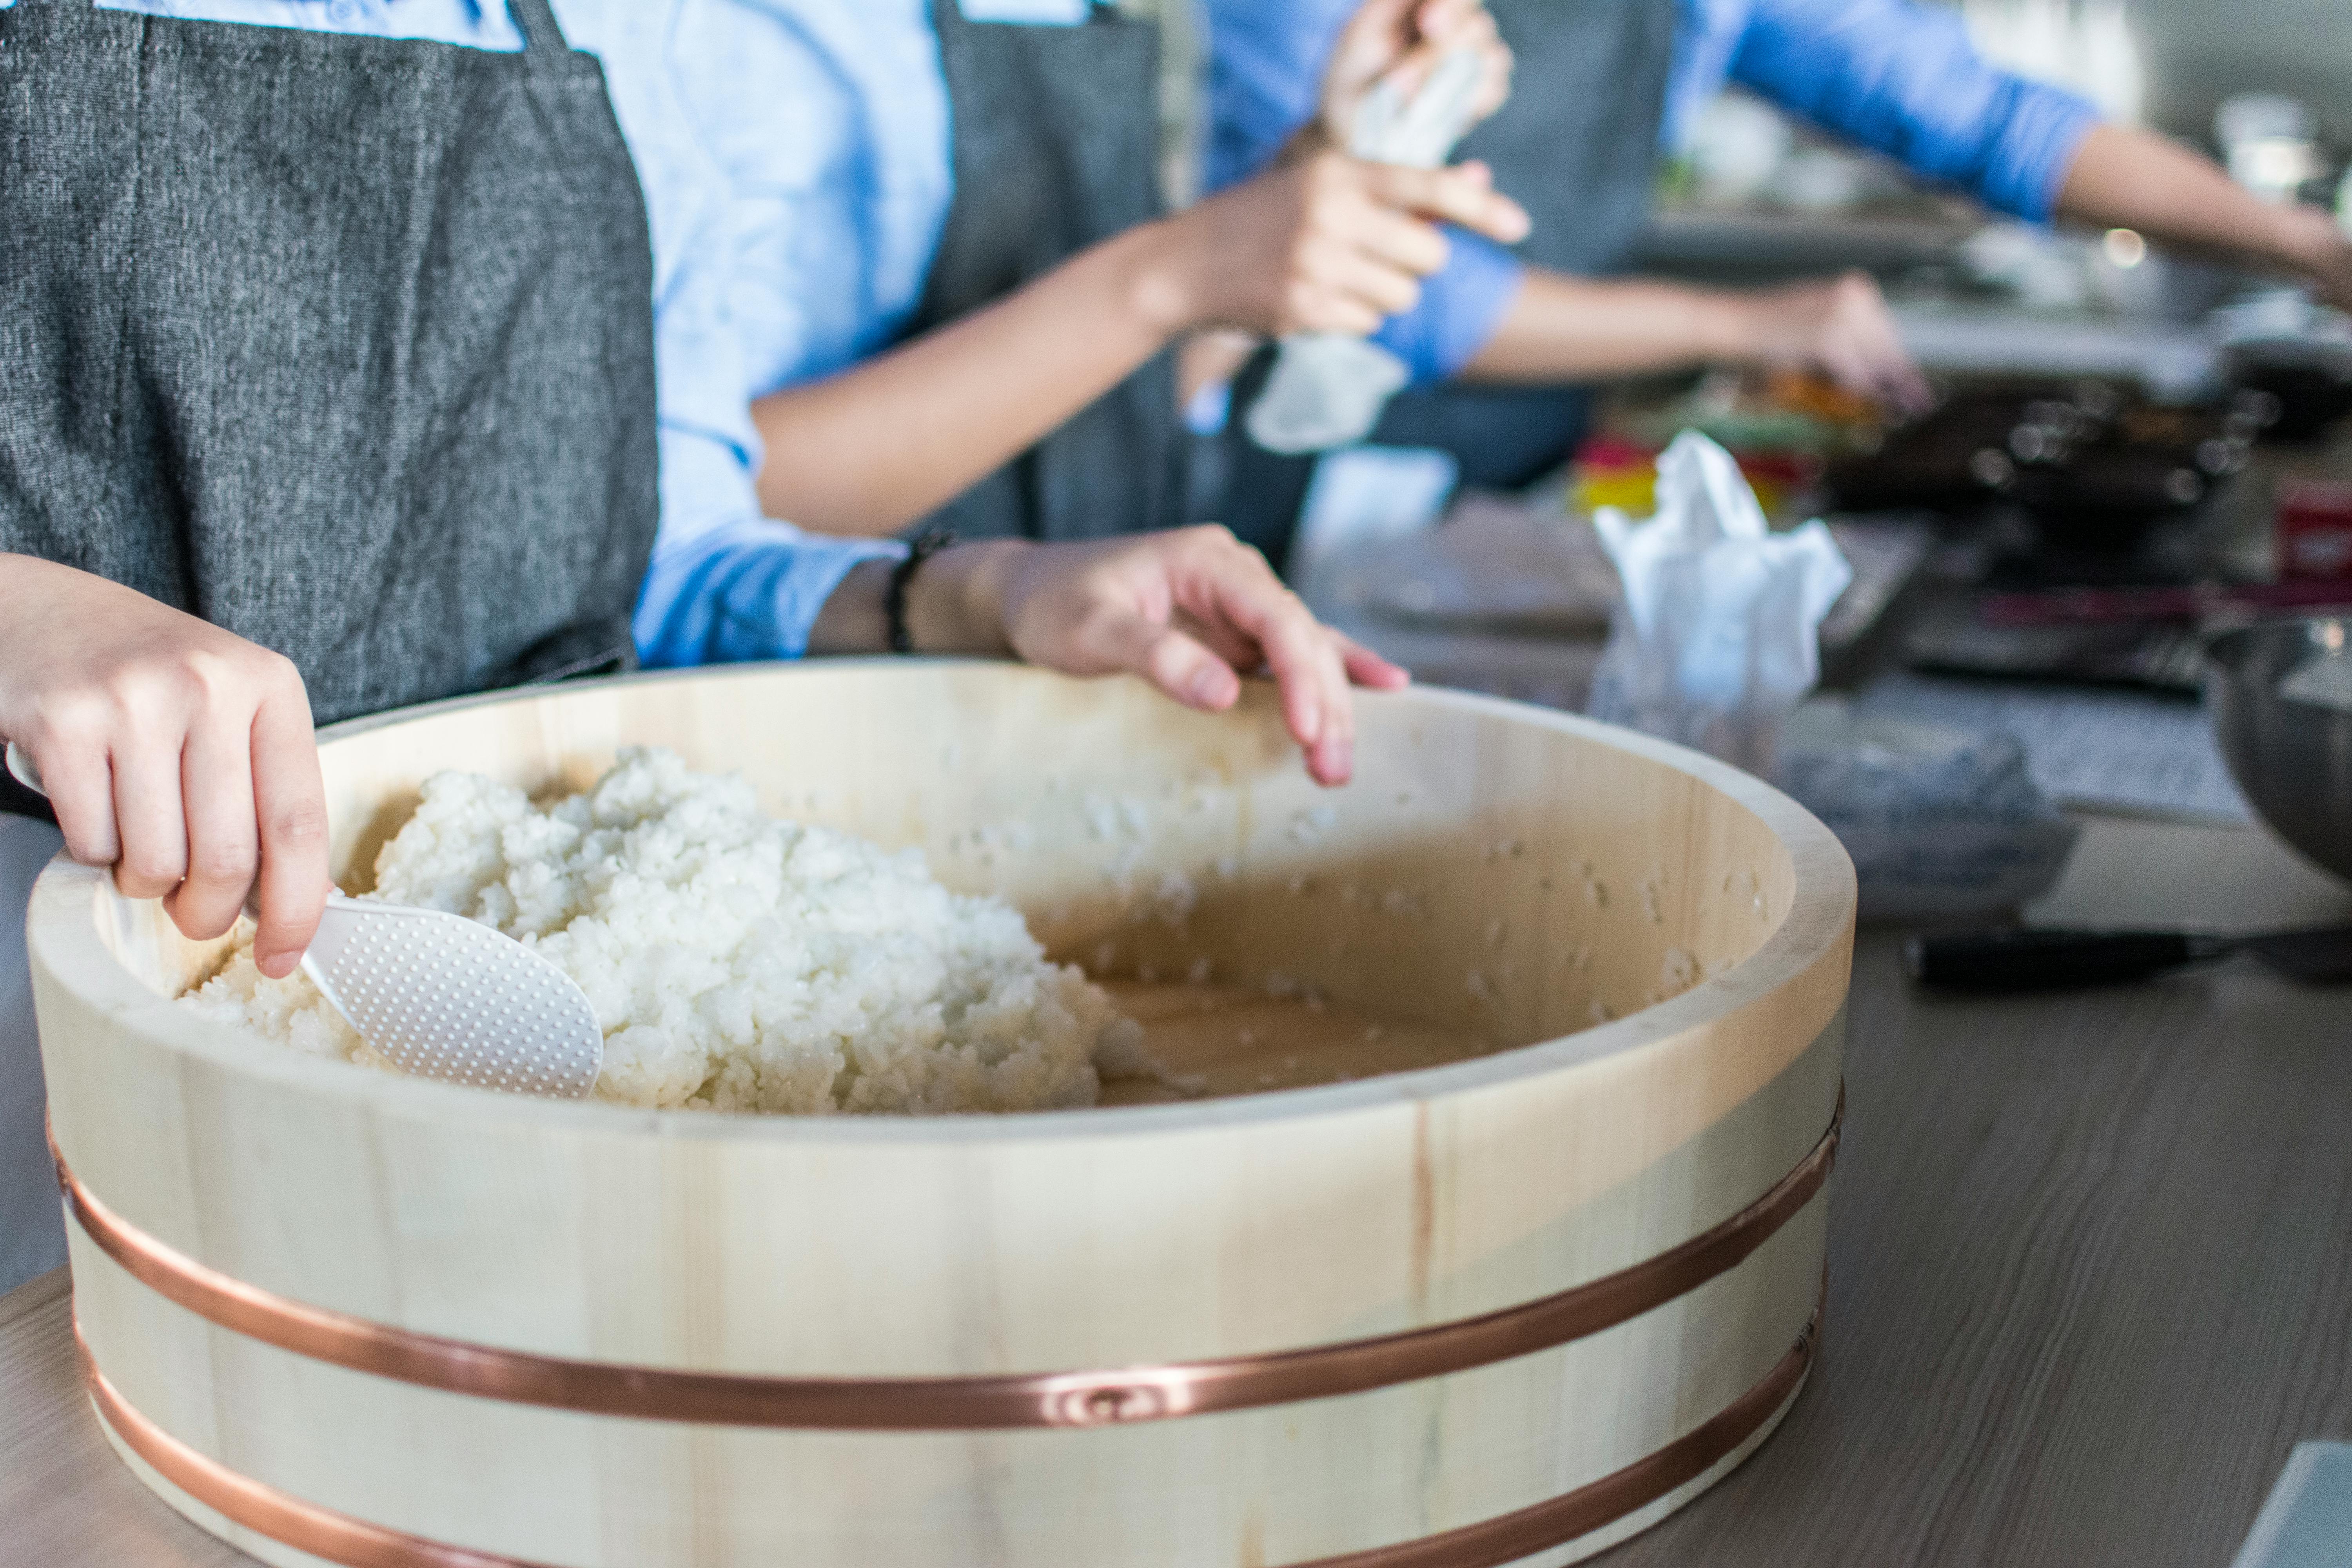
Mastering Sushi at Home Starts with the Sushi Rice
Let's not forget the star of the homemade sushi show, the sushi rice! Perfect sushi rice is the foundation upon which all else rests in our DIY sushi guide. Rinse short-grain rice until the water runs clear, then mix with a combination of vinegar, sugar, and salt to give the rice its unique tangy flavor. The result? Sticky, glossy grains that provide the perfect backdrop to the rich flavors of sushi-grade fish. Remember, the secret lies in cooling the cooked rice on a wooden surface for optimal texture.
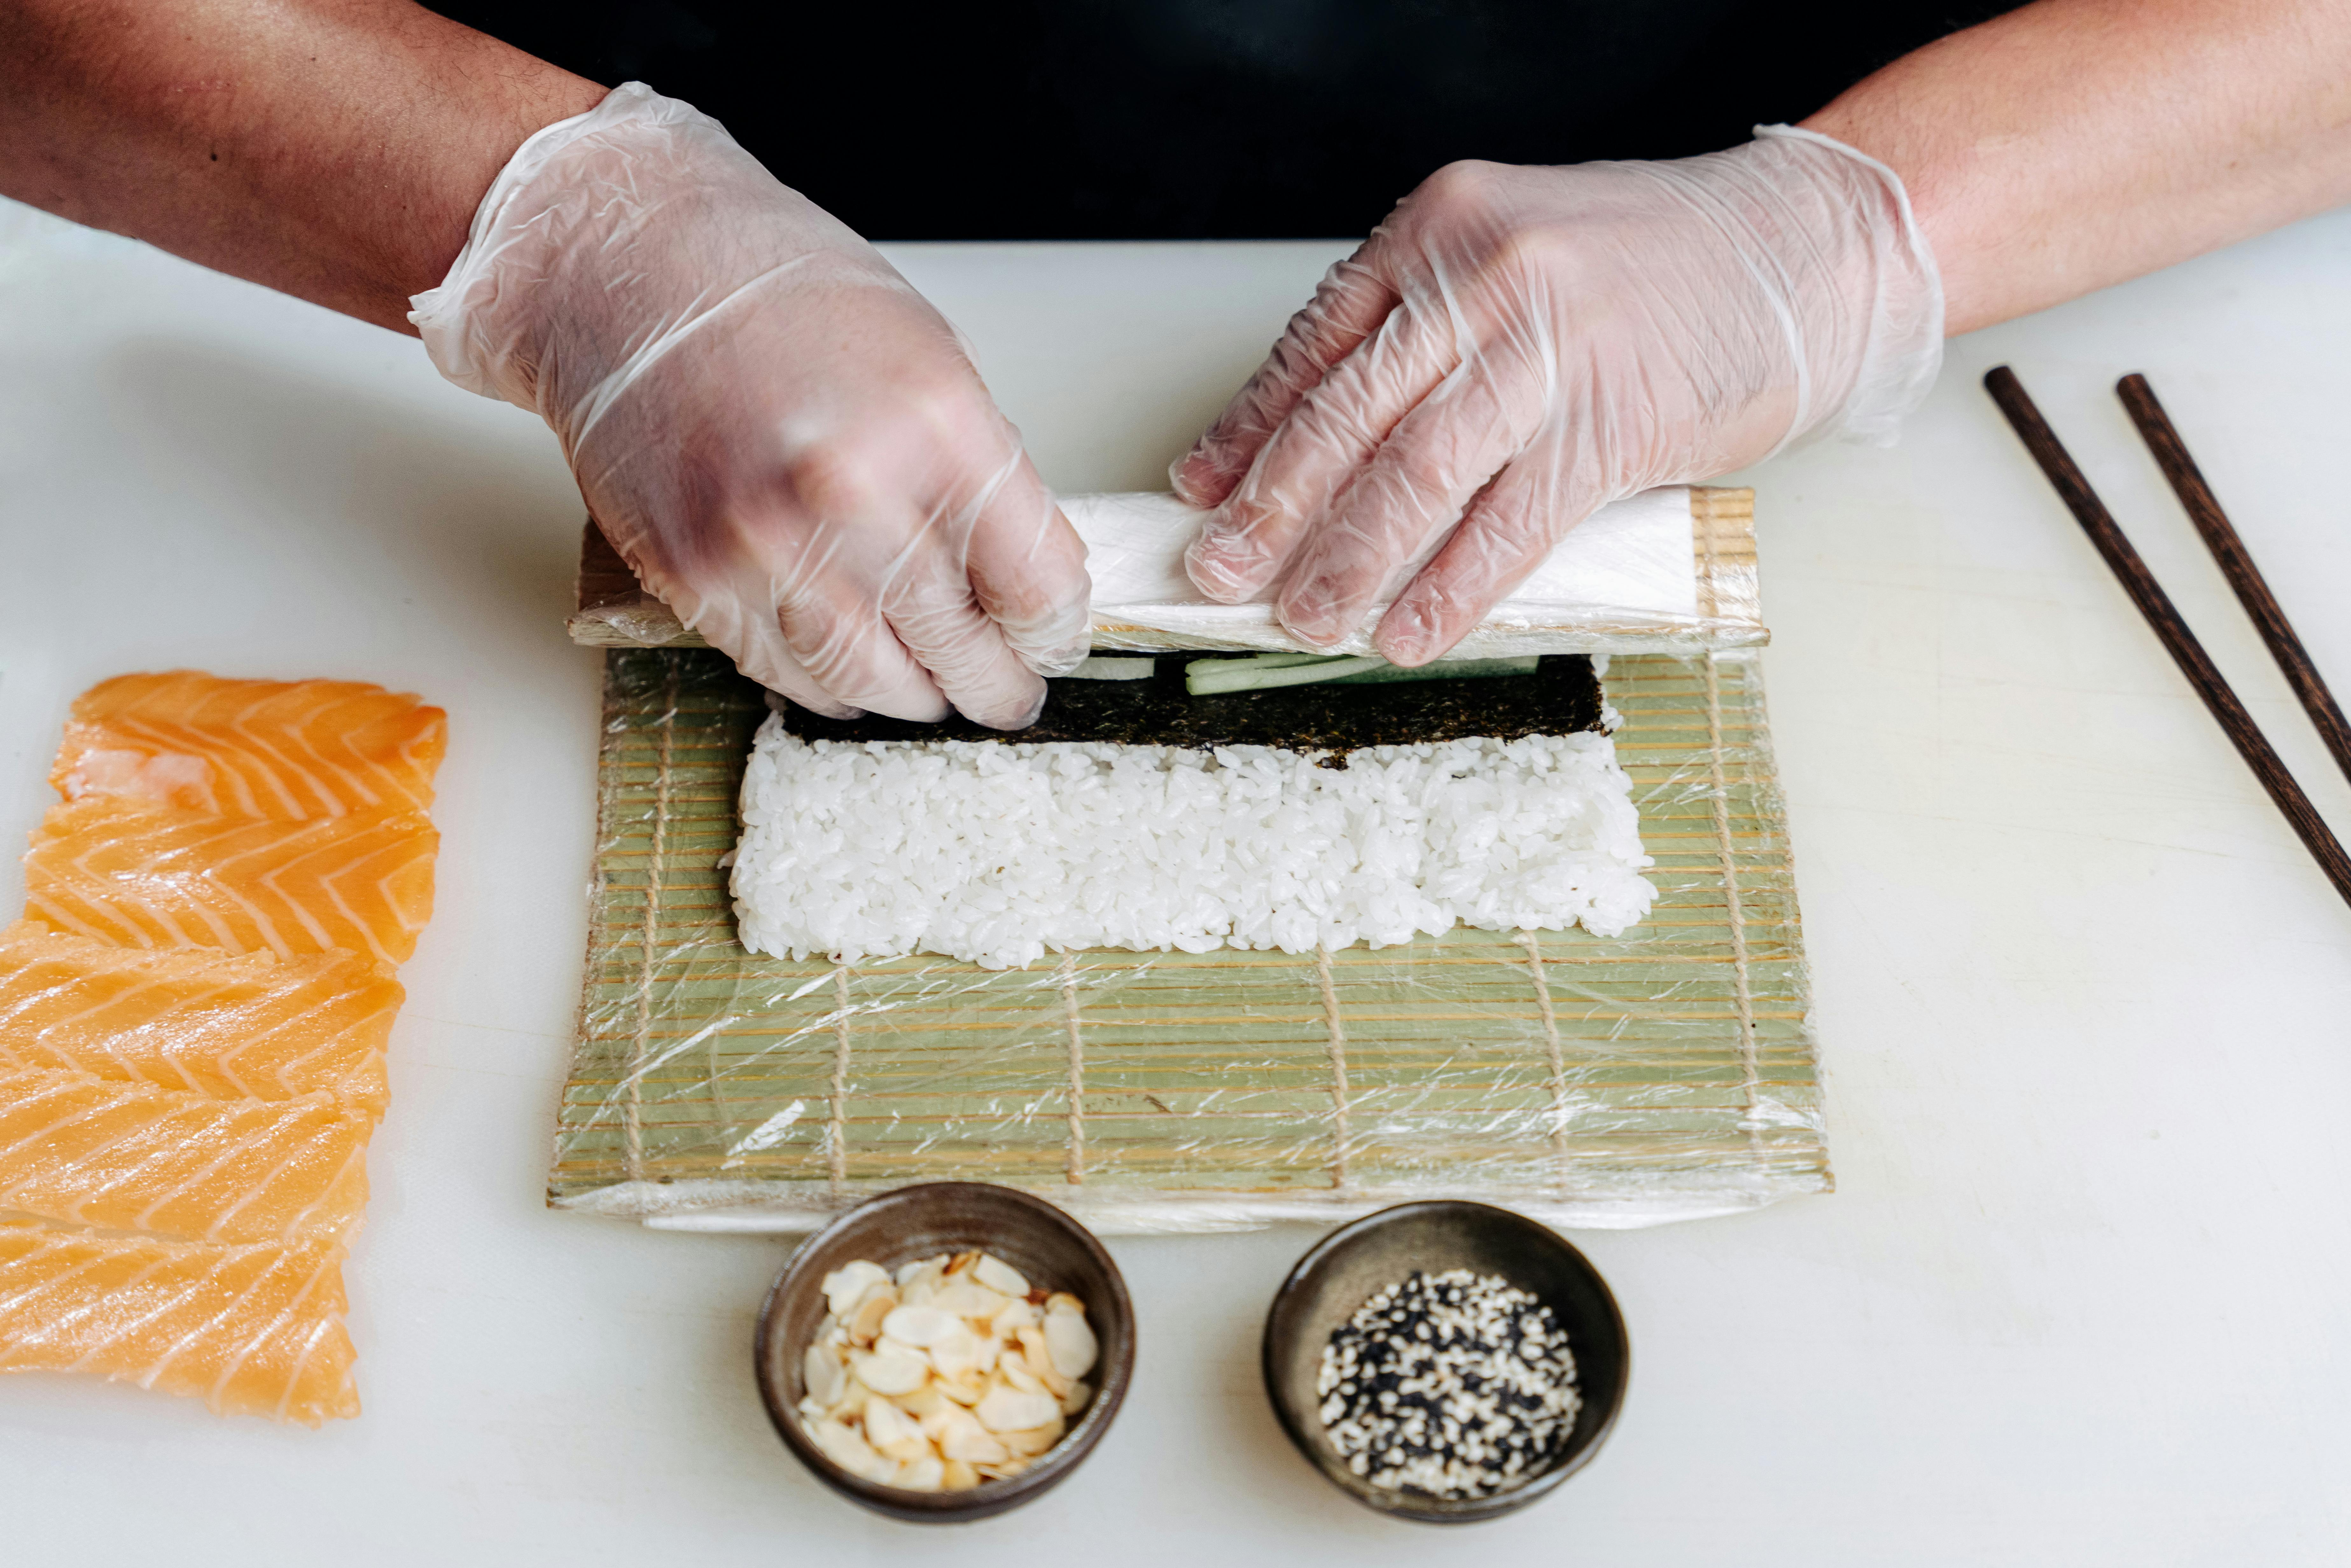
Sushi Techniques: Maki, Nigiri and Hand Rolled Sushi
You've prepared your sushi ingredients, now what? It’s time to master the art of sushi shaping. Maki, the classic sushi roll, involves spreading your sushi rice on a sheet of nori seaweed, adding fillings, then rolling it all up with the sushi mat. Sounds simple? That's the beauty of homemade sushi – it’s straightforward, and the results are spectacular. Next up is Nigiri, an elegant form of sushi where a ball of rice is topped with a slice of fish – visually stunning and utterly flavorful. Lastly, it is hand-rolled sushi, a less formal but equally delicious sushi style.
Enhancing your Flavors with Sushi Vinegar and Wasabi Recipes
The magic of DIY sushi is the freedom to experiment with flavors. Your sushi vinegar, essential in sushi rice preparation, can be tweaked to your tastes. Add different types of dried seaweed or try out varying quantities of sugar to find your signature sushi flavor. Wasabi then brings a fiery kick to sushi. Sushi staples come alive with a dab of this potent green paste.
Show-Stopping Sushi Presentation for the Aspiring Sushi Master
Sushi isn't just about taste, but presentation too. Mastering the art of sushi plating is key to impressing any dinner guests and fully bringing your DIY sushi workshop to life. Lay out your sushi rolls or beautifully shaped nigiri on an elongated plate, perhaps decorated with a flourish of pickled ginger or a sprinkle of black sesame seeds. The potential for creativity here is boundless, inviting sushi arts into your kitchen and dining table, truly solidifying your role as a sushi master.
Remember, making sushi at home is about having fun and enjoying Japanese cuisine your way. Be brave, be bold, and let your inner sushi chef shine!
Homemade Sushi Adventure
So, fellow sushi enthusiasts, as we bring this delicious journey to a close, let us appreciate the art and passion that goes into crafting a homemade sushi roll. As you can see, becoming a sushi chef in your own kitchen is not as daunting as it may seem; it's a fun, creative process that allows you to explore and appreciate the intricacies of Japanese cuisine.
Thrill of Sharing Your Skillfully Crafted Sushi
Even more exciting is the thrill of sharing your skillfully crafted sushi with friends and family, while turning your dining space into your very own sushi bar. So, don't hesitate. Immerse yourself in the flavors, the rice, the textures and the vibrant colors; and embark on this homemade sushi adventure.
Mastering the Art of Sushi
By embracing the fearlessness of a sushi chef and incorporating a dash of your unique style, you are one step closer to mastering the art of sushi. Here's to joyous kitchen endeavors and sushi making that turns every meal into a feast!
You May Also Like These:
DIY Veggie Handroll Workshop for Kids
Ingredients:- Seaweed sheets (nori)
- Sushi rice (cooked)
- Assortment of fresh vegetables, such as cucumbers, bell peppers, avocado, and carrots
- Soy sauce or tamari (optional)
- Pickled ginger (optional)
- Wasabi (optional)
- Prepare the vegetables by looking for a wide variety of colors to encourage kids to eat more vegetables. Shred or thinly slice all the vegetables.
- Provide each child with a sheet of nori.
- Show them how to spread a thin layer of cooked sushi rice on their nori starting from one end and leaving about an inch on the other end without any rice.
- Let the kids arrange their chosen vegetables on top of the rice. Remind them not to overload their roll with too many ingredients.
- Teach them to tightly roll up their creation, starting from the end covered with rice. The inch without rice at the other end will stick to the roll and secure it.
- Ensure each roll is tight by pressing gently but firmly on all sides.
- Using a sharp knife, carefully cut each roll into bite-sized pieces. Or if preferred, leave them as a longer wrap-style roll.
- Serve with optional soy sauce, pickled ginger, or wasabi on the side.
This is a fun and imaginative way to help children incorporate more vegetables into their diet. Enjoy your homemade veggie handrolls!
Fun-Sized Food For Kids: How to Make Mini Tacos+
Ingredients:- Half kilo of lean ground beef
- 1 packet of taco seasoning
- Miniature soft tortillas
- Salsa
- Diced tomatoes
- Grated cheese
- Shredded lettuce
- Sour cream
- Preparation of the Meat: In a large skillet, cook the ground beef until it's completely browned. Drain excess oil, return the beef to the skillet and sprinkle entire taco seasoning packet. Stir well and let simmer for 5 minutes. Remove from heat and set aside.
- Preparation of the Tacos: Warm the soft tortillas in the microwave for about 20 seconds or until warm. On each tortilla, spread a generous portion of the taco meat.
- Addition of Toppings: Let each child customize their own taco by adding their favorite toppings such as salsa, diced tomatoes, grated cheese, shredded lettuce, and a dollop of sour cream.
- Following these steps will result in a delectable, fun-sized meal that is perfect for tiny hands and big appetites!
Teaching Kids About Basic Seasonings
One of the most enjoyable aspects of cooking with kids is the chance to teach them about different seasonings. Here are three basic seasonings that are essential in every pantry:
- Salt: It enhances the natural flavors of the food. Teach kids to add just a pinch at a time, taste, and adjust as necessary.
- Pepper: This spice adds a bit of heat and complexity to dishes. Show them how to use a pepper grinder and add pepper sparingly.
- Oregano: This herb is often used in Italian and Mexican cuisine. Let them smell the oregano and teach them to crumble the leaves in their hand to release the aroma before adding it to the dish.
Learning about seasonings is not only a valuable cooking skill, but also a fun way to experiment with tastes and introduce kids to a variety of cuisines.
Fun-Sized Food for Kids With Basic Seasonings
This easy-to-follow recipe will help you create fun-sized foods for kids with basic seasonings. It's both child-friendly and deliciously fun.
Ingredients:
- For Mini Pancakes:
- 1 cup of pancake mix
- 1/2 cup of milk
- 1 large egg
- For Basic Seasoning:
- A pinch of salt
- A pinch of pepper
Instructions:
Step 1:
Combine the pancake mix, milk, and egg in a large bowl. Stir until smooth and no lumps are visible.
Step 2:
Heat a small non-stick frying pan over medium heat. Pour 1 tablespoon of the mixture into the pan for each mini pancake.
Step 3:
Cook the pancakes until bubbles form on the surface, then flip and cook until golden brown.
Step 4:
Serve the mini pancakes with a tiny sprinkle of basic seasonings: a pinch of salt and pepper.
Note: You can adjust the seasoning to your child's taste.
Japanese Flavored Popcorn
An exciting popcorn dish that combines the salty crunch of popcorn with distinct Japanese flavors for a unique snack experience.
Ingredients:
- 1/2 cup of popcorn kernels
- 1/4 cup of soy sauce
- 2 tablespoons of sugar
- 2 tablespoons of unsalted butter
- 1 sheet of nori seaweed
- 1/2 teaspoon of sea salt
Instructions:
- Pop the popcorn kernels in a popcorn maker. Alternatively, you can use a deep pot with a tightly fitting lid on the stove. Allow to cool.
- In a small saucepan, combine the soy sauce and sugar. Bring to a simmer over medium heat, stirring until the sugar is completely dissolved.
- Turn off the heat and whisk in the butter until it's fully incorporated into the soy sauce mixture.
- Drizzle the soy sauce mixture over the popcorn and toss until evenly coated.
- Crumble the nori seaweed into small pieces and sprinkle over the popcorn. Toss until evenly distributed.
- Sprinkle sea salt over the popcorn to taste, and give it one final toss to evenly distribute the seasonings.
- Enjoy your Japanese flavored popcorn!
Enjoy this savory and crunchy twist on a traditional favorite!
Casual Snack: Quick and Easy Guacamole
Ingredients
- 3 ripe avocados
- 1 lime, juiced
- 1 teaspoon salt
- 1/2 cup diced onion
- 2 tablespoons chopped fresh cilantro
- 2 Roma tomatoes, diced
- 1 teaspoon minced garlic
- 1 pinch ground cayenne pepper (optional)
Instructions
In a medium bowl, mash together the avocados, lime juice, and salt.
Add in the onion, cilantro, tomatoes, and garlic.
Stir in cayenne pepper.
Refrigerate 1 hour for best flavor, or serve immediately.


