


As an affiliate, I earn from qualifying purchases, but this doesn't affect the reviews or recommendations—your trust is important to me!
Mastering the Art of DIY Clay Pottery Making at Home
Today, We're Making:
- - DIY Clay Pottery Making,
- - 1. Time Capsule Jars: Considering the significance of the date,making a time capsule jar could be an inspiring and fun activity. Kids can decorate clay jars with inscriptions or drawings related to the year 2025,then fill them with small items,photos,or notes that represent their life at this point in time. Once finished.
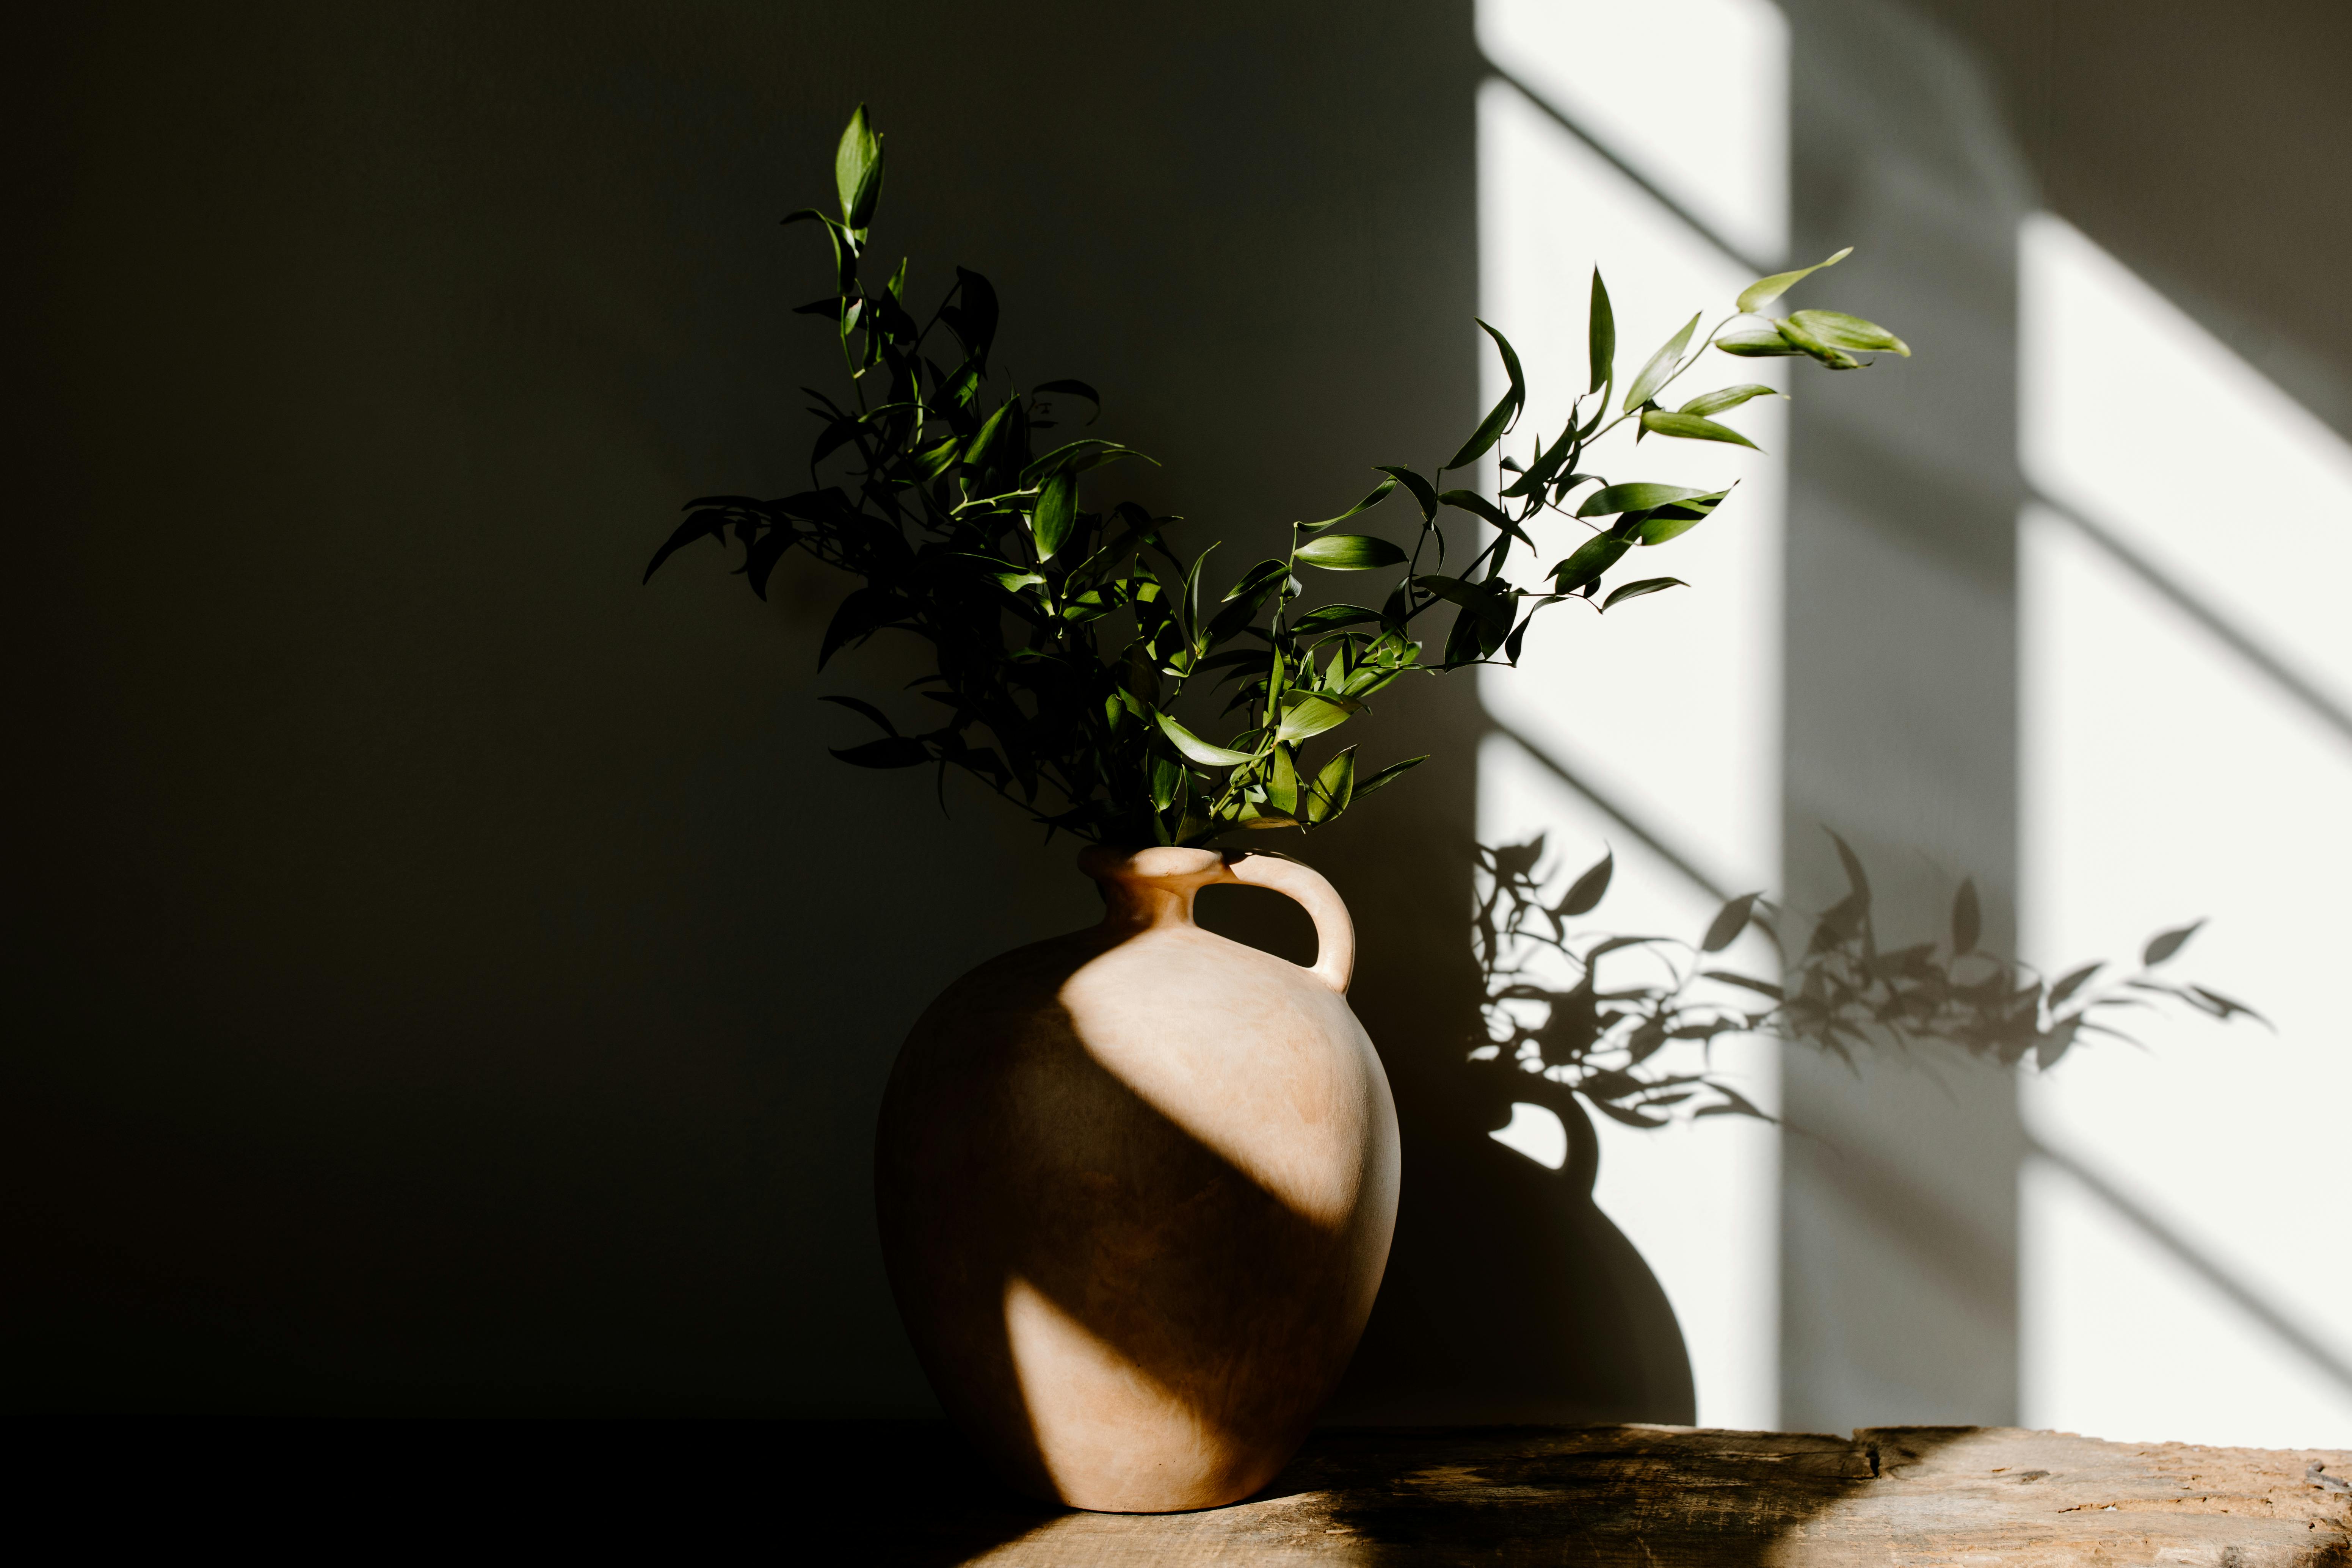
Ever found yourself captivated by the intricate charm of handmade pottery?
If you marvel at the delicate dance of pottery shaping, turning a lump of clay into a sleek, beautiful piece of usable art, then you're not alone. The trend of DIY clay pottery making is booming, with beginners and craftsmen alike discovering the therapeutic, creative, and rewarding aspects of this ancient craft.
The Intricate Dance of Pottery Shaping
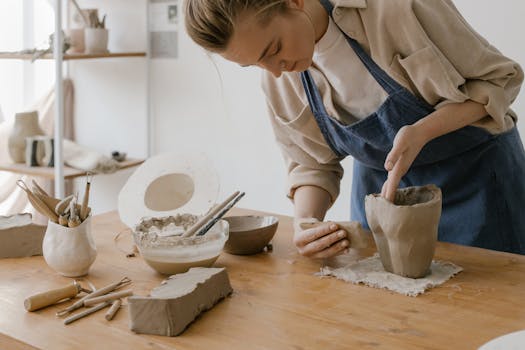
As the pottery wheel turns slowly, the clay molds under the guide of confident hands, tracing a journey that has fascinated humans for centuries. If you too have been enamored by the art of pottery, desiring to explore this mix of ceramics making and clay modeling from the snug comfort of your home, this post is just for you.
Delve Deep into the Secrets of Clay Pottery Techniques
We'll delve deep into the secrets of clay pottery techniques, making this art-form as approachable and enjoyable as we possibly can. So, let's get our hands a little dirty and embark on this magical expedition of homemade pottery. It's never too late to shape your first masterpiece.
The Beauty of Basics: DIY Clay Pottery Making
To truly embrace the beauty and finesse of DIY clay pottery making, we need to first acquaint ourselves with the elemental process and tools. An understanding of the pottery for beginners foundational techniques will help in our journey to create unique pieces of art.
Start by sourcing your clay; there are diverse pottery clay types available, each with a specific texture and firing temperature suited for different crafting needs. For beginners, stoneware clay is an excellent choice as it is highly malleable, forgiving, and offers a pleasant, rustic look upon finishing. You also need a workstation, preferably a pottery studio at home. It doesn't need to be elaborate at the start; a sturdy table, some storage, your tools, and of course, plenty of light should suffice.
Exploring Clay Modeling Techniques
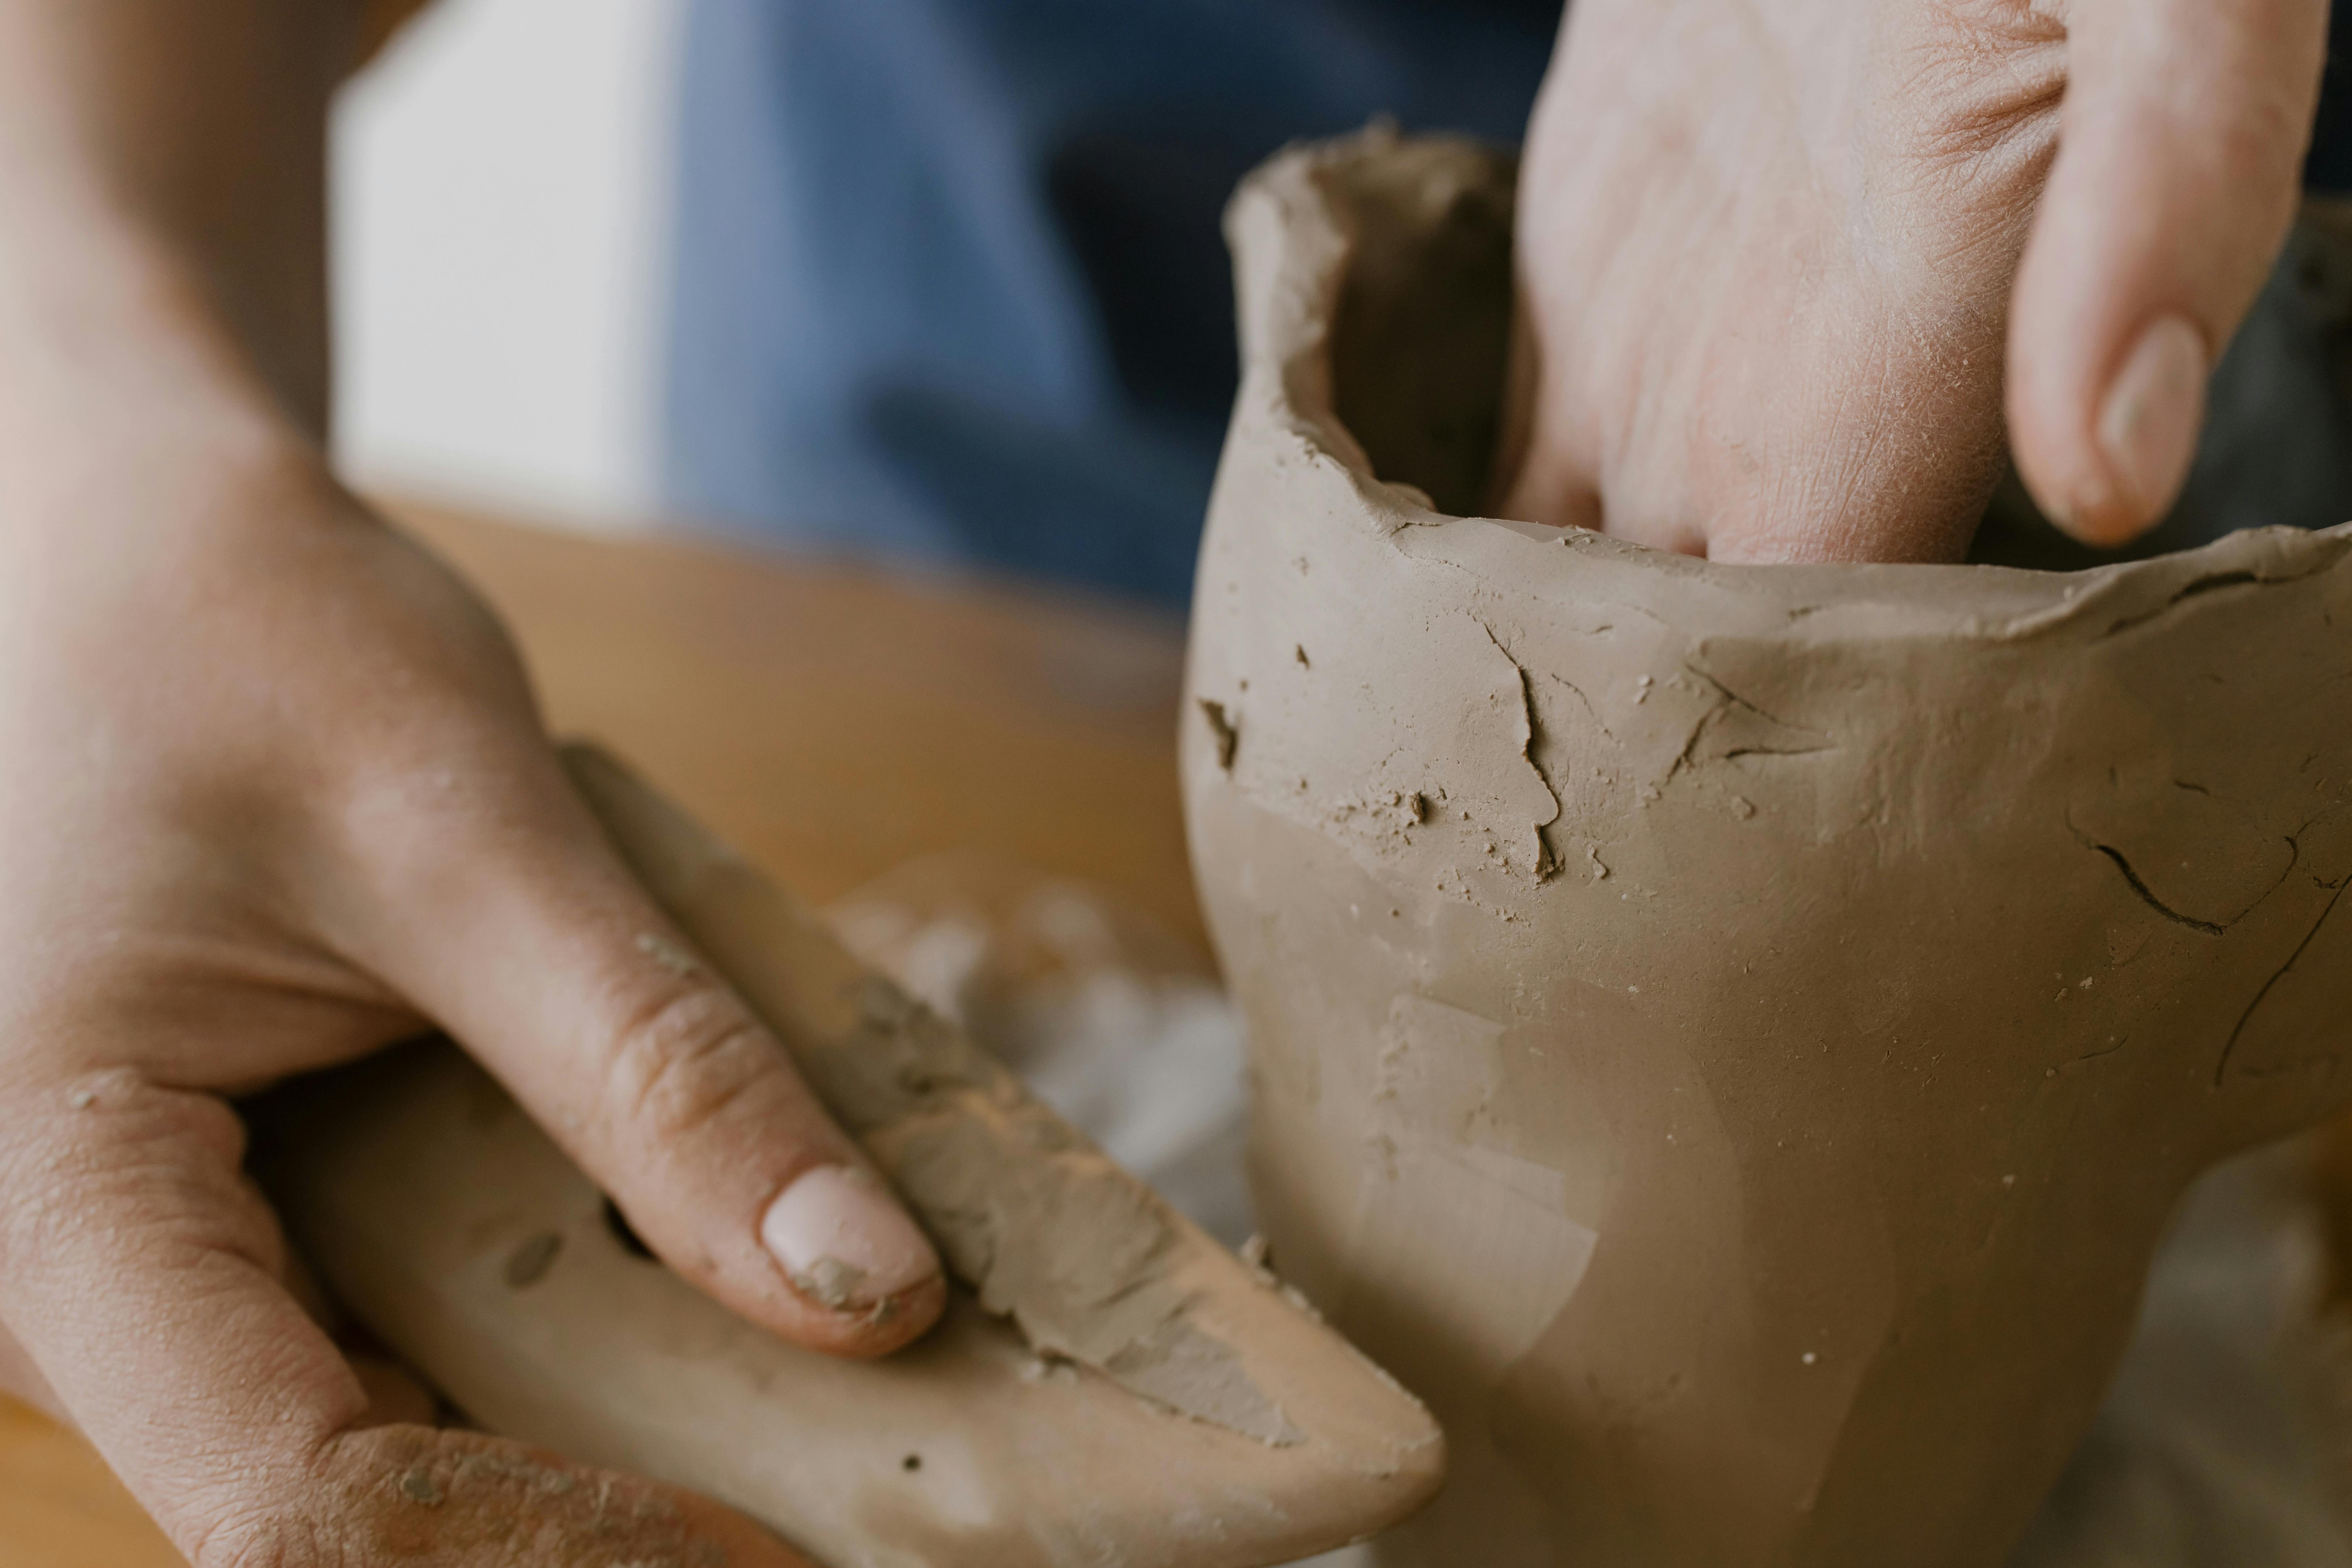
Once you're all set, it's time to feel the pulse of the clay as you explore different clay modeling techniques. Pottery molding and pottery turning on a pottery wheel DIY gives a hands-on approach that can be both therapeutic and rewarding.
- Pinching: This method involves shaping the clay by hand into a rounded shape. It's an excellent technique to master for creating quaint bowls or small vases.
- Coiling: By rolling out your clay to form long rope-like coils, then layering and smoothing them consists the coiling technique, ideal for making cylindrical shapes.
- Slab Building: This technique involves rolling out a flat slab of clay and shaping it around a mold. Perfect for making larger items like platters or more elaborate pottery shapes.
Remember, no two pieces of homemade pottery will be identical, and therein lies the beauty of pottery making.
Decorating for Distinctive Charm
An integral part of DIY clay pottery is the personal touch you add. Pottery decorating can transform a straightforward piece into a complex pottery design idea. The most common ways to decorate your piece include pottery painting, pottery glazing, or etching patterns before firing. These techniques allow you to put a stamp of creativity and individuality on your pieces. Don't forget - it's your personal story in clay!
The Firing Process: Pottery Kiln
Firing your pottery in a pottery kiln marks the finale of DIY clay pottery making process. This step transforms your clay creation into a sturdy and beautiful pottery piece, in the end, reflecting the worth of all the patient hours spent shaping and molding. This one final stage is what makes your piece usable and functional while highlighting the unique details you've etched into your creation. Cue to start planning your next project!
Experimenting with these clay pottery techniques can unlock exciting avenues in your pottery-art journey. Be patient, keep learning, and more than anything, enjoy the process. After all, DIY Clay Pottery making is all about embracing the magic of creating something beautiful with your very own hands.
Our Journey into DIY Clay Pottery
With that, we’ve taken a deep dive into the mesmerizing world of DIY clay pottery, transforming a humble lump of clay into a beautiful piece of art. It's an endless journey filled with
Understanding the Essence of Clay
From understanding the essence of clay, exploring diverse molding techniques, adding personal touches, to embracing the alchemy of the kiln; each step of pottery making unfolds as a narration of your
The Enriching Journey
As you continue this enriching journey, remember: every dab of mud on your apron, every thumbprint on the clay, and each curve of the sculpted marvel resonates with the rhythm of your heart, marking the exciting saga of your pottery making adventure.
Get Started
So get those hands dirty, start shaping, and let the divine dance of clay and creativity commence! With each pottery piece, you're not just making art but discovering parts of yourself, a phenomenon that’s
You May Also Like These:
Instructions for Creating Time Capsule Jars Craft
Ingredients
- 1 medium-sized glass jar with sealable lid
- Paper and pens
- Decorative items
- Clearly significant items representing this year (e.g. newspaper clippings, movie stubs, photos)
- Tag and string or ribbon for labelling
Instructions
Step 1:
Begin with a clear table or work area. Ensure all your Ingredients are within easy reach.
Step 2:
Start by asking your child to write a letter to their future selves on a piece of paper.
Step 3:
Collate a collection of significant items to include. Thinking about this year's events, experiences, and favorites.
Step 4:
Place the letter and all chosen items carefully into the jar. They can arrange and rearrange until they're happy with how it looks inside.
Step 5:
Screw the jar lid tightly. Remember, it's going to be sealed for years!
Step 6:
Using the tag and string or ribbon, label the jar with this year's date and seal it without opening until a predetermined future date.
Step 7:
Find the perfect place to store your time capsule where it won't be disturbed until the time is right.
Note: This makes for a great annual family tradition. Collect items throughout the year and create a new time capsule jar each New Year's Eve!
Crafts for Kids: Fillable and Fun Crafts
Materials You Will Need:
- Paper plates
- Paints and Brushes
- Glue
- Small trinkets or candy
- Stapler
- Ribbon (optional)
Instructions:
Step 1: Painting Your Plates
This is the step where children get to explore their creativity! Allow them to paint one side of the paper plates as they please. Let the plates dry completely before moving to the next step.
Step 2: Gluing Your Trinkets/Candy
On the reverse non-painted side of one of the plates, apply a layer of glue around the rim. Then, stick on your small trinkets or candies. Make sure everything is securely attached and let the glue dry fully.
Step 3: Assemble Your Craft
Take your second painted plate and place it painted side out on top of your glued plate. The glue should make the two plates stick together, enclosing the candy or trinkets. If needed, staple the edges of the plates together for extra security.
Step 4: Decorating (Optional)
As an optional step, you can glue some ribbon around the edges of the plate to make it look like a little gift parcel. You could also tie a ribbon loop at the top for hanging the craft.
Crafts for Kids: Fillable Crafts
These instructions will guide you on how to create fun, fillable crafts with your kids. They are simple to make and can be filled with small items of your choice for a surprise!
Ingredients
- Cardboard or Paper Mache Boxes
- Craft Paper
- Glue
- Scissors
- Washable Paints
- Brushes
- Small items to fill the crafts (e.g., mini toys, candies, notes)
Instructions
- Gather all your materials. Make sure you have everything listed in the ingredients before you start.
- Prep your working area. Lay down some old newspapers or a disposable tablecloth to protect your workspace from any paint splatter.
- Start by painting your boxes. Kids can get creative with this step, painting the boxes any color they want or even adding designs!
- Let the paint dry. This will take some time, so make sure you leave your painted boxes in a space where they can safely dry without being disturbed.
- Add embellishments if desired. Once your paint is dry, you can add additional designs with craft paper, stickers, or whatever else you have on hand.
- Fill your crafts! Open up the boxes and fill them with your chosen small items.
- Make sure the items fit. Before closing your crafts, ensure that all the surprises inside will be fully contained and won't fall out.
- Seal your crafts. Use your glue to seal the crafts shut. You will need to let them dry again, so leave them undisturbed in a safe place.
These delightful crafts are great for gifts or as a fun surprise for your kids. Happy crafting!
Parent's Guide to Crafting with Photos
Materials needed
- Photos of your choice
- Scissors
- Glue
- Construction paper of various colors
- Markers, Colored pencils or crayons
- Clear adhesive cover (optional)
- Ruler or Straightedge (for precise measurements)
Process
- Select the photos you want to use for the craft. Consider themed crafts such as holidays, birthdays or family vacation.
- Arrange your photos on your construction paper to get an idea of your design before gluing anything.
- Trim photos if necessary using your scissors. Remember to take exact measurements if you’re aiming for precise shapes.
- Use the glue to stick the photos onto the construction paper according to your design. Let it dry completely.
- Add decorations around your photos using your markers, colored pencils or crayons.
- Protect your craft by covering it with a clear adhesive cover.
- Finally, display your craft in your prefered location and enjoy!
Craft Instructions: Create Your Life Timeline
Ingredients:
- A long piece of paper or poster board
- Markers, colored pencils, or crayons
- Stickers, photos, or other memory items
- Adhesive: glue or tape
Steps:
- Prepare your materials: Gather all your craft materials. Make sure you have a clean, flat surface to work on.
- Create your timeline: Decide on the length of your timeline. Mark it out on your piece of paper or poster board.
- Divide the timeline: Break down your timeline into sections. This could be years, decades, or significant moments in life.
- Add memory markers: Sketch or stick on symbols or notes that represent the important moments or periods in your timeline. These could be personal achievements, trips, or lessons learned.
- Adorn with extras: Embellish your timeline with photos, stickers or drawings related to your memories. This makes your timeline visually appealing and personable.
- Reflect and appreciate: Once your timeline is complete, spend some time reflecting on your journey. It's amazing to see one's life events laid out visually!


