


As an affiliate, I earn from qualifying purchases, but this doesn't affect the reviews or recommendations—your trust is important to me!
Mastering the Art of Homemade Bath Bomb Making Workshop

Today, We're Making:
- - Homemade Bath Bomb Making Workshop
- - Galaxy Bath Bomb Craft: Following the theme of the Homemade Bath Bomb workshop, kids can make glittery, colorful bath bombs inspired by outer space. They will need baking soda, citric acid, epsom salt.
It's Time for Homemade Cosmetics
In this blog post, we're taking a deep dive into the world of homemade cosmetics, focusing on the enchanting realm of DIY bath bombs.
Welcome to the Homemade Bath Bomb Making Workshop
This is a sanctuary where we unravel the art of bath bomb crafting, one fizzy creation at a time. In today's stress-prone world, there's a growing trend for self-care and soul-soothing baths. What's better to level up your relaxing soak than with a carefully handmade bath bomb?
It's like a burst of bliss at your fingertips! So, whether you're an excited novice coming face-to-face with bath crafts for the first time, or a seasoned DIY enthusiast looking to master bath bomb making, this workshop promises to enrich your knowledge and shape new skills.The Art of Bath Bomb Crafting
From picking out the best natural bath bomb ingredients to exploring different bath bomb recipes — we have got your curiosity covered. So, let's get started.
```HTML
Master Bath Bomb Making Simplified
The Art of Choosing the Right Ingredients
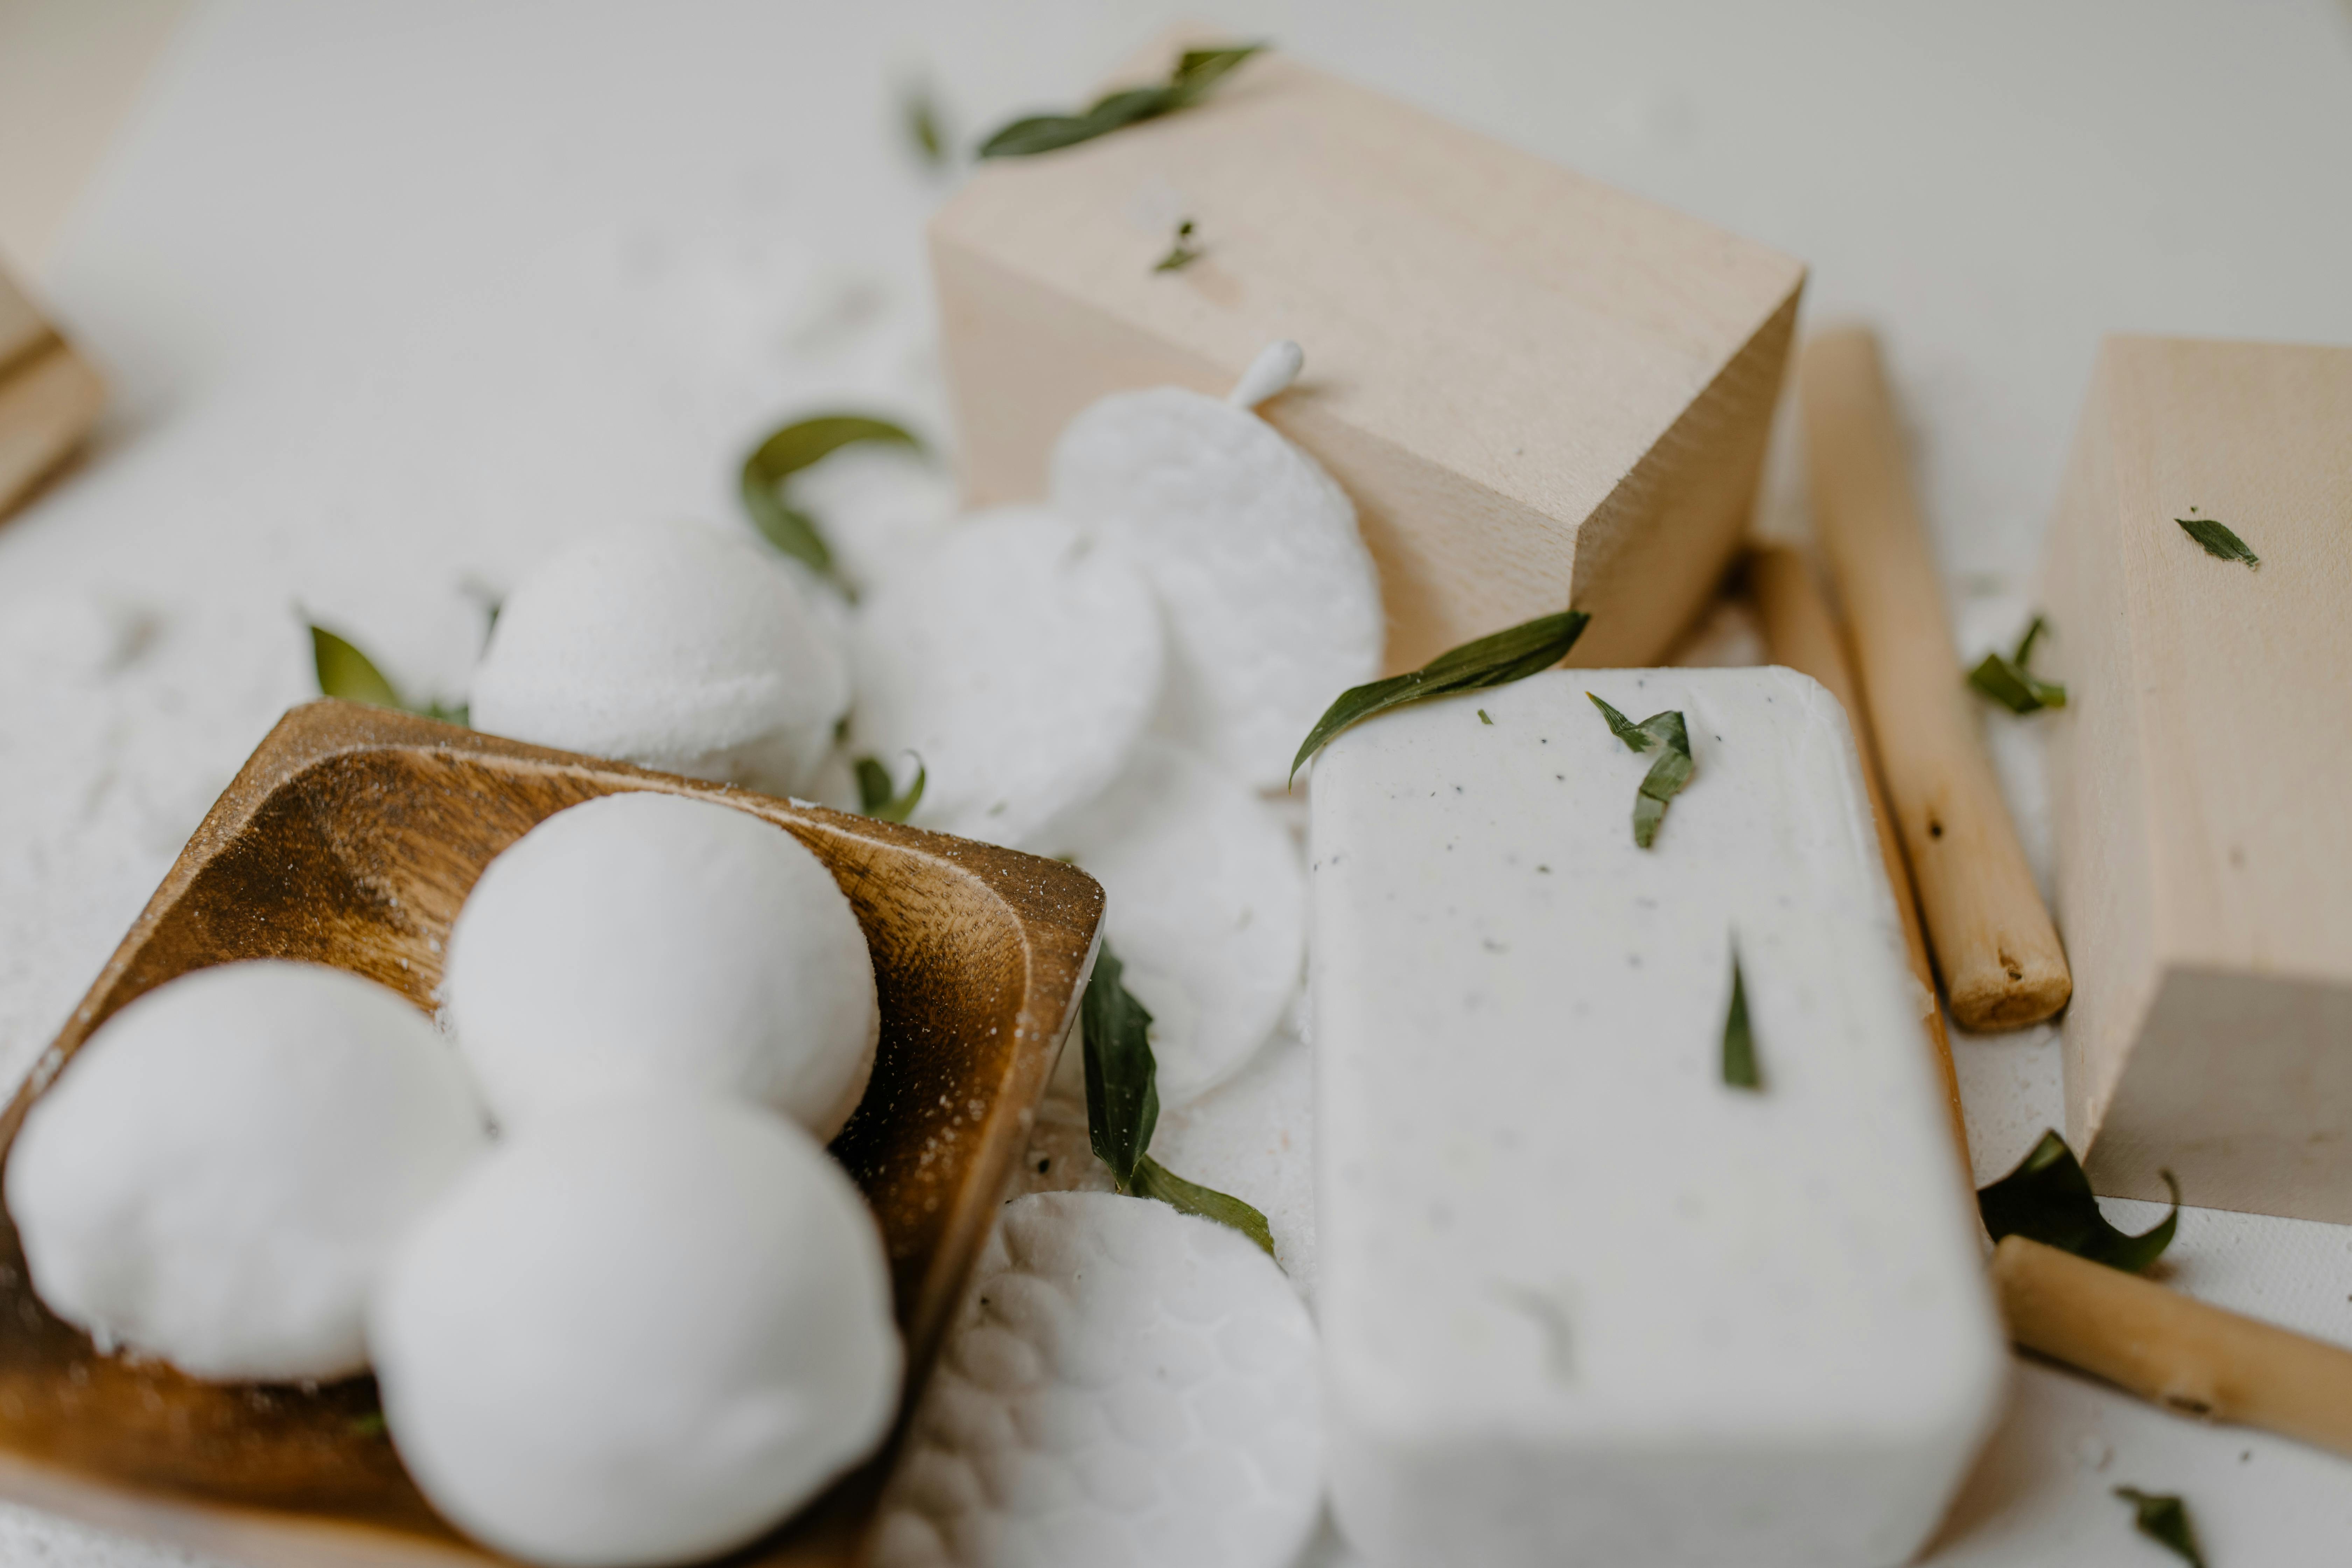
Discover the secret behind a perfect homemade bath bomb - the ingredients! The Homemade Bath Bomb Making Workshop focuses not just on the crafting process, but also on helping you make wise choices when it comes to bath bomb ingredients. Remember, the lovelier the ingredients, the better the bath bomb! Start by selecting the base. A typical one consists of sodium bicarbonate and citric acid - the true stars behind the signature 'fizz'. Next comes the fun part: personalizing your bath bombs. Sea salts and essential oils are popular choices for adding a touch of luxury, while botanicals can give your homemade bath bomb a look straight out of a boutique. Handpicked, organic, and harmless - these ingredients can transform a simple soak into a spa-level 'me'-time!
Unleashing your Creativity through Shapes and Colors
Once you've nailed the ingredients, our Homemade Bath Bomb Making Workshop will take you on a colorful joyride through your DIY bath bomb journey - literally! From lively rainbow hues to calming pastel shades, the possibilities are endless for your bath bomb colors. Silicone molds, often used in soap making, are another crucial part of bath bomb making. From classic, sleek spheres and heart-shapes to whimsical unicorns and festive Christmas trees, these molds can shape your bath bomb just the way you like! Remember, the essence of bath crafts lies not just in the process but equally in the final product's aesthetics.
The Science Behind the Art of Bath Bomb Crafting
But there's more to bath bomb making than merely mixing and moulding. It's a craft workshop intertwined with a dash of science! Getting a homemade bath bomb to fizz is as fascinating as a science project. It all comes down to sodium bicarbonate and citric acid. When combined, the duo produces a bubbly reaction, essential for achieving the desired 'fizz'. However, the key to a perfect bath bomb lies in striking a balance – too little and it won't fizz enough; too much and you'll have a prematurely activated bath bomb on your hands.
An Olfactory Expedition - Fragrances and Aromatherapy
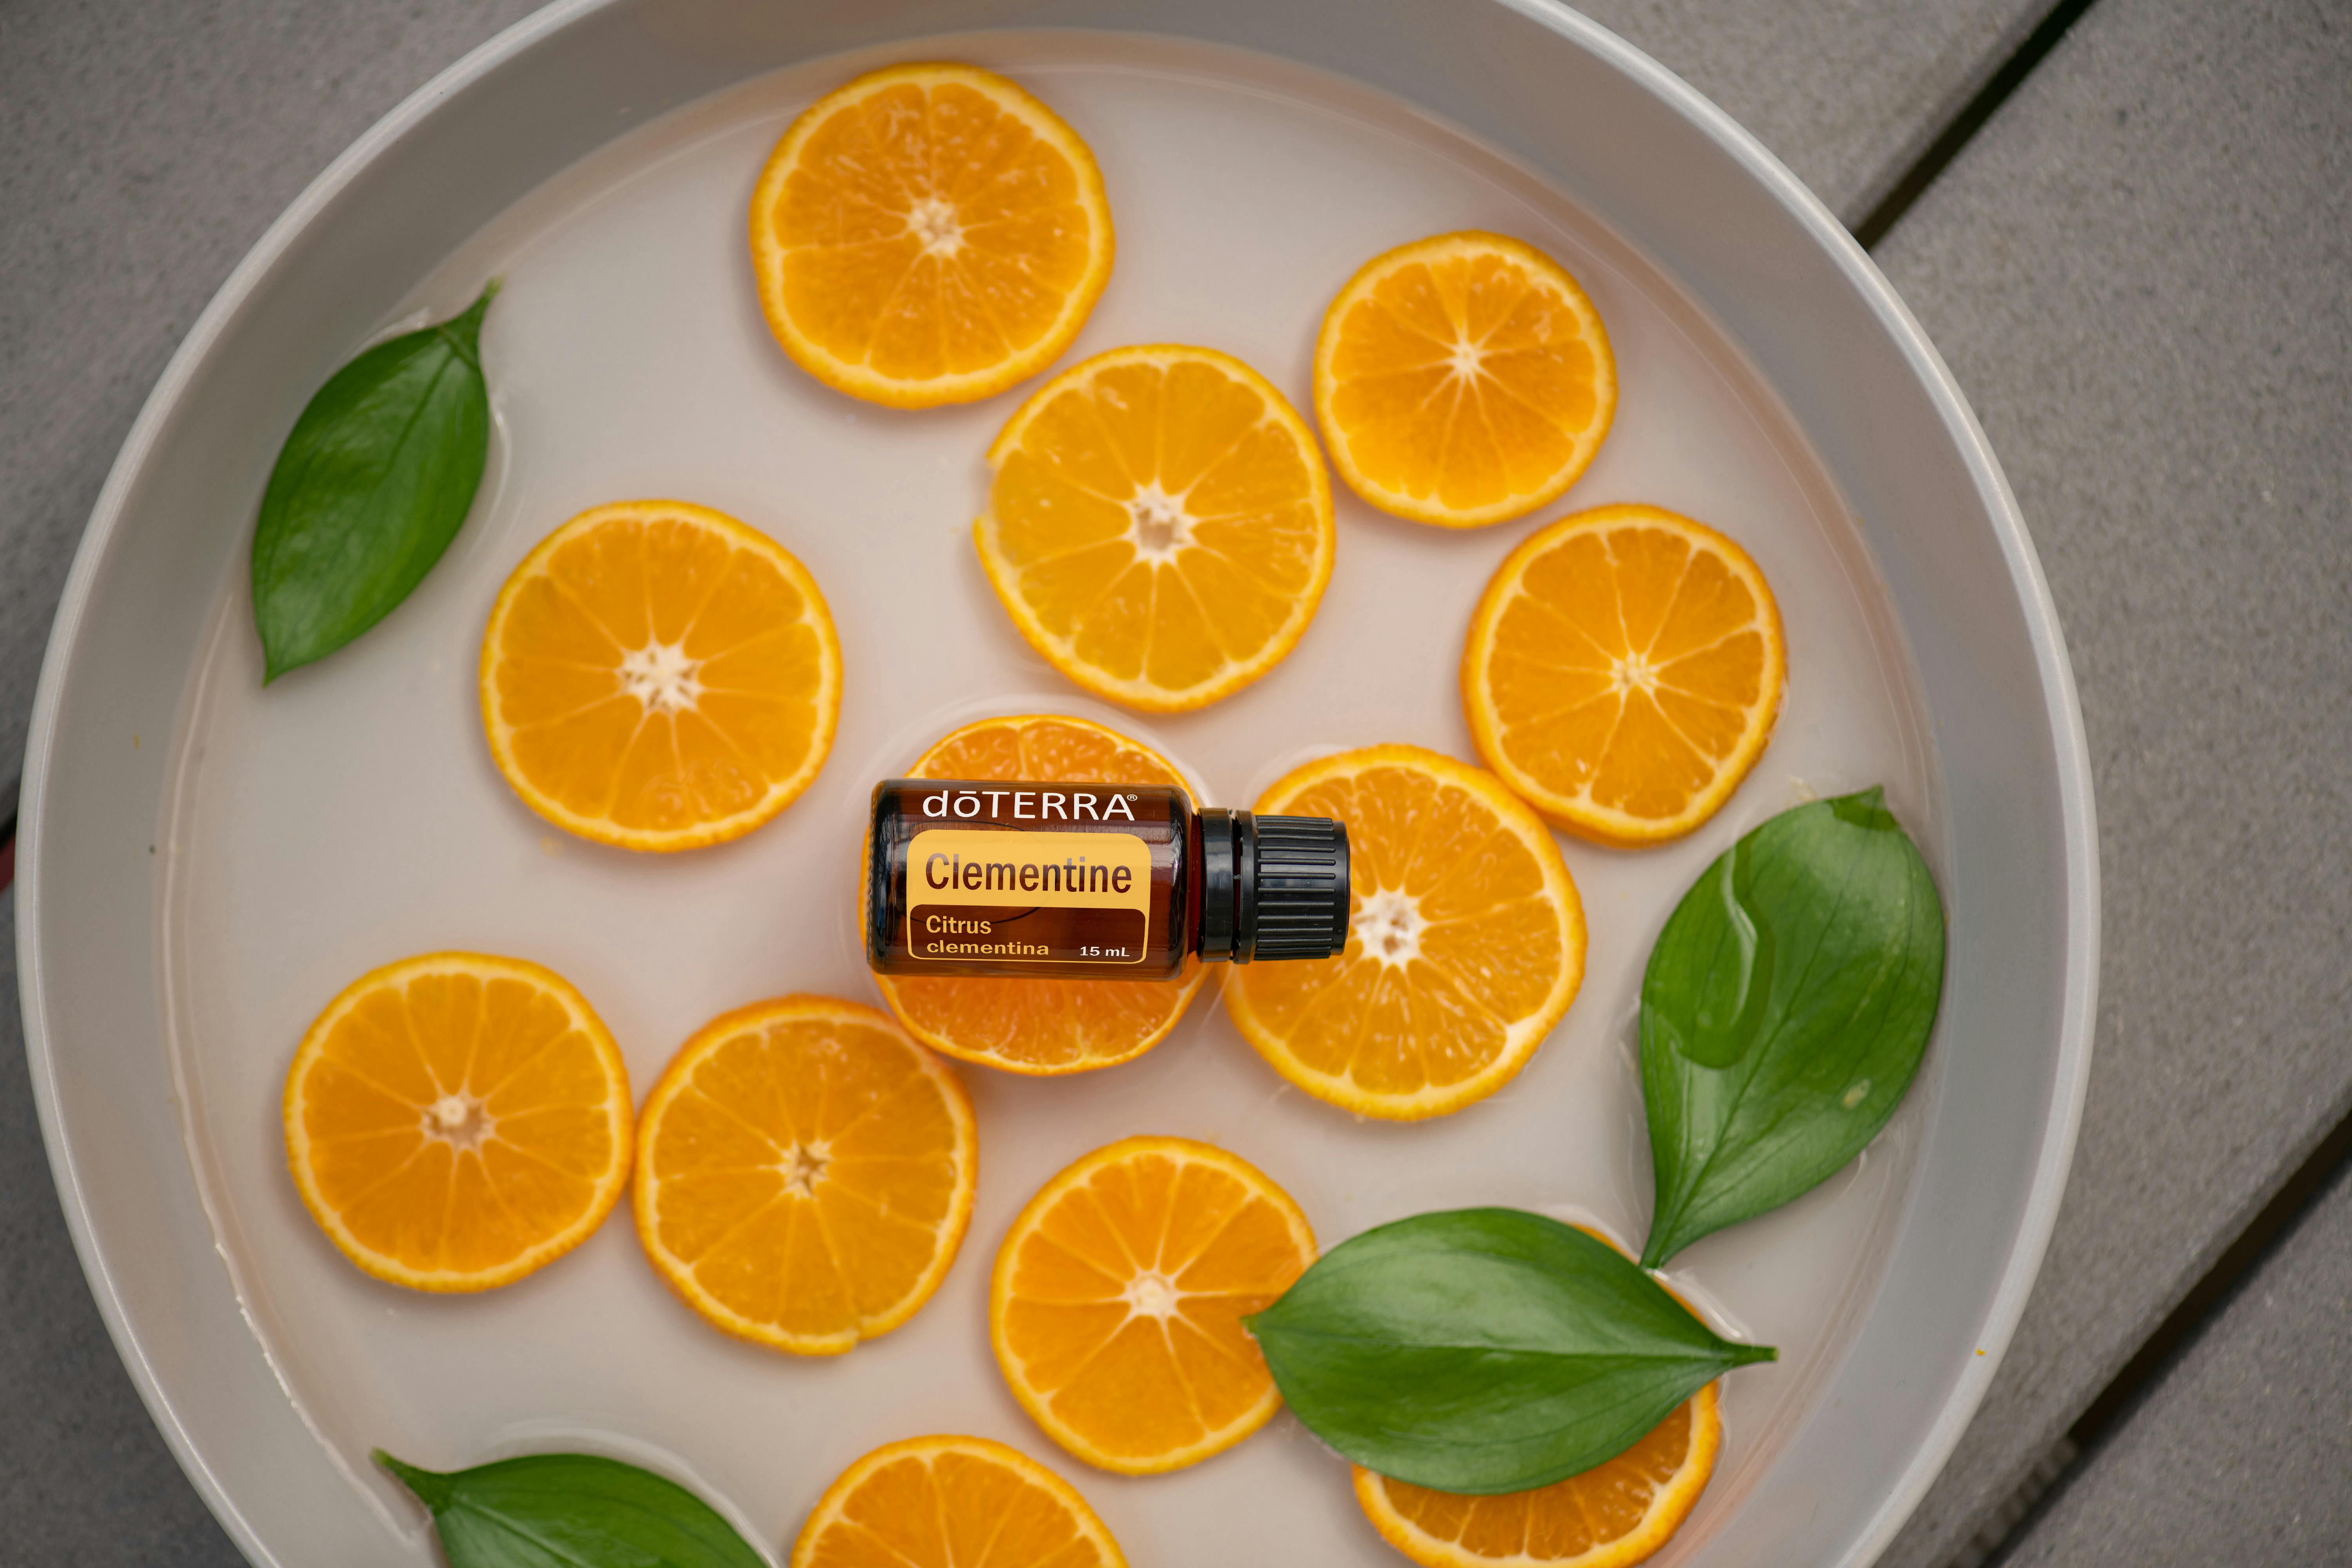
No homemade bath bomb is complete without a touch of aromatherapy. During the Homemade Bath Bomb Making Workshop, you'll delve into the magical world of essential oils, a crucial component of homemade cosmetics and DIY home spa. From uplifting lemongrass and sweet vanilla to relaxing lavender and crisp peppermint, the choice of fragrance can truly customize your bath experience. Not just a treat to your olfactory senses, essential oils in your bath bomb can also offer various skin care benefits. Add a dash of tender love and care to your bath bomb by choosing an essential oil that caters to your skincare needs.
An Array of Bath Bomb Recipes to Choose From
From beginners to seasoned DIY enthusiasts, our Bath Bomb Workshop offers a variety of bath bomb recipes to explore and master. Starting with basic recipes focusing on fundamental bath bomb techniques, we gradually progress to more advanced ones for exciting challenges! The Bath Bomb Guide provided during the workshop is an invaluable resource filled with tested and loved recipes you can fall back on, even after the workshop ends.
And there you have it, folks!
We've embarked on an enthralling adventure exploring the exquisite art of homemade bath bomb making. We have dipped our toes into the tranquil waters of ingredient selection, and uncovered the colorful joy of personalization. We've delved into the surprising science behind that desired fizz and embarked on an olfactory expedition through essential oils.
The journey has been just as captivating as the final destination - your very own customized bath bomb. So when the stresses of life knock at your door, remember that a blissful self-care retreat awaits in your bathroom, courtesy of your Homemade Bath Bomb Making Workshop.
Embrace the magic of DIY and transform your bath into a spa-like sanctuary. So, let's continue this creative journey, because the realm of bath crafting is boundless and so is your potential!
Ready to leave a fizzy trail behind? Let's craft away, my fellow bath bomb makers - one blissful bath at a time.
```html
You May Also Like These:
Galaxy Bath Bomb Craft
Stir creativity while soaking away stress with these homemade Galaxy Bath Bombs!
Ingredients:
- 1 cup baking soda
- 1/2 cup citric acid
- 1/2 cup Epsom salt
- 1/2 cup cornstarch
- 2 1/2 tablespoons coconut oil (melted)
- 3/4 tablespoon water
- 2 teaspoons essential oils
- Soap dyes (blue, purple, black)
- Biodegradable glitter
- Bath bomb mold
Instructions:
- In a large bowl, mix together the dry ingredients: baking soda, citric acid, Epsom salt, and cornstarch.
- In a separate bowl, whisk together melted coconut oil, water, and essential oils.
- Slowly add the wet ingredients into the dry, stirring constantly to avoid the mixture fizzing.
- Divide the mixture equally into three bowls.
- Add a different soap dye (blue, purple, black) to each bowl, mixing until the color is thoroughly incorporated.
- Add a pinch of biodegradable glitter to each bowl and mix well.
- In the bath bomb mold, layer the different colored mixtures until the mold is filled.
- Press the two halves of the molds together tightly and allow the bath bomb to dry for 24 hours.
- Once dry, gently remove the bath bomb from the mold and it's ready to use!
Colorful Outer Space-Inspired Bath Bombs: A Crafting Guide for Parents
Create stunning galaxy-inspired bath bombs that your kids will absolutely adore! Part science experiment, part arts and craft activity: making bath bombs is a fantastic way to engage with your children.
Ingredients
- 1 cup Baking Soda
- 1/2 cup Citric Acid
- 1/2 cup Epsom Salts
- 1/2 cup Cornstarch
- 2 1/2 tablespoons Coconut Oil (melted)
- 3/4 tablespoon Water
- 2 teaspoons Essential Oil (Lavender, Eucalyptus, etc.)
- Soap or Food coloring (Purple, Blue, and Black)
- Glow in the dark Glitter
- Round Bath Bomb Molds
Instructions
- Mix all dry ingredients: In a large bowl combine baking soda, citric acid, Epsom salts, and cornstarch. Stir until well combined.
- Combine all wet ingredients: In a separate bowl, mix together the melted coconut oil, water and essential oil. If your kids are helping in this, ensure they don't touch their eyes with essential oil on their hands!
- Add colors: Divide the wet ingredients into three separate bowls. Add different coloring (purple, blue, black). Blend each well.
- Combine dry and wet ingredients: Slowly add the wet ingredients into the dry mix one third at a time. Stir until the mixture is the consistency of damp sand. It should hold its shape when you squeeze it together.
- Layer the colors: Now let's create our outer space bath bombs! Take your molds and layer the different colored mixtures. Randomly alternate the colors to give the impression of a swirling galaxy.
- Add in the glitter: Lightly sprinkle the glow in the dark glitter in as you go along with layering the colors.
- Compress the mixture: Once your molds are full to the brim, firmly press the mixture down. Let your bath bombs dry for at least 24 hours before removing them from the molds.
And voila! Your very own outer-space inspired bath bombs are ready for use or can be stored up to 6 months. Enjoy this cosmic bathing experience with your little ones!
Space Inspired Bath Bombs
Ingredients:- 1 cup of baking soda
- 1/2 cup of citric acid
- 1/2 cup of Epsom salts
- 1/2 cup of cornstarch
- 2 tablespoons of oil (coconut, almond or olive would work)
- 3/4 teaspoon of water
- 2 teaspoons of essential oil (choose your favorite scent)
- 3-5 drops of gel food coloring (choose colors inspired by outer space)
- Glow in the dark paint (optional)
- Begin by mixing all the dry ingredients (baking soda, citric acid, Epsom salts and cornstarch) together in a large bowl.
- In a separate bowl, mix together the oil, water, essential oil, gel food coloring.
- Very slowly add the wet ingredients into the dry ingredients, stirring constantly. If the mixture starts to fizz, slow down.
- Once all the ingredients are combined and the mixture holds together when you squeeze it, pack the mixture into your chosen mold (sphere shapes work great for planets).
- Let the bath bombs dry for at least 24 hours.
- If you chose to use glow in the dark paint, now is the time to paint your bath bombs. Galaxy patterns or simple star constellations can look great.
- Once the paint is dry, your homemade, space inspired bath bombs are ready to be used!
Citric Acid Craft: DIY Bath Bombs
For this craft, you will need:
- 1 cup baking soda
- ½ cup citric acid
- ½ cup Epsom salts
- ½ cup cornstarch
- 2 ½ tablespoons oil (coconut, olive, almond, or baby oil)
- ¾ tablespoon water
- 2 teaspoons essential oils
- Soap or food coloring (optional)
- Molds to shape your bath bombs
Instructions:
- Combine all dry ingredients: In a large bowl, mix together baking soda, citric acid, Epsom salts, and cornstarch.
- Mix together wet ingredients: In a separate container, combine oil, water, essential oils, and coloring.
- Combine wet and dry ingredients: Slowly add the wet ingredients to the dry ones, constantly stirring to prevent the mixture from bubbling up.
- Fill the molds: Pack the mixture firmly into your chosen molds. Allow them to dry for 24 hours before removing from the molds.
- Enjoy: To use your DIY bath bombs, simply drop one into a bathtub filled with warm water and watch it fizz!
Epsom Salt Crafts for Kids and Parents
These simple, fun and affordable crafts are a great way to spend quality family time while also creating beautiful accents for your home or gifts. Here's a clear step-by-step instruction on how to create your very own crafts using Epsom salt.
Materials Needed:
- Epsom salt
- Water
- Food coloring (optional)
- Glue
- Paintbrush
- Craft paper or newspaper
- Glass jars or vases
Instructions:
Prepare the Work Area: Cover your work surface with the craft paper or newspaper to avoid any mess.
Coloring the Salt: If you decide to add color to your epsom salt, place your desired amount of salt in a zip-lock bag, add few drops of food coloring then shake until the color is evenly distributed. Let it dry before using.
Glue the Jar: Use a paintbrush to apply a thin layer of glue over the entire outside surface of your glass jar.
Apply the Epsom Salt: While the glue is still wet, sprinkle some Epsom salt over the jar. Rotate your jar and repeat until the entire surface is covered.
Let it Dry: Allow your Epsom salt craft to dry completely. This could take a few hours.
Additional Tips:
- If you wish to add a second layer of Epsom salt, repeat steps 3 and 4 once the first layer has dried completely.
- The addition of bow ties or ribbons can further enhance the visual appeal of your craft.


