


As an affiliate, I earn from qualifying purchases, but this doesn't affect the reviews or recommendations—your trust is important to me!
Unleashing Science in Your Kitchen with Homemade Ice Cream
Today, We're Making:
- 'Homemade Ice Cream Science Experiment' - Parents can teach kids to explore chemistry by making their own homemade ice cream. They can investigate how salt turns the ice surrounding the ice cream mixture in a bag into a slush, lowering its freezing point and turning the mixture into ice cream. Further, they can experiment with different ingredients and quantities to observe changes in texture and flavour - thereby understanding the concepts of concentration, solutions and chemical reactions.
- 'Moon Map' - Given the date in July, this project could be related to the lunar landing anniversary (20th July 1969). Kids can create a 3D map of the moon using kitchen ingredients like flour.
Evolving Ice Cream: The Creamy Science
Ever wonder how a simple bowl of your favorite homemade ice cream evolves from a base of milk, cream, and sugar to a mouthwateringly creamy treat? Let's don your lab coats and beat the heat while we dive into the scoop-worthy world of Homemade Ice Cream Science Experiment.
Turn your kitchen into a scientific lab!
If you are a culinary enthusiast who is intrigued by food science, or a parent who wants to engage your kids in cool kitchen experiments, understand that your kitchen can transform into a fun scientific lab. Balancing ingredients, altering temperatures, observing changes - welcome to the fascinating ice cream making process where cooking meets science.
Ice Cream DIY: A Mix of Fun and Science
Ice Cream DIY was never this exciting; let’s unleash science in your kitchen!
Breaking Down the Homemade Ice Cream Science Experiment
In simple terms, the science behind the homemade ice cream is a fascinating interplay of Kitchen Science and Thermodynamics. Let's look beyond the bowl; when we freeze the ice cream ingredients, we essentially slow down their molecular motions, turning free-flowing liquids into creamy solids. This phenomenon is linked to the laws of physics and chemistry - as the temperature drops, the molecules lose energy and move slower, resulting in the consolidation of the mixture.
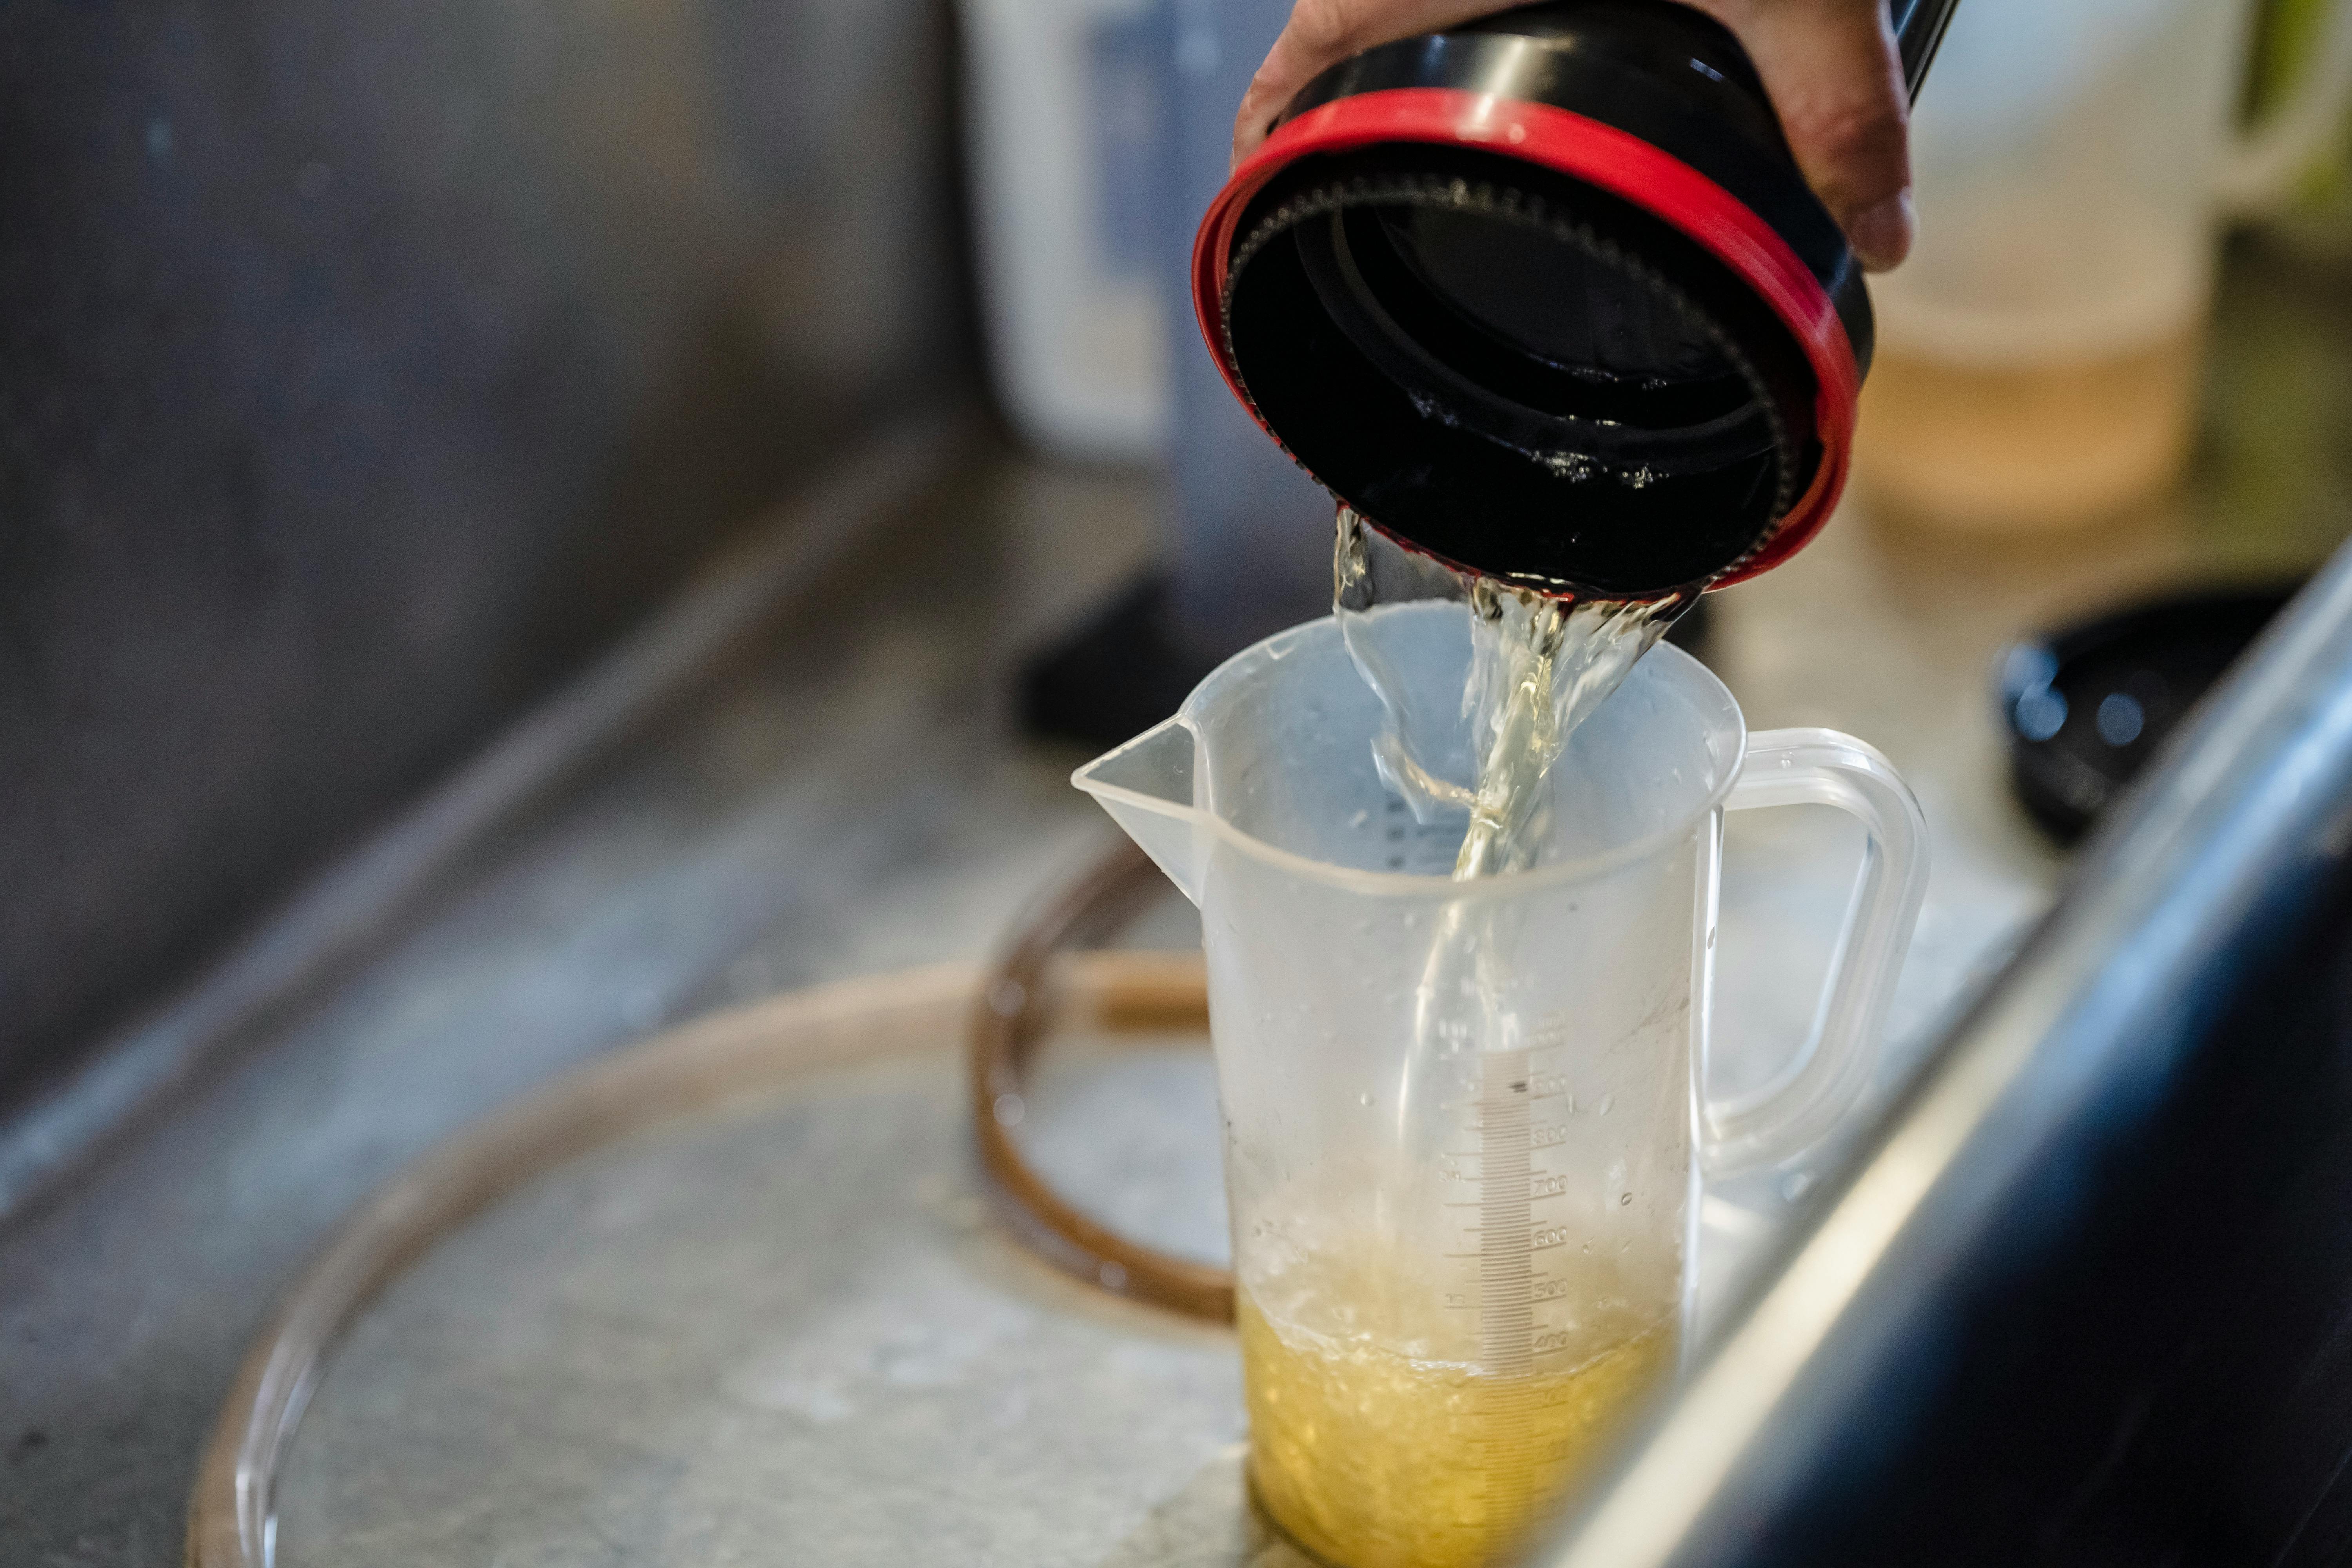
If we deep-dive into the Ice Cream Making Process, it’s all about balancing three core elements – ice, salt, and the mixture. The salt lowers the freezing point of the ice and causes it to melt. As it melts, it draws heat from the cream mixture, making your homemade ice cream colder and colder.
The Role of Ingredients
Digging into the role of each component, we magnify the significance of Science and Food compatibility. How about getting your hands on some Edible Experiments and whipping your homemade dessert right away?
- Cream: The fat in the cream serves as a barrier against the formation of large ice crystals, thereby giving the ice cream its characteristic smooth texture - an essential scientific recipe.
- Sugar: Also a vital player in the Homemade Ice Cream team, sugar not just sweetens but also aids in creating the soft texture. It lowers the freezing point and interrupts the formation of big ice crystals, ensuring that your homemade ice cream remains scoopable.
- Eggs: Often included in several Creamy Homemade Ice Cream recipes, egg yolks lend a rich taste. On the scientific front, the proteins in the egg yolk form a mesh-like structure, trapping both air and water molecules. This results in the smooth, dense consistency we all love.
The Science of Churning
Churning or agitation interrupts the formation of ice crystals, making them extremely small, and adds air to the mixture. Hence, while crafting your DIY Ice Cream, it is necessary to keep the mixture moving during the freezing process. This will help you achieve that light and luscious texture which is the soul of creamy homemade ice cream.
The Homemade Ice Cream Science Experiment is not just a delightful culinary experience but also a great way to engage in home science experiments. It is empowering to understand how simple ingredients undergo transformations and create something delicious and gratifying! So, with this newfound knowledge of kitchen chemistry and food science, who can resist embarking on a journey of crafting their favorite ice cream right in their kitchen? The science of ice cream is fascinating, delicious, and fun. Let your culinary science journey commence!
In conclusion,
Breaking into the mysterious and thrilling science behind the making of homemade ice cream can be an entertaining and learning adventure!
A dive into the world of kitchen science doesn't just add distinctive flavor to your ice cream bowl but enriches you with knowledge of the fundamental thermodynamics, kitchen chemistry, and the magic of transformation.
Yes, there's more to your favorite frozen delight!
It's a magnificent mix of art, science, and culinary skills, right in your kitchen. So, stir, experiment, learn, churn, and enjoy the creamy delights of your homemade ice cream adventure.
Here's to unleashing science in your kitchen and savoring each scoop of your delectable achievements, one experiment at a time!

You May Also Like These:
Frozen Chemistry: Make Your Own Homemade Ice Cream
Teach your kids some fun chemistry with this deliciously educational STEM project! Discover how salt can transform the ice surrounding the ice cream mixture into a slush, while also learning about the fascinating processes behind the formation of ice cream. Let's get started!
Ingredients:
- 1 cup half-and-half: This works as the base for your ice cream.
- 2 tablespoons sugar: This will sweeten your ice cream.
- 1/2 teaspoon pure vanilla extract: Adds flavor to your ice cream.
- 3 cups ice: This cools down the half-and-half mixture.
- 1/3 cup kosher or rock salt This is the 'magic' ingredient that turns ice into a slush and helps freeze the ice cream.
Instructions:
- In a small zip-top bag, mix together the half-and-half, sugar and vanilla extract. Seal the bag tightly, making sure to press out any air trapped inside the bag.
- Fill a larger zip-top bag halfway with ice, and then add the salt. Place the sealed smaller bag into the larger bag with the ice.
- Seal the larger bag. Now shake the bags for about 5-7 minutes. Make sure you have gloves or a towel to hold the bags, as they will get very cold!
- After 5-7 minutes, check to see if the mixture in the smaller bag has hardened to form ice cream. If it hasn't, shake it a bit more. Once done, carefully remove the smaller bag from the bag of ice.
- Quickly but carefully wipe off the top of the smaller bag before opening it to enjoy your homemade ice cream.
Enjoy your homemade ice cream and the interesting science behind it!
Baking Soda and Vinegar Experiment - A STEM project
Objective: To learn and understand the concepts of concentration, reaction and chemical changes.
Ingredients
- 1 tablespoon of baking soda
- 1/2 cup of vinegar
- 1 glass
- 1 teaspoon
- 1 measuring cup
Instructions
- Step 1: Measure 1 tablespoon of baking soda and pour it into the glass.
- Step 2: Measure 1/2 cup of vinegar using a measuring cup.
- Step 3: Slowly pour the vinegar into the glass containing baking soda.
- Step 4: Watch the reaction. The mixture should bubble and fizz. This is because a chemical reaction is taking place between the baking soda and vinegar, forming carbon dioxide gas.
- Step 5: Discuss the results. Ask your child to explain why the reaction happened. This will help them to understand the concept of chemical reactions.
Further Experiments for Understanding Concentration
Objective: Experiment with different quantities of baking soda and vinegar to understand how concentration affects the reaction.
- Experiment 1: Repeat the experiment using twice the amount of vinegar. Observe and compare the reaction to the original experiment.
- Experiment 2: Repeat the experiment using half the amount of baking soda. Observe and compare the reaction to the original experiment.
- Experiment 3: Repeat the experiment using twice the amount of baking soda and half the amount of vinegar. Observe and compare the reaction to the original experiment.
Note:
While changing the quantities of baking soda and vinegar will result in different reactions, it is the concentration of the substances that is the key factor behind the differences observed. The concentration is essentially the amount of a substance (the solute) in a specified amount of another substance (the solvent).
Fun STEM Project: Exploring Concentration Through Cooking
Have fun with your little scientist by experimenting with different ingredients and quantities in this culinary STEM project. By the end of this experiment, children will understand the concept of concentration and how it affects the taste and texture of our food.
Ingredients
- 1/2 cup of sugar
- 2 cups of water
- 3 tablespoons of lemon juice
- Salt (optional)
Instructions
Experiment 1: Sugar Concentration
- Step 1: Stir 1/4 cup of sugar into a cup of water until it completely dissolves.
- Step 2: Taste the solution to understand how sugar concentration affects sweetness.
- Step 3: Now, in another cup of water stir 1/2 cup of sugar till it completely dissolves.
- Step 4: Taste this solution as well and compare sweetnesses of both solutions.
Experiment 2: Acid Concentration
- Step 1: Pour a tablespoon of lemon juice into a cup of water.
- Step 2: Taste the solution to see the effect of acid concentration on sourness.
- Step 3: Now in another cup of water, add three tablespoons of lemon juice.
- Step 4: Taste this solution as well and note the changes in sourness.
Experiment 3: Salt Concentration
- Step 1: Dissolve one tablespoon of salt in a cup of water.
- Step 2: Taste to see how this concentration of salt affects flavour.
- Step 3: Repeat with three tablespoons of salt in another cup of water, taste and compare the difference in saltiness.
In this STEM project, children will learn the concept of concentration by observing the changes in sweetness, sourness and saltiness. Have fun experimenting!
'Moon Map' - July STEM Project
Explore the mystery of the moon by creating your own 3D moon map. This is a great activity to understand the lunar cycle, study crater formations and have fun with crafting at the same time.
Ingredients:- Large sheet of black construction paper
- White paint
- Flour
- Water
- A round plate or lid
- Brush or sponge
- Toothpick or skewer
Step 1: Make your 3D moon paste
- Take a bowl and add equal parts of flour and white paint in it. Mix it until it has a thick consistency.
- Add water slowly and keep stirring. Stop when you are satisfied with the texture.
Step 2: Creating the moon surface
- Place a large, round plate on the construction paper and unfold the map.
- With your brush or sponge, apply the moon paste you made within the circle, leaving the edges thinner and the center a bit thicker. This will give a 3D effect to your moon map.
- Wait for the paste to dry a little. But before it dries completely, take your toothpick or skewer and start carving out the moon's features, the craters, valleys, and mountains.
- Use a real moon map for reference and try as much as possible to reflect the real moon craters on your 3D map.
Step 3: Final Touches
- After the paste is completely dried, apply a coat of white paint over your 3D creation with the sponge or brush to highlight the features.
- Now, let it dry completely. Your 3D moon map is ready for presentation.
Have fun learning and creating!
STEM Project: 3D Map of the Moon
Celebrate the lunar landing anniversary (20th July 1969) by engaging your kids in a fun and educational project. Create a 3D map of the moon using simple kitchen ingredients.
Ingredients:
- 2 cups of white all-purpose flour
- 1 cup of salt
- 1 cup of water
- Circular baking or pizza tray
- Crater references for the Moon (available on NASA's website or in space books)
- Toothpick, or small pointed object, to create moon's craters
- Silver or grey paint (optional)
Instructions:
- Combine the flour and salt in a large mixing bowl.
- Slowly add in water while stirring the mixture until it forms a dough. If the mixture is too dry, add more water. If it's too wet, add additional flour.
- Using your hands, knead the dough until it's smooth and easy to mold.
- Spread the dough evenly onto your baking or pizza tray shaping it into a big round disc. This will be the base of your moon map.
- Referring to the crater references, start creating craters on the dough using a toothpick or other pointed object. Pay attention to the size and position of the craters to mimic the moon's surface as accurately as possible.
- Let your 3D map of the moon dry. This may take a few days depending on the thickness of your dough and the humidity in your area.
- Optional: Once dried, you can paint your moon map silver or grey for a more realistic finish.
Now you have a 3D map of the moon right in the comfort of your home. Not only is this a fun project, but it also helps your children learn about the lunar landscape in a hands-on way.