


As an affiliate, I earn from qualifying purchases, but this doesn't affect the reviews or recommendations—your trust is important to me!
Creating Rainbow Bubble Snakes: A Fun Science Experiment Guide


Today, We're Making:
- Rainbow Bubble Snakes Science Experiment
- 'Water Cycle in a Bottle': In this project, kids can learn about the water cycle by creating their own in a large clear container, using water, vegetable oil and blue food coloring. This project ties in well with the soap and water theme of the bubble snake experiment, and will be of particular interest around April as it's a time when many regions will be seeing more rainfall.
- 'DIY Robotic Hand': This project involves using straws.
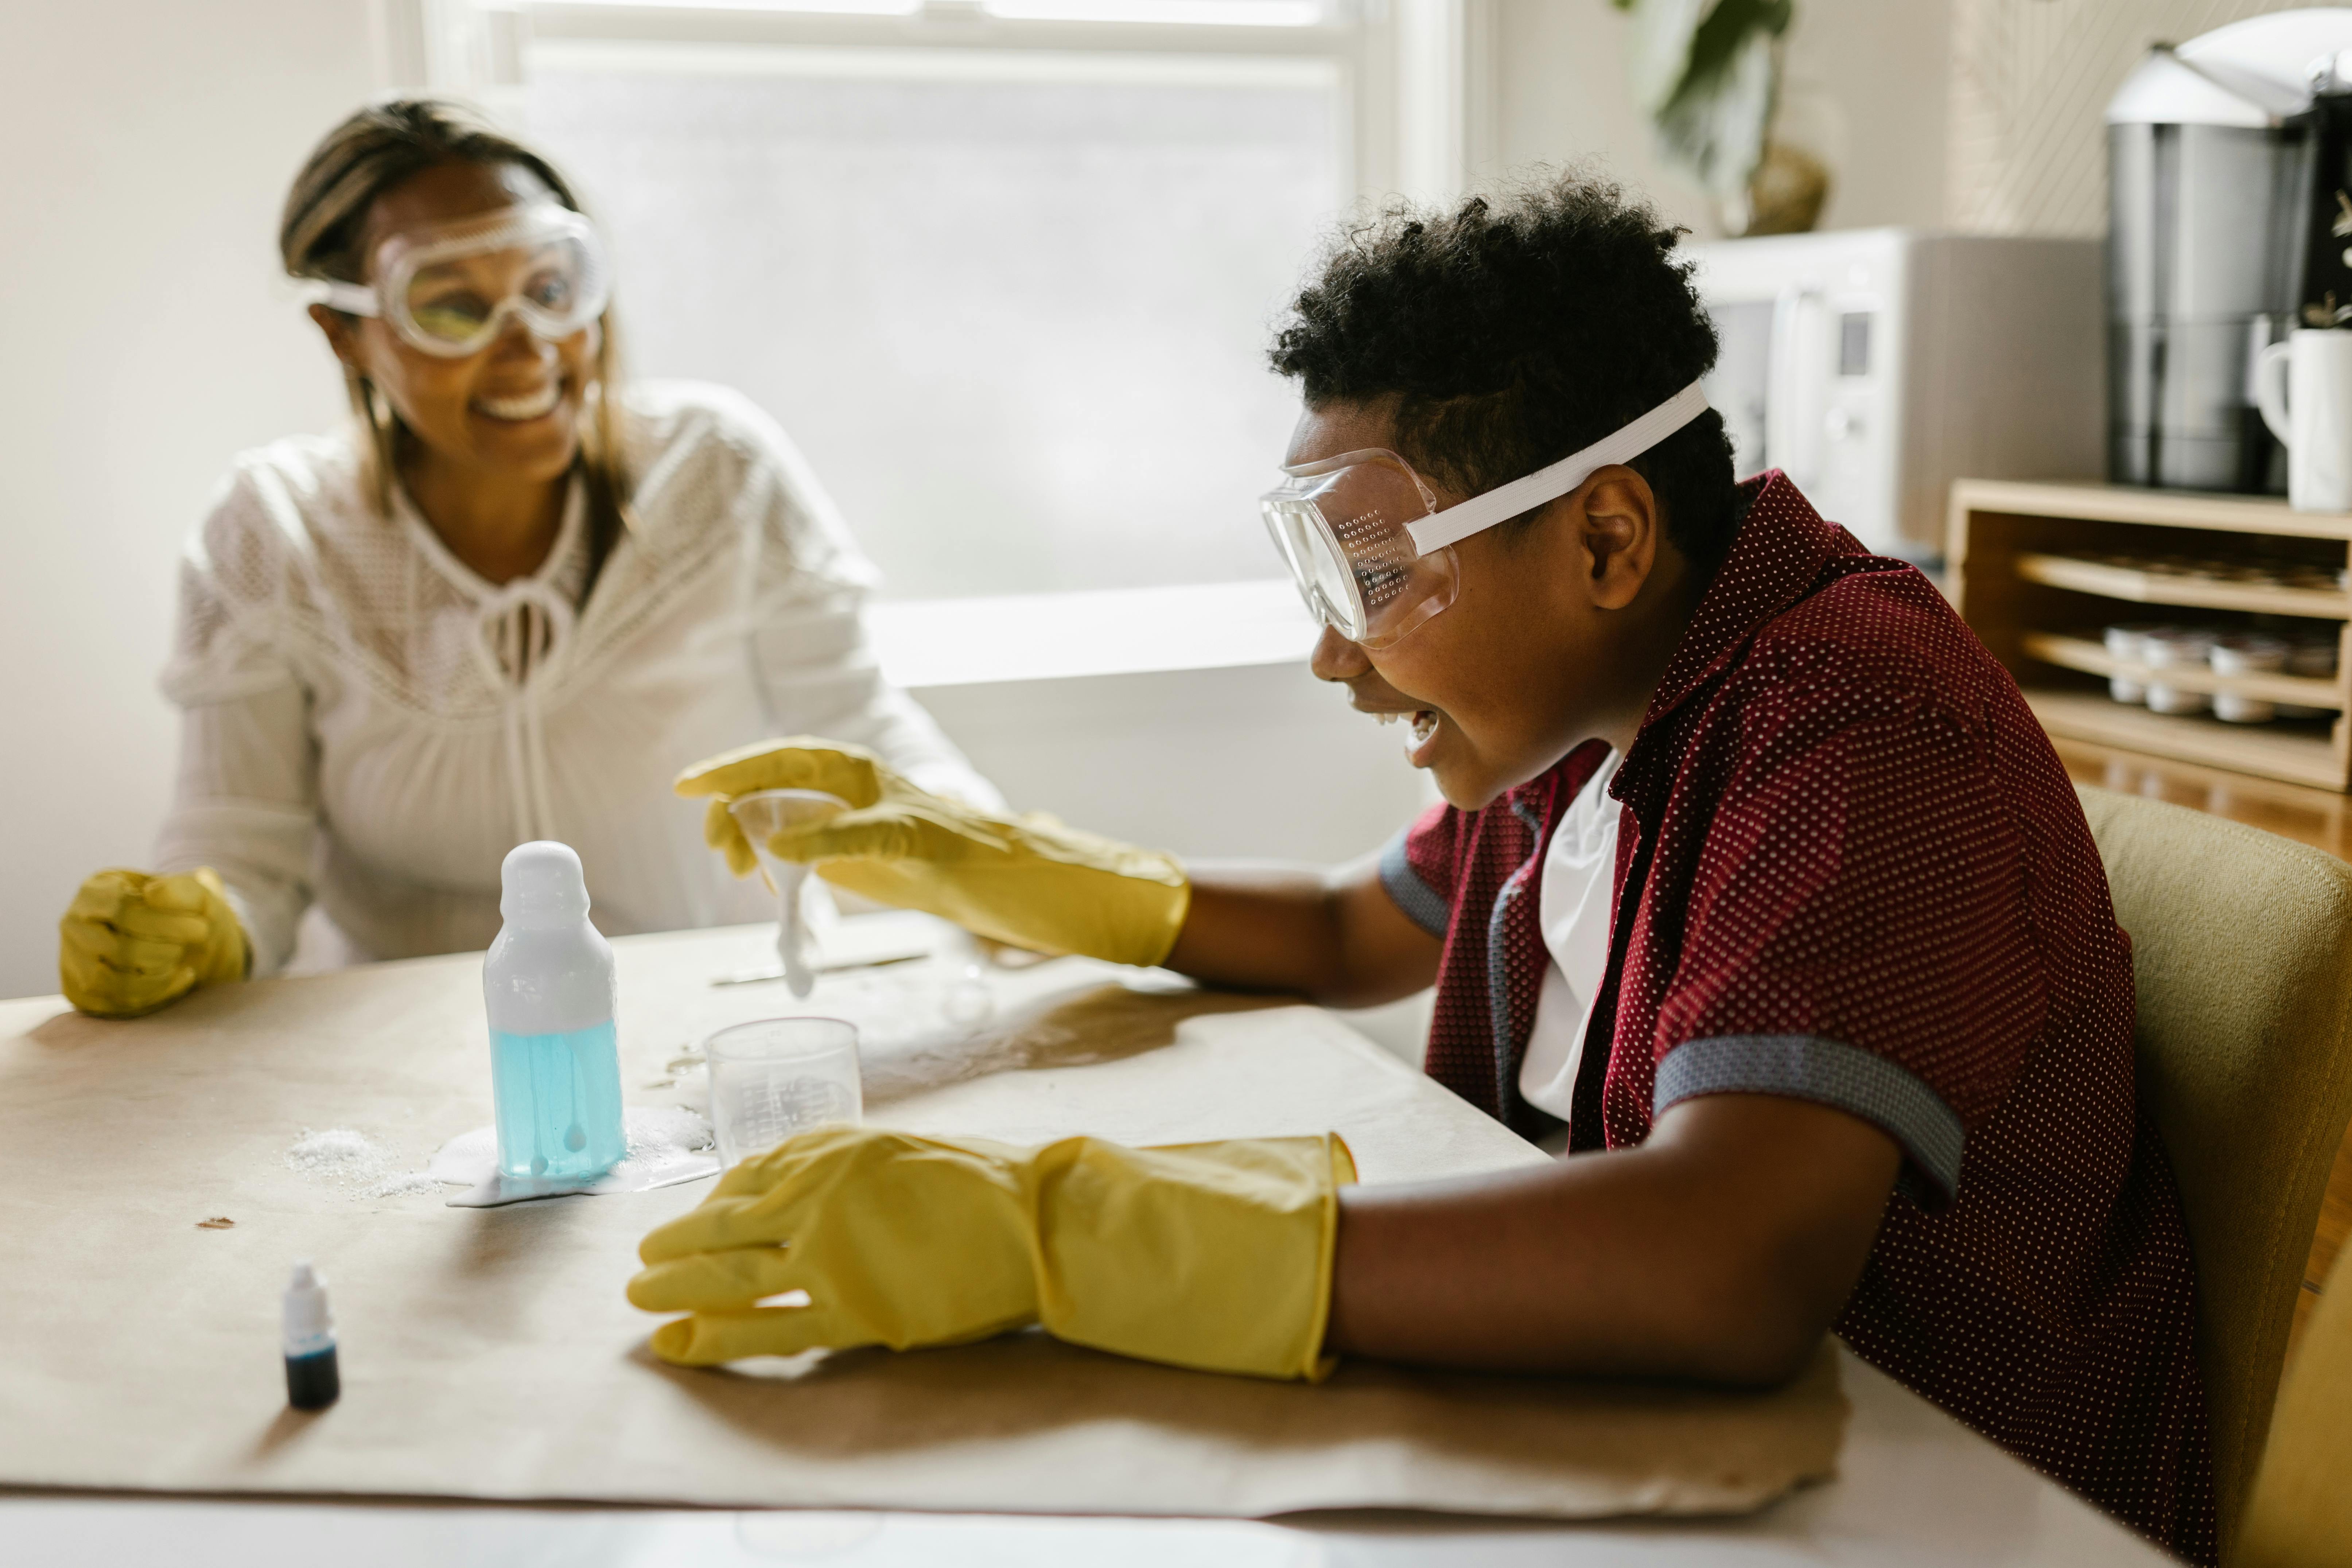
Imagine transforming your kitchen into a vibrant, magical laboratory filled with rainbows and bubbles!
Welcome to the enchanting world of the Rainbow Bubble Snakes Science Experiment. This fun science experiment is not only a visually stunning spectacle but also an engaging hands-on science activity that seamlessly blends learning with fun.
If your little scientists are always on the lookout for thrilling DIY science projects or kid's science projects, then bubble making will never be the same again with this fascinating Rainbow Bubble Snakes experiment.
This homemade bubbles adventure promises a blend of color, excitement, and educational activities, serving as an easy science experiment that will spark curiosity and creativity.
So, get ready to swirl up some magic as we dive into the bubble snake instructions to create this delightful rainbow soap experiment.
Getting Started with the Rainbow Bubble Snakes Science Experiment
Now that your interest is piqued, let's explore the fascinating facets of this Rainbow Bubble Snakes Science Experiment. The magic lies in the simplicity of this hands-on science activity. You can bring this bubble-laden rainbow to life with minimal supplies that are easy to source, most of which are likely to be already available in your home.
The key materials needed for this fun science experiment are:
- A plastic water bottle
- A sock
- Colourful food dye
- Dish soap
- Bowl
- Scissors
- And the uncontainable excitement of your eager little scientists!
Feel the thrill of DIY science as you recycle an old water bottle into a wonderful scientific apparatus. The excitement of creating bubble snakes and watching them mutate into a gorgeous rainbow is bound to keep you and your children captivated!
The Bubble Making Magic: Your Step-by-Step Rainbow Bubble Snakes Instructions
Now, it's time to slip into your imaginary lab coats and introduce your kids to the enchanting bubble making process. A quick tip before you proceed - ensure to keep your workspace safe and comfortable for your budding scientists.
Here are your step-by-step Bubble Snake Instructions for this delightful and easy science experiment:
- Cut the bottom off your plastic water bottle and slip the sock over it. Ensure it's a tight fit.
- Dip the sock-covered end of the water bottle into a bowl full of a solution mixed with equal parts water and dish soap.
- Add a few drops of each food color onto the sock-end. Remember, the more vibrant the colors, the more captivating your Rainbow Bubble Snakes will be.
- Now, let your kids blow into the mouth of the water bottle. Watch with wonder as strands of homemade bubbles spout colorfully from the other end. But caution, remind them to blow out and not inhale!
Just like that, your personal Bubble Snake is born. With this incredible and visually stunning project, learning through fun becomes a seamless process that your little ones will always look forward to.
Learning Outcomes Of This Home Science Experiment
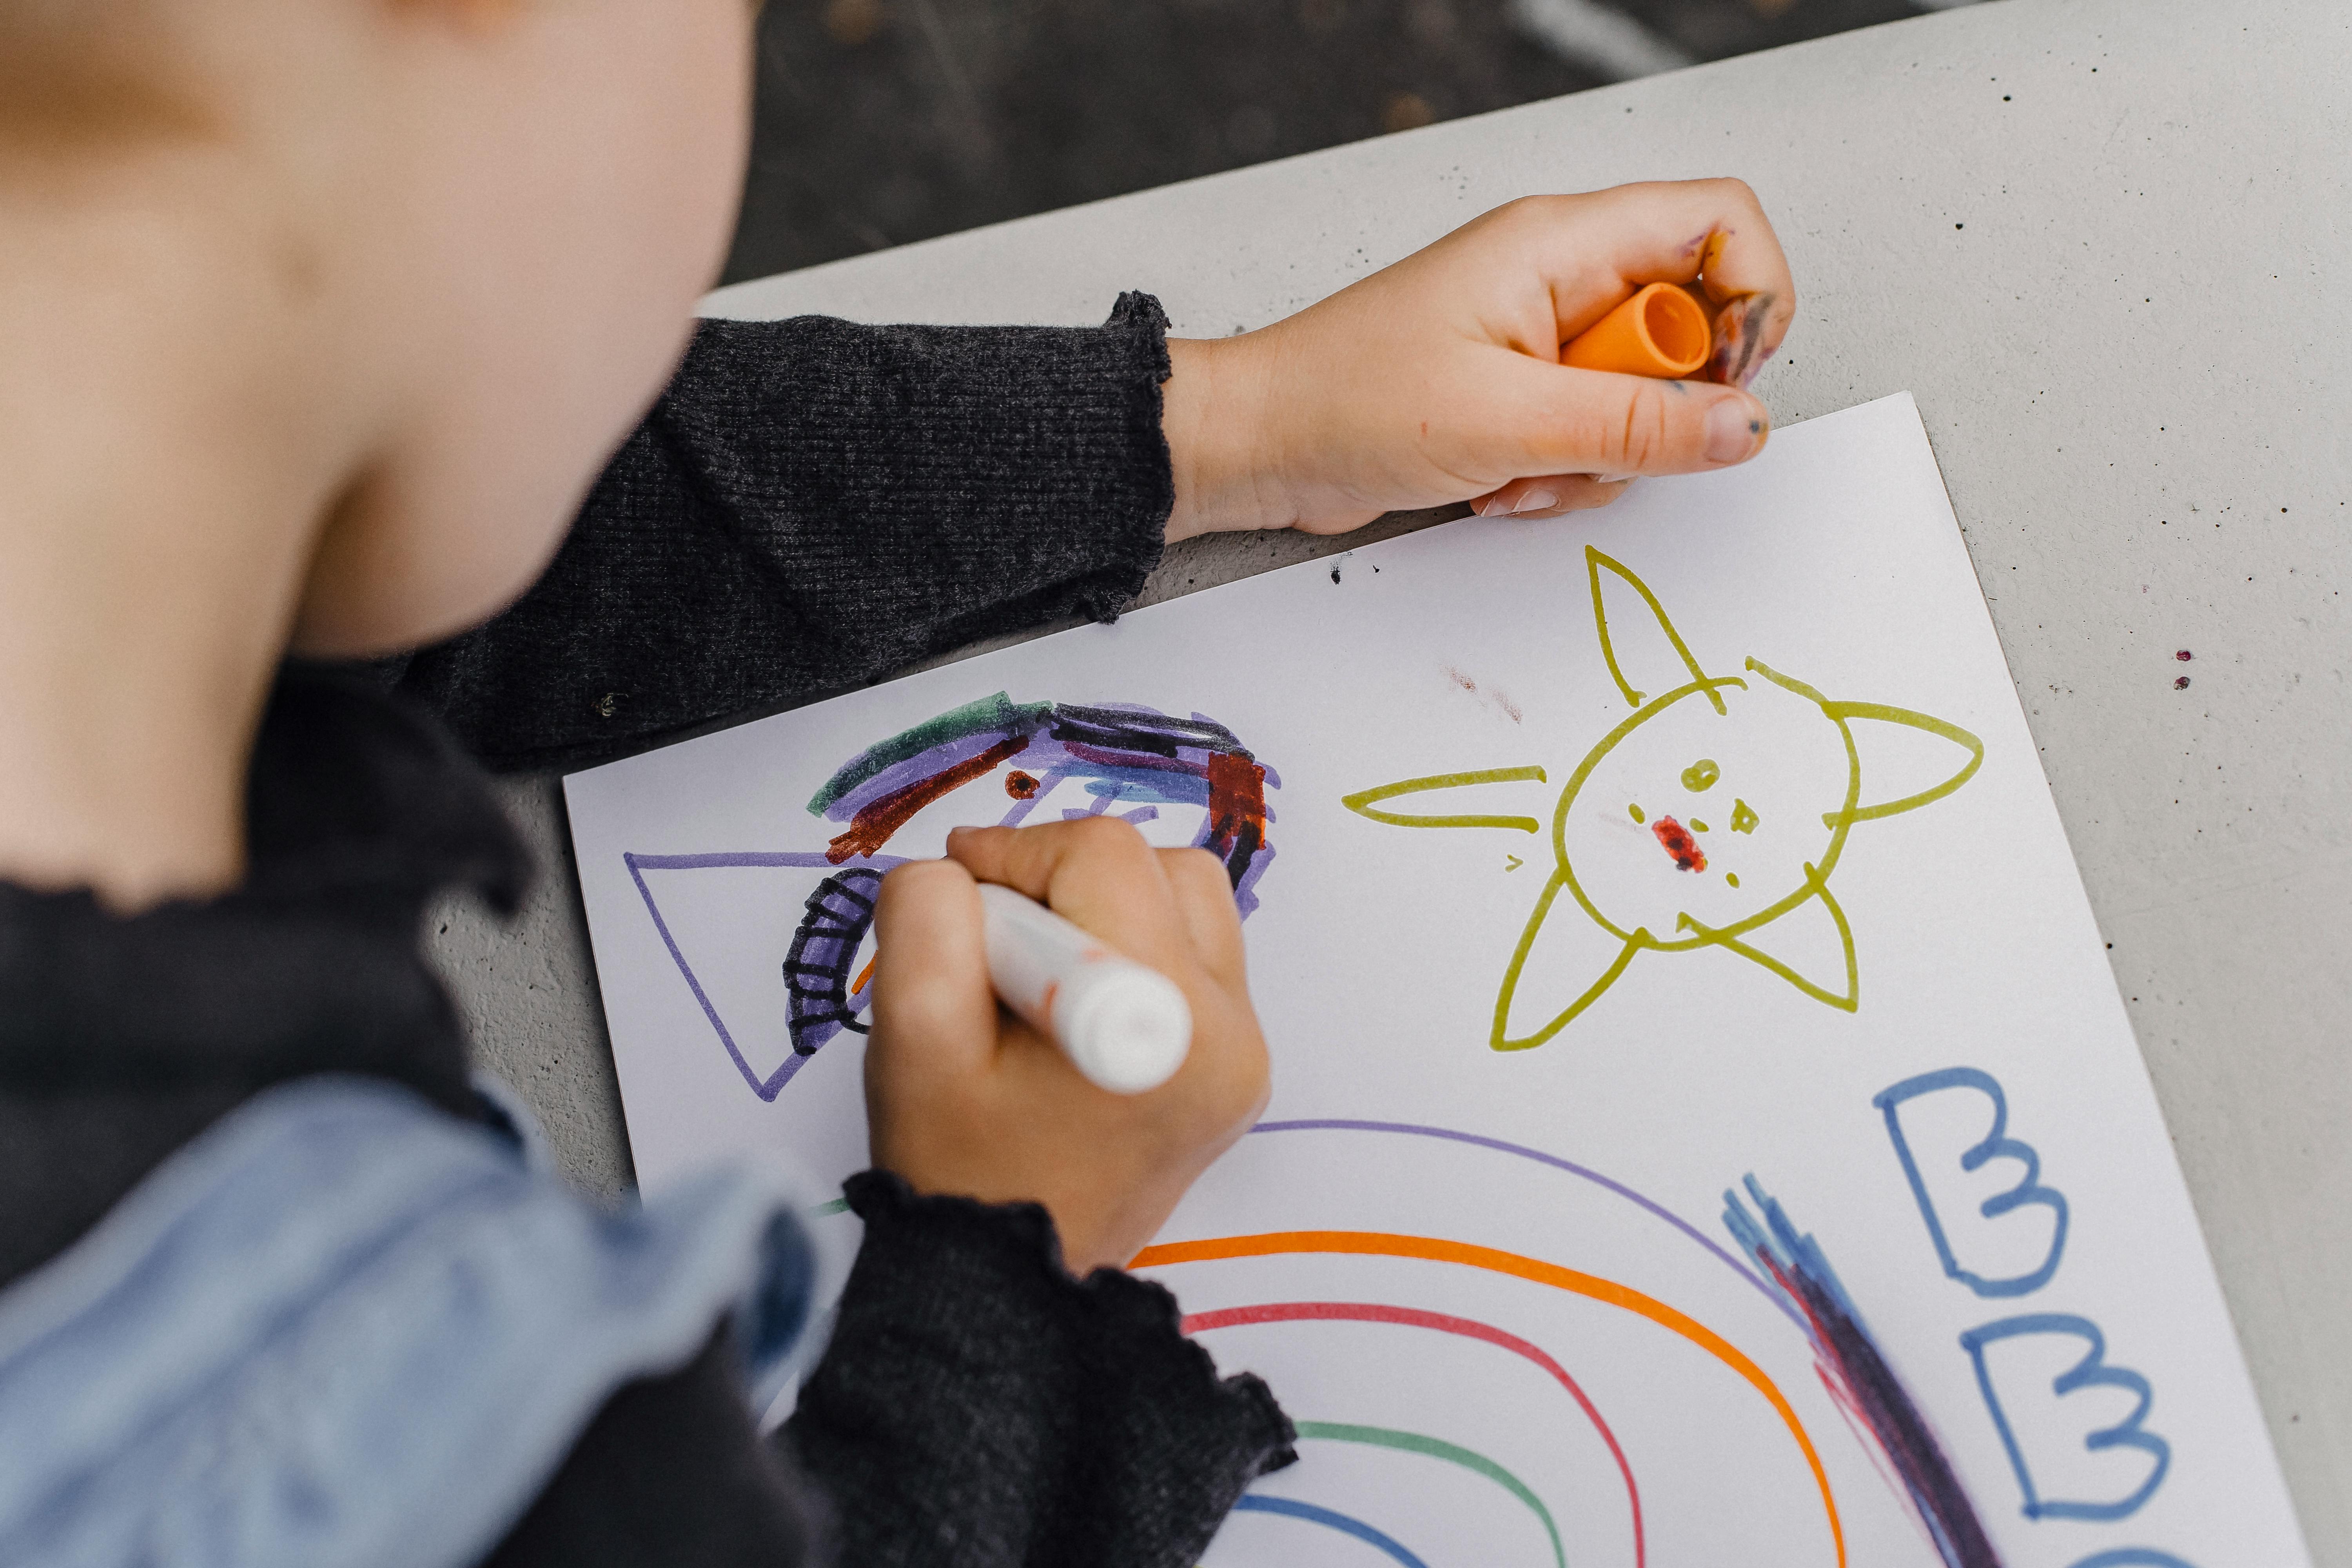
While the Rainbow Bubble Snakes Science Experiment is fun it is also educative. It will ignite your child's curiosity and creativity in the world of science. The hands-on experience of creating bubble snakes is a practical exploration of the scientific concept of surface tension and chemical reactions. Moreover, the color blending experiences deepen their understanding of primary and secondary colors.
Remember, science for kids isn't just about textbooks; it's about experiences, exploration, and sparking those little curious brains to ask 'why' and 'how'. And trust me, the Rainbow Bubble Snakes Science Experiment provides ample and exciting opportunities for these explorations.
No doubt, this rainbow project is a fantastically colorful science experiment that not only serves as a great addition to your DIY science archives but also introduces your children to basic scientific concepts in an exciting, memorable way.
As We Bid Farewell To Our Vibrant Kitchen Laboratories
Let's carry with us the jolts of energy, wide-eyed wonders, and bursts of colors from our Rainbow Bubble Snakes Science Experiment. Surely, this fun-filled learning endeavor shed a new, sparkling light on the mesmerizing world of science.
Science not just in Textbooks
It taught us and our little scientists that science isn't enclosed in textbooks but thrives in the throbbing heart of exploration, curiosity, and creativity. It's in each bubble we fashioned, in every excited inquiry we answered, and in each moment of awe as we watched a simple water bottle transform into a kaleidoscopic bubble snake.
Adventure of Science
So, the next time your kids are eager for a science adventure, remember our Rainbow Bubble Snakes. After all, there's a lot you can discover in a bottle full of bubbles and a world ready to be discovered! Keep exploring, keep questioning, and above all - keep fostering the magical blend of learning and fun.
You May Also Like These:
STEM Project: Water Cycle in a Bottle
Overview:
This fun and educational STEM project will help demonstrate the water cycle to children in a simple and easy to understand manner. By creating their very own water cycle in a bottle, children can see first-hand how evaporation, condensation and precipitation occur in nature.
Ingredients:
- A clear plastic container (preferably with a lid).
- Water.
- A small translucent plastic cup.
- Blue food coloring (optional).
- Permanent marker (optional).
Instructions:
- Fill the clear plastic container about one-third of the way with water.
- Add a few drops of blue food coloring to the water (optional step) and stir until the water is uniformly blue. This represents the bodies of water on Earth.
- Position the smaller plastic cup in the center of the bottom of the clear container. It should float on the surface of the water and remain unfilled. This cup represents the water vapor that rises into the atmosphere during evaporation.
- Cover the clear container with its lid (or with plastic wrap secured by a rubber band).
- Place the container in a sunny spot, or heat the bottom gently and slowly using a lamp, to start the evaporation process. Over time, you should see water condense on the inside of the container and the small cup should begin to fill up with water, demonstrating condensation and precipitation.
- You can use the marker to write on the sides of the container labeling the ocean, water vapor, and clouds to make the demonstration clearer.
STEM Project: Build a Simple Water Filtration System
In this fun, educational STEM project, we will be making a simple water filtration system. This will help your child understand the concept of water purification and relate it to real-world scenarios.
Ingredients
- 1 Two-liter plastic bottle
- Cotton balls
- Activated charcoal (can be found at pet stores)
- Fine sand
- Coarse sand
- Gravel
- Dirty Water (you can make this by adding soil to water)
Instructions
- Cut the Bottom of the Bottle: Carefully cut the bottom of your two-liter plastic bottle. This will be the top of your filtration system.
- Add Cotton Balls: Place a layer of cotton balls on the bottom of the bottle.
- Add Activated Charcoal: Over the cotton, add a thick layer of activated charcoal. This layer will help to remove contaminants and impurities from the water.
- Add Fine Sand: Add a layer of fine sand on top of the charcoal.
- Add Coarse Sand: Over the fine sand, add a layer of coarse sand.
- Add Gravel: Finally, add a layer of gravel on top.
- Filter the Dirty Water: Pour the dirty water into the filter and let it drain into a container. This clean water is the result of your filtration system.
- Note: It's important to remember that while this filtration system removes visible contaminants, it does not make the water safe to drink. This exercise is purely for education.
Water STEM Projects For Kids
1. DIY Water Filter
Ingredients:
- Empty plastic bottle
- Sand
- Small stones or pebbles
- Cotton balls
- Dirty water
Instructions:
- Cut the bottom off your plastic bottle
- Place a few cotton balls inside the neck of the bottle
- Add a layer of sand on top of the cotton balls
- Add a layer of small stones or pebbles
- Slowly pour the dirty water into the bottle and allow it to filter through
- Watch as the clear water comes out the neck of the bottle!
2. Make Your Own Rain Gauge
Ingredients:
- Empty transparent container (e.g., a mason jar)
- Ruler
- Waterproof marker
- Stones
Instructions:
- Position the ruler inside your container and mark off the inches (or centimeters) with your waterproof marker
- Add some stones to the bottom of your container to weigh it down and prevent tipping
- Position your container outside where it can easily collect rain
- Monitor the rainfall by checking your rain gauge
These simple, fun and educational water STEM projects will keep your kids busy and learning about the importance of water in our world!
STEM Project: Vegetable Oil & Blue Food Coloring Experiment
Ingredients:
- Vegetable Oil
- Blue Food Coloring
- Clear Glass
- Water
Instructions:
- Fill the clear glass half full with water.
- Add a few drops of blue food colouring to the water and mix until the water turns blue.
- Pour vegetable oil into the glass until it is nearly full. Be sure not to mix the oil and water.
- Observe the separation of the oil and coloured water. Note how the oil floats on top of the water.
- Discuss the scientific principles behind this experiment with your child. Why doesn't oil mix with water? What is creating the separate layers? Etc.
Expanding on the theme: Comparing this experiment with the bubble snake experiment:
Like the bubble snake experiment, this project also involves using soap and water. However, instead of producing a physical reaction (bubbles), this experiment allows you to visually explore the non-mixing properties of oil and water. Discuss how both projects revolve around the interaction of different liquids, and how adding soap can create unique reactions. This provides a hands-on approach to learning about density, molecular structure, and the science of surfactants.
DIY Robotic Hand: An Engaging STEM Project
This amazing DIY Robotic Hand project is perfect for your little scientist this rainy April season. It is a fun-filled, engaging, and educational project that showcases the wonders of robotics and engineering. Let's dive in!
Materials Needed:
- 5 Straws
- String
- Cardstock or Any Thick Cardboard
- Scissors
- Tape
Procedure:
STEP 1: Prepare the Straws
Cut each straw into four equal sections. These will act as the joints for the fingers of your robotic hand.
STEP 2: Create Finger Bones
Cut the cardstock into long, finger-like shapes. You should have at least 5 for each hand.
STEP 3: Attach the Straw Joints to the Cardstock Fingers
Glue or tape the cut straw pieces onto each cardstock finger at joints just like a human hand.
STEP 4: Thread the String
Take a piece of string and thread it through the straws on each finger. Make sure one end of the string is at the top of the finger and has room to move freely. This will act as the tendons of your robotic hand.
STEP 5: Create Hand Base
Cut out a piece of cardstock for the palm of the hand. Attach the bottom of the fingers to the palm with tape or glue.
STEP 6: Finalize the Robotic Hand
Finally, tape or glue down the other end of the string onto the base of the hand. Make sure to leave enough slack so that tugging on the string causes the fingers to curl, just like a real hand!
And there you have it! Your very own DIY Robotic hand. Enjoy showing off your engineering project, and keep exploring the fun world of STEM!


