


As an affiliate, I earn from qualifying purchases, but this doesn't affect the reviews or recommendations—your trust is important to me!
DIY Projects: Tie-Dye Tees, Homemade Pizza and Fun Experiments

Today, We're Making:
- - DIY Tie-Dye T-shirts
- - Oobleck Non-Newtonian Fluid Experiment
- - Homemade Pizza Recipe
- - Hide and Seek in the Dark Game
- - DIY Time Capsules Craft using recycled materials
- - Solar System Modelling STEM Project
- - Healthy Smoothie Bowl Recipe
- - Build your own Cardboard Box Arcade Game
- - Origami Bookmark Making Activity
Picture this: A Saturday Afternoon Full of DIY Fun!
Creativity buzzing in the air, and a cluster of DIY projects ready to capture your heart and hands.
From Crafting to Cooking: Dive Into Adventure!
From mastering the mesmeric whirls of DIY tie-dye t-shirts, savoring the savory escapade of homemade pizzas, to diving headfirst into quirky, at-home science experiments, today is all about embracing the pure joy of creating.
The Promises of DIY Adventures
These DIY ventures not only promise a bundle of fun and learning but also tickle your taste buds, ignite your imagination, and stir up your scientific curiosity.
Let's Start the Fun!
Let's set the ball rolling with the vibrant tie-dye techniques, segue into the gastronomical delight of your very own pizza cooked from scratch, and finally, round up the day with an eccentric Oobleck Non-Newtonian Fluid Experiment.
Are You Ready?
So, are you ready to roll up your sleeves and dive into a world of DIY fun?
Ignite the color with DIY Tie-Dye T-Shirts
First on the agenda: creating your own captivating swirls, streaks, and blooms with the art of DIY tie-dye. Tie-dye may seem a puzzle at first, but once you master a few simple tie-dye techniques, crafting vibrant DIY tie-dye t-shirts becomes a breeze. Begin by choosing a white shirt—cotton is best—and prewash it to remove any impurities. Secure your chosen design using rubber bands and get ready to unleash your creativity.
- Step 1: Soak the shirt in water and wring out the excess.
- Step 2: Apply the dye according to your design using squeeze bottles.
- Step 3: Let the shirt sit for 6-8 hours.
- Step 4: Rinse the shirt until the water runs clear, and then put it through a regular wash and dry cycle.
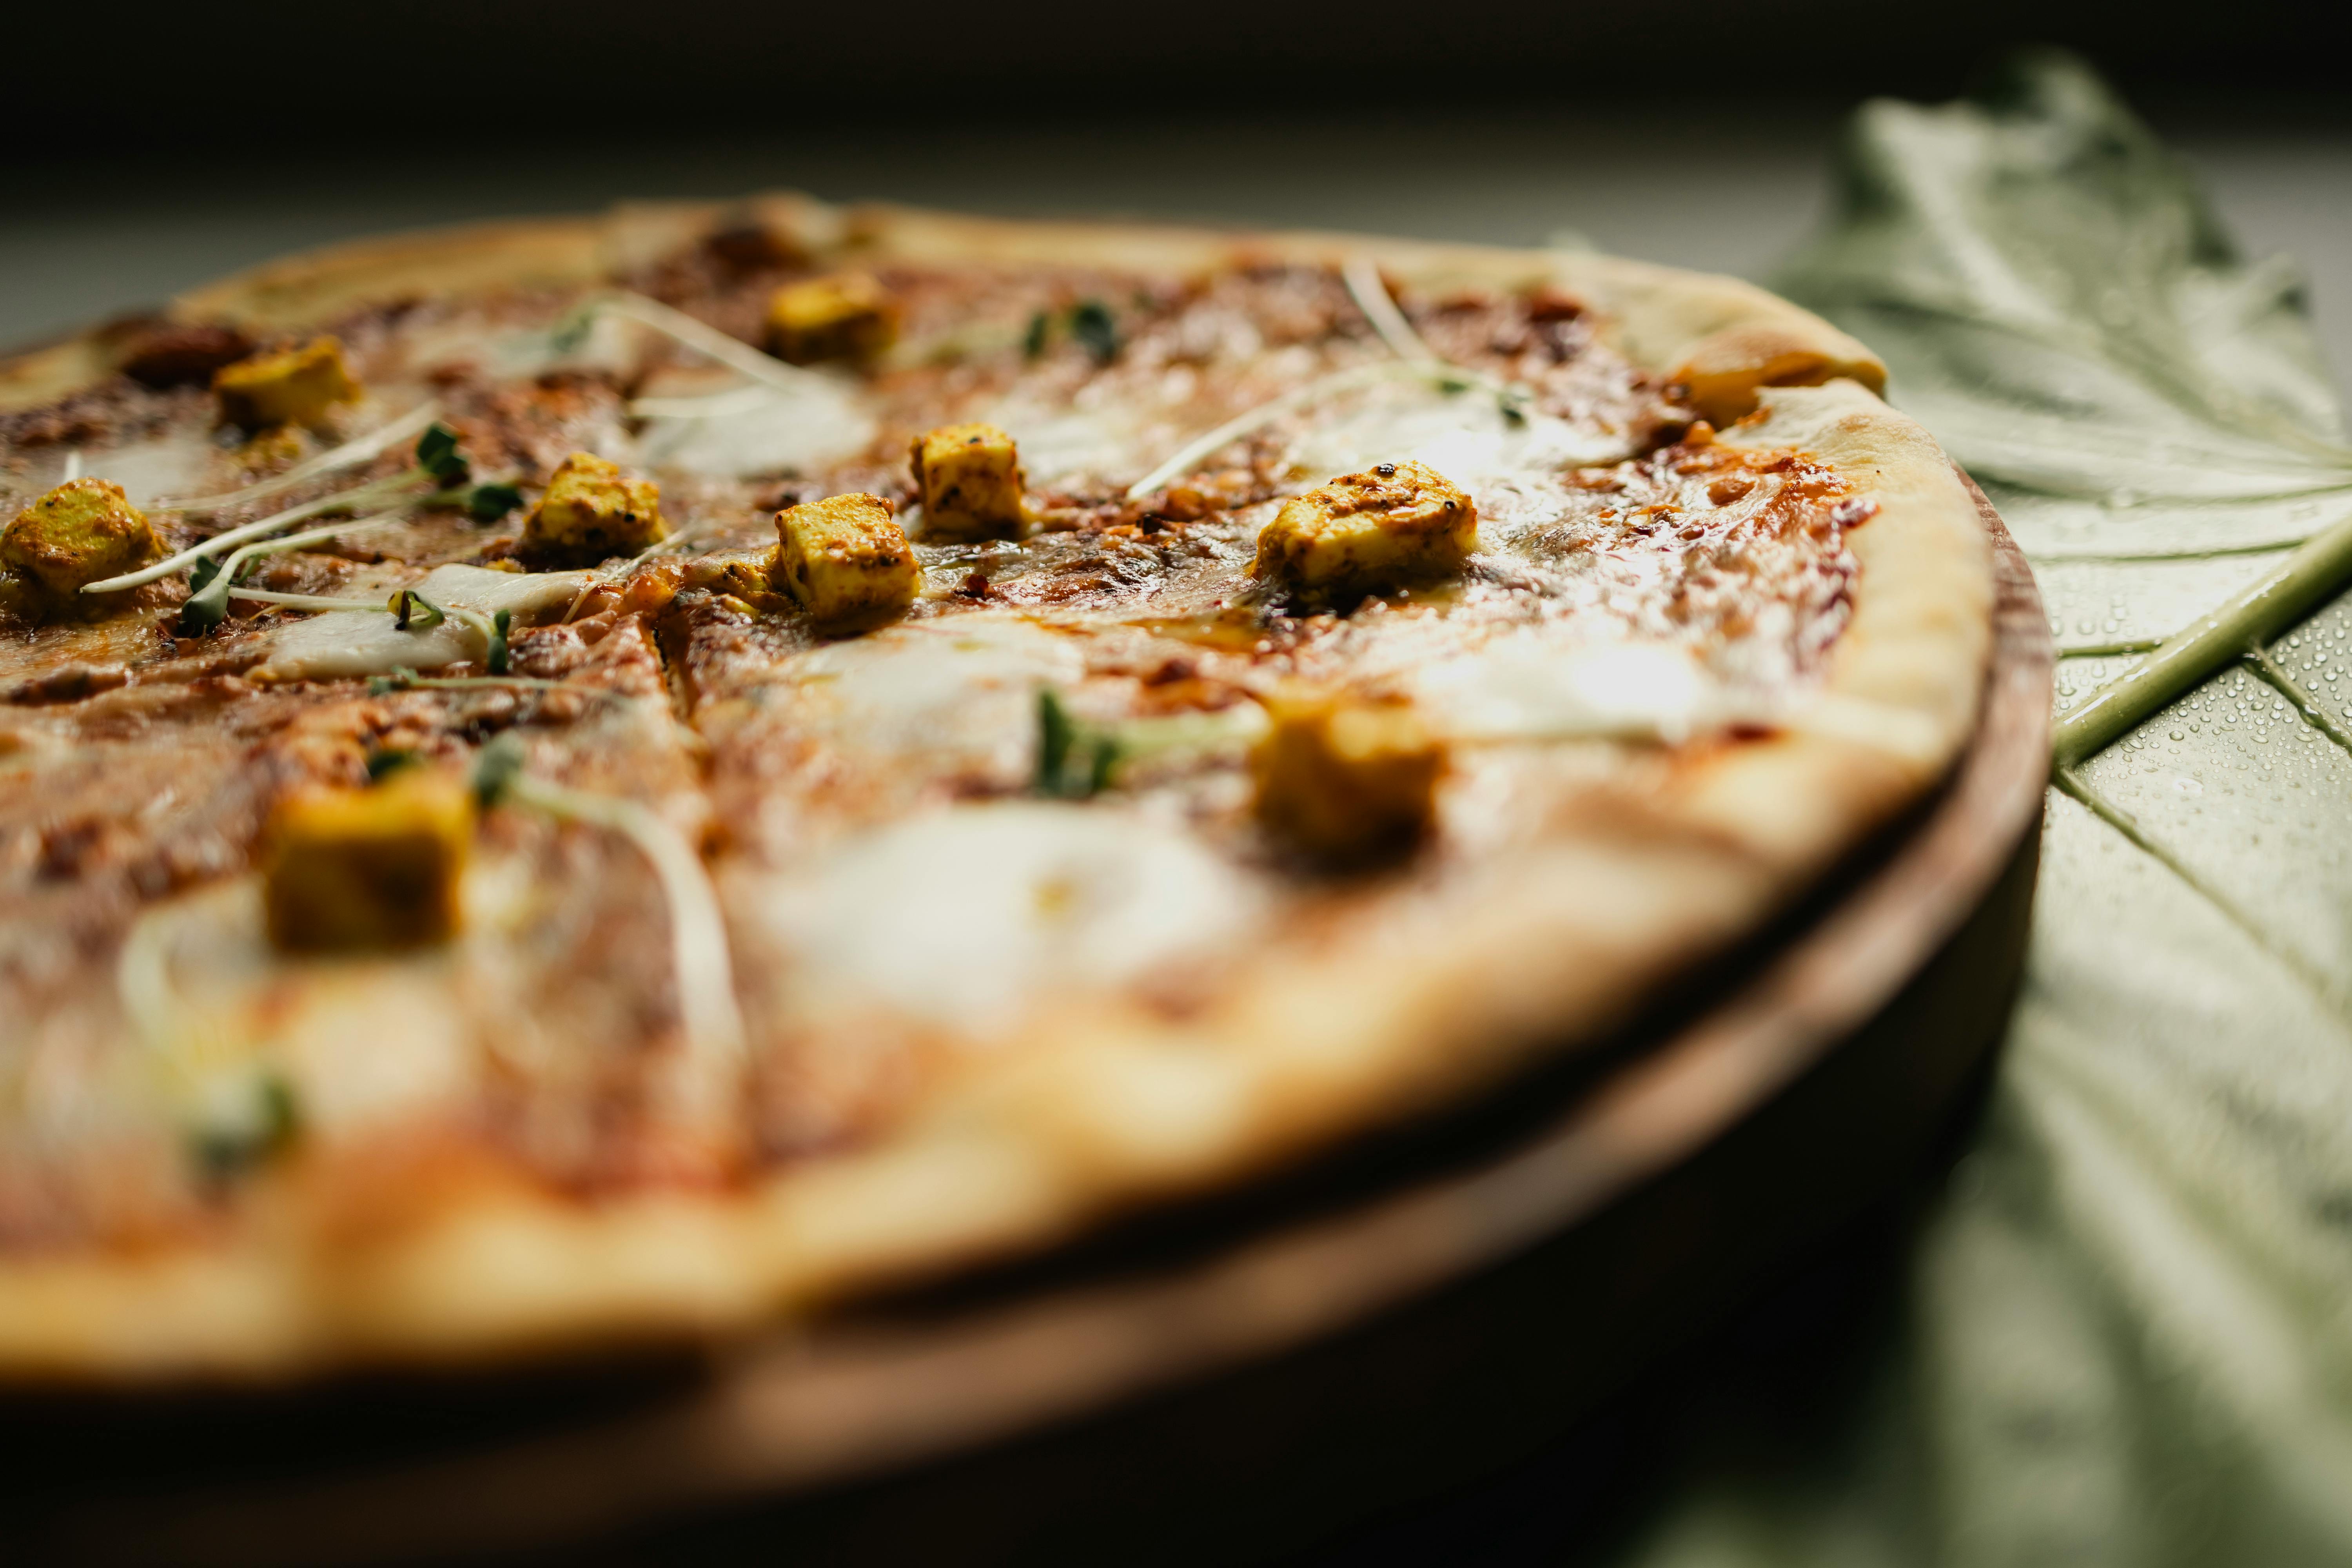
Embark on a Gastronomical Adventure with Homemade Pizza Recipes
Next up, we shift from tie-dye to our taste buds. Imagine the aroma of bubbling cheese wafting through your kitchen as you prepare an easy homemade pizza from scratch. The beauty of making your own pizza lies in the versatility—you are in control of everything, from the crust to the toppings.
Before you start, preheat your oven to its highest temperature—usually around 475-500 degrees Fahrenheit. Prepare your homemade pizza dough recipe and let it rise. Dust your kitchen counter with flour, and roll out the dough to form a base. Once that's done, slather on your favorite sauce and pile on the cheese and toppings. A generous sprinkle of mozzarella and a hearty selection of vegetables, meats, or fresh herbs can elevate your pizza to a new gastronomic level.
Play Scientist with the Oobleck Non-Newtonian Fluid Experiment
After satiating ourselves with a delicious slice of DIY pizza, how about we foray into some hands-on science experiments at home? Let's dive into the wonders of non-Newtonian fluids with the infamous Oobleck experiment.
This quirky, at-home science experiment needs just two ingredients - cornstarch and water. It's simple, safe, and loads of fun. As you mix and knead it, Oobleck behaves in an unexpected manner – it’s solid under sudden forces and fluid under slow, gentle forces! Exploring this fundamental property of matter serves as both an education and entertainment exercise. Let's dive into it:
- Step 1: Combine 2 cups of cornstarch and 1 cup of water in a bowl.
- Step 2: Mix thoroughly until the mixture becomes tough to stir.
- Step 3: Scoop up the fluid. Apply pressure—it feels solid! Stop the pressure—it runs through your fingers!
In wrapping up, today's journey of DIY adventures
Evokes the magic of creativity, from spawning vibrant tie-dye tees, becoming personal master chefs with delicious homemade pizzas, to probing the eccentricity of science with the Oobleck experiment. It's been a day filled with the joy of creating, learning, and exploring new realms within our very own homes. So let's keep this creative spark burning.
Let's continue concocting, creating, experimenting, and discovering.
Because, at the end of the day, it's all about having fun, isn't it? So here's to more thrilling DIY journeys, delectable culinary experiments, and fascinating scientific ventures. Let's keep exploring, innovating, and above all, let's keep creating.

You May Also Like These:
DIY Time Capsules Craft Using Recycled Materials
Ingredients (Materials Needed):
- Any kind of recycled container: This could be a discarded coffee can, an old shoebox, or even a large plastic water bottle.
- Color papers: For decorating the container.
- Glue: To stick the color papers onto the container.
- Scissors: For cutting out design shapes.
- Permanent markers: To write or draw on the container.
- Various personal items: These could include drawings, photographs, toys, a written note or diary, etc. The idea is to fill the capsule with objects that mean something to you.
- Tape or lid: To seal the capsule.
Instructions:
- Prepare Your Container: Ensure your container is clean and dry. Measure the container size and cut the color papers accordingly. Stick these papers onto the container with glue to decorate it.
- Personalize Your Capsule: With the permanent markers, you can further personalize the container. You can write your name, the current date, a few of your favorite things, or even draw pictures on it.
- Fill Your Capsule: Choose personal items that you want to include in your time capsule. It could reflect who you are as a person, or a snapshot of this point in time.
- Seal Your Capsule: Once you have filled your capsule with your personal items, it's time to seal it. You can do so with a lid or with tape. Remember, the idea of a time capsule is not to open it for a long time.
- Hide your Capsule: The fun of a time capsule is in hiding it and rediscovering it years later. It could be in your backyard or under your bed - the ultimate choice is up to you.
Healthy Smoothie Bowl Recipe
Ingredients
- 1 ripe avocado
- 1 ripe banana
- 1 cup of fresh spinach
- 1/2 cup of almond milk (or any other dairy free milk)
- 1/2 cup of mixed berries (fresh or frozen)
- 2 tablespoons of honey or maple syrup
- Toppings: sliced bananas, granola, chia seeds, coconut flakes, berry fruits etc.
Instructions
- Prepare all the ingredients.
- In a blender, combine the avocado, banana, spinach, almond milk, mixed berries, and honey.
- Blend until smooth. If the mixture is too thick, add a little more milk.
- Once the mixture is smooth and creamy, pour it into a bowl.
- Add your desired toppings to the smoothie bowl.
- Serve immediately and enjoy your healthy smoothie bowl.
Healthy Smoothie Bowl Recipe
Ingredients:
- 1 frozen banana
- 1/2 cup frozen mixed berries
- 1/2 cup unsweetened almond milk
- 1 tablespoon chia seeds
- 1 tablespoon honey
- Fresh berries
- Granola
- Chia seeds
- Sliced almonds
For Toppings:
Instructions:
- In a blender, combine the frozen banana, frozen berries, almond milk, chia seeds, and honey.
- Blend until smooth and creamy, adding more almond milk if necessary to reach a thick, ice cream-like consistency.
- Pour the smoothie into a bowl.
- Top with fresh berries, granola, additional chia seeds, and sliced almonds.
- Enjoy your healthy smoothie bowl immediately for the best taste and texture.
Build Your Own Cardboard Box Arcade Game
This fun and engaging STEM project is ideal for kids who love to create and play. Not only will they learn the basics of construction but they will also get the opportunity to design their very own arcade game.
Materials Needed:
- Cardboard boxes (large)
- Scissors
- Paints
- Markers
- Hot glue gun (adult operation only)
- Tape measure
- Tape
- Small rubber ball or ping pong ball
Instructions:
Step 1: Design Your Game
With a marker, sketch out your game design on the cardboard box. This could include target holes, ramps, or tunnels.
Step 2: Cut Out the Design
Using the scissors, cut out your design. Remember, adult supervision is needed during this step as it involves sharp tools.
Step 3: Paint the Box
Once the design is cut, start painting the box. It's time to bring your creation to life with colors.
Step 4: Add the Details
With the markers, add details to your game. You can write the points each target is worth or add other decorative elements.
Step 5: Assemble the Box
If your design includes ramps or tunnels, use a hot glue gun to secure them to the box. Remember, this step requires adult supervision.
Step 6: Let’s Play!
Now that your arcade game is complete, grab the rubber ball or ping pong ball and start playing.
Origami Bookmark Making
A fun and easy paper craft project for kids and parents. Make your own adorable corner bookmarks and never lose your page again!
Ingredients
- Sheets of Colourful Origami Paper
- Markers or Crayons (Optional)
- Scissors
- Glue Stick (Optional)
Instructions
- Step 1: Start with a square piece of origami paper. If you don’t have origami paper, any square piece of paper will work.
- Step 2: Fold the paper in half forming a triangle. Make sure all the edges meet each other.
- Step 3: Now fold the paper again in half forming a smaller triangle.
- Step 4: Unfold the paper back to the larger triangle. You should now see a line in the middle. This serves as a guideline for the next steps.
- Step 5: Take the right corner and fold it over to the left corner.
- Step 6: Do the same with the left corner. Take it and fold it over to the right corner. You should now have a diamond shape.
- Step 7: Now take the top layers of the right and left corners and fold them back towards the top corner.
- Step 8: Finally, take the top layer at the bottom of the diamond and fold it up to cover the folds you just made. This creates a pocket which serves as the bookmark corner.
- Step 9: You can add faces, decorations or designs on top of your bookmark using markers or crayons(Optional).
That's it! Now you have your very own handmade Origami Bookmark. Have fun and happy reading!