


As an affiliate, I earn from qualifying purchases, but this doesn't affect the reviews or recommendations—your trust is important to me!
Creating Your Own Bottle Rocket Experiment at Home Safely


Today, We're Making:
- DIY Bottle Rocket Experiment
- Solar System Model: This is a DIY project where kids can create a scale model of the solar system. They can use balls of different sizes to represent the various planets and paint them according to the actual color of the planets. To create a sense of the vast distances,parents and kids can mark the distances on a long strip of paper or string. Children will learn about the solar system and its various elements by doing this project.
- Homemade Thermometer: This project involves making a DIY thermometer using a bottle,straw,water,and rubbing alcohol. Children can understand how a thermometer works and the principle behind it. The project would allow kids to connect the science behind the rocket experiment's temperature influences to a practical application in their daily life.
- Phases of the Moon Calendar: Using a simple sheet of poster board.
Have you ever dreamt of igniting the flames of curiosity that rocketed human beings to the moon right within your own backyard?
Ever wondered how you can safely launch a homemade DIY Bottle Rocket Experiment and make science fun at home? Strapping on your scientist's goggles need not mean jeopardizing safety. With the right guidance and a dash of caution, even rocket science can become a thrilling, hands-on learning experience.
Today, we are going to help you turn your outdoor space into a launch pad.
Aspiring astronauts and engineers, ready for take-off? This blog post is all about Constructing Rockets safely - a perfect blend of adrenaline-pumping excitement and educational DIY projects. Buckle up, the countdown to your very own Space Age begins now!
Gather Your Rocket Materials
Forget about a trip to the moon, your DIY Bottle Rocket Experiment begins with a small journey to your own utility room. Start by rummaging around for a 2-liter soda bottle, which forms the body of your homemade rocket. As part of this fascinating science project, everyday household items transform into the building blocks of your space adventure, turning the mundane into the mind-boggling. From duct tape to paper towels and a bike pump, you'll find everything you need to create a safe home experiment right there at home. Who knew rocket construction could be this accessible and fun?
Phase 1: Making a Bottle Rocket
Making a bottle rocket is as easy as a spacewalk when you break it down into simple steps. The first - and by far the most exciting - is creating the pressure chamber within your soda bottle. Here’s how:
- First, fill one-third of the bottle with water.
- Next, the paper towels come handy to create a delicate, tiny parachute for your rocket, transforming this simple DIY into an interactive, educational home project.
Remember: every step in constructing rockets is a chance to stimulate young, curious minds about the science of momentum, forces, and gravity. So, take your time and enjoy piecing together your very own spacecraft.
Phase 2: Rocket Take-Off Prep!
The preparatory stage plays a crucial role in the success of your DIY Bottle Rocket Experiment. Before we get on with the launching, let's focus on ensuring that our DIY rocket and our outdoor area are primed for takeoff. The key to safe bottle rocket fun lies in careful planning.
- First, secure your rocket using tape to your bike pump - the propulsion system that will send you hurtling towards the stars!
- Next, make sure your launch site is clear. A wide, open space free from obstructions is ideal for guaranteeing bottle rocket safety.
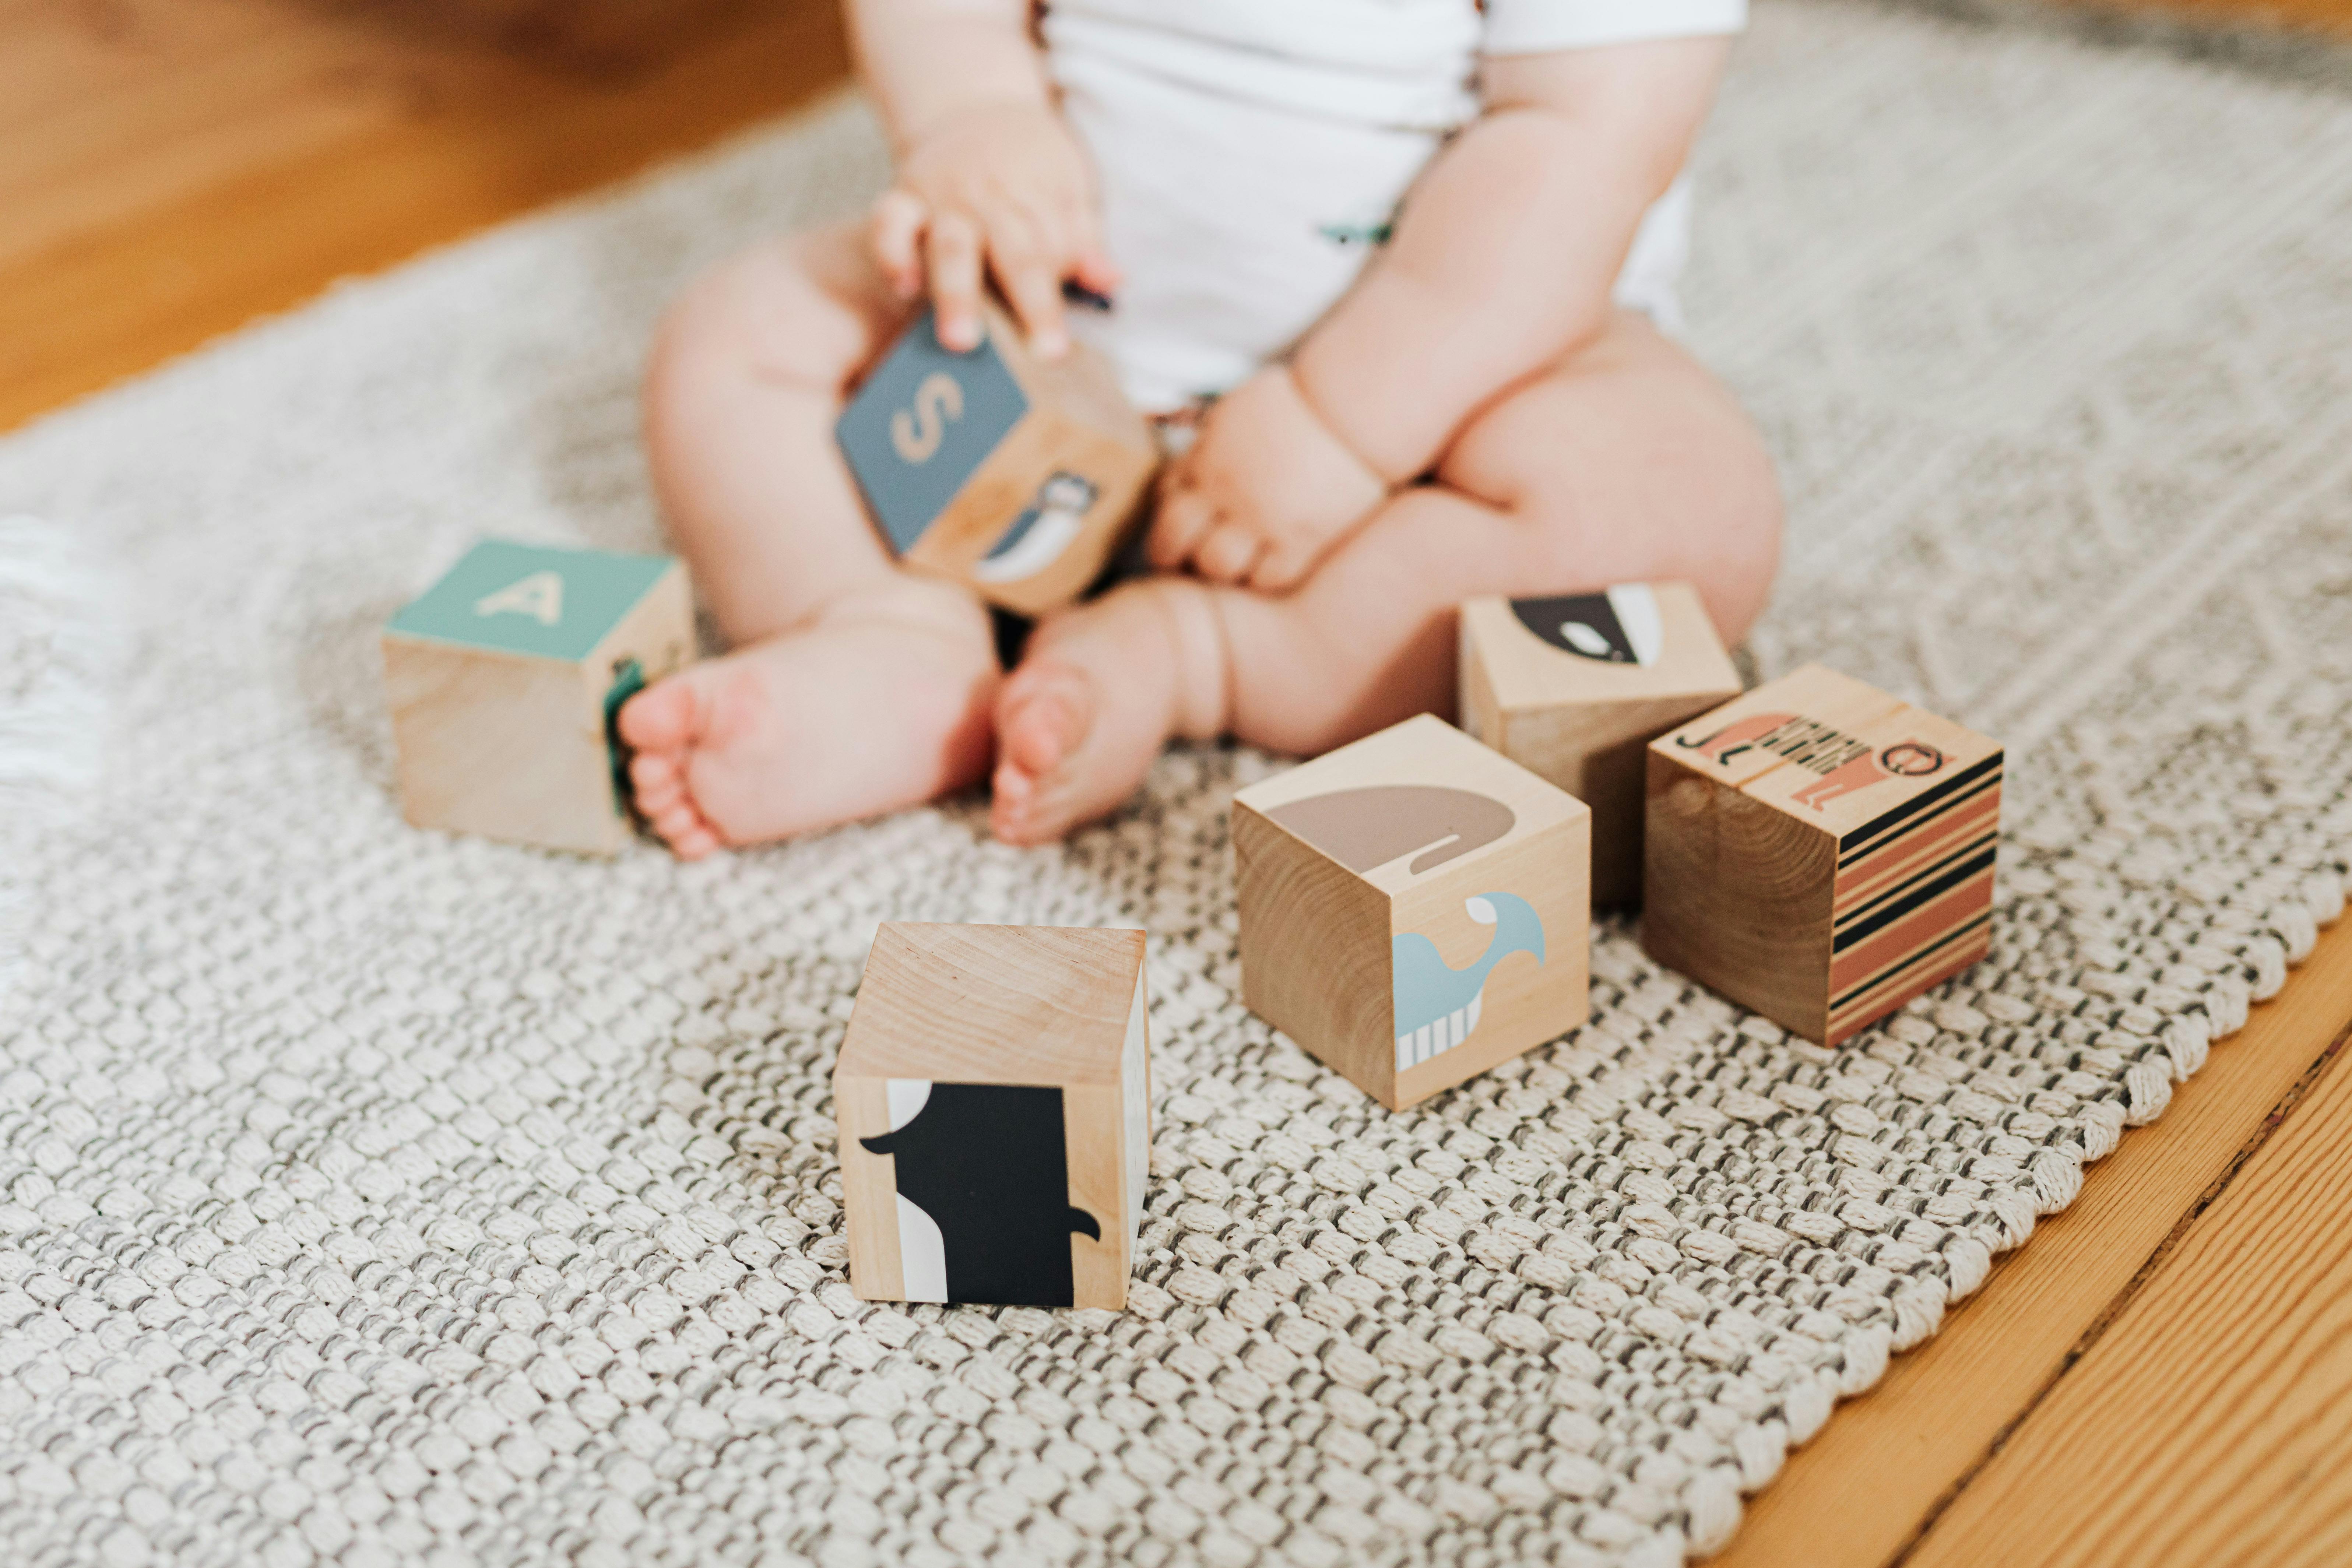
Wholehearted participation in every phase becomes a stepping stone to learn rocket science basics. And the best part – you're not bound by the classroom. These Science Experiments at Home make STEM learning a fun-filled family event.
Launch and Learn: Bottle Rockets for Kids
With your set-up complete, it's time for the grand finale of your DIY Science Projects. When you apply pressure using the bike pump, the water propels the rocket skywards. Remember, your DIY bottle rocket experiment is more than just an entertaining visual display. As the rocket thrusts upwards, talk to your kids about the principles of action and reaction according to Newton's Third Law. There's nothing like a real-life example to bring a scientific concept to life.
By making a bottle rocket, kids get hands-on learning experience and learn rocket science in an easy, enjoyable manner right at home. It's not just about science, it's about fostering curiosity, learning to follow instructions, and understanding safety measures.
And there you have it!
You've launched not only a bottle rocket, but also an exciting and engaging learning adventure in your own backyard. You've turned everyday items into a formula for fun and transformed the familiar into the fantastic, all while sparking a light of curiosity. With every homemade venture towards the stars, you've opened up a universe of possibilities for the astronauts of tomorrow.
Remember, this experiment is more than just play; it's an eye-opening encounter with the wonders of science, a hands-on learning experience, and a testament to the fact that with the right steps, not even the sky's the limit! So dream on, keep exploring, and always stay curious - your very own Space Age has just begun.
You May Also Like These:
Solar System Model STEM Project
Project Overview: With this DIY project, children will create a scale model of the solar system using craft materials. Kids can paint balls of different sizes to represent the planets, which helps to visually convey the vast distances within the solar system.
Ingredients:
- 9 Balls of different sizes (foam or polystyrene work well)
- Acrylic paints in various colors
- Paint brushes
- 1 Long piece of string, twine or yarn
- Glue
- Ruler or tape measure
- Scissors
Instructions:
- Gather your materials: Begin by ensuring you have all the necessary supplies listed in the 'Ingredients' list.
- Identify the planets: Begin with the smallest ball as Mercury and progress up in size following the order of the planets in our solar system (Mercury, Venus, Earth, Mars, Jupiter, Saturn, Uranus, Neptune).
- Paint the planets: Using the acrylic paint, color each ball to reflect the actual color of the planets. This is where your creativity can shine through! Remember, it doesn't have to be perfect, it's just a representation.
- Allow the paint to dry: Set the balls aside to allow them to dry completely. This could take an hour or two.
- Assemble the solar system model: Once the paint is completely dry, use the piece of string and your ruler to space out where each planet will be positioned. The spacing doesn't have to be to scale but try to demonstrate that the outer planets are much farther apart than the inner planets.
- Position the planets: Use glue to adhere each planet to the designated place on the string. Let the glue dry completely before moving or hanging your solar system.
- Display your model: Find the perfect place in your home to hang your solar system model where you can appreciate the beauty and vastness of our planetary neighbors.
Straw STEM Project Instructions
Materials:
- Drinking Straws: You will need at least 20 straws. These will form the basic structure of your project.
- String: To connect the straws together.
- Scissors: To cut the straws and the string.
- Ruler or measuring tape: To ensure equal lengths of straws and string.
- Tape: To secure ends.
Instructions:
- Prepare your Materials: Gather all the materials needed for this project. Choose a workspace that is clean and flat.
- Measure and Cut: Using your ruler or measuring tape, measure and cut your straws and string. For a basic structure, depending on the size, you could cut the straws into 2 to 4-inch pieces and the string into 20 inches.
- Thread the String: Begin threading a straw piece onto the string. Continue threading until you have enough straw pieces on the string to create the shape you desire.
- Create the Shape: Bend the string and straws into your desired shape and use tape to secure the ends of the string. You might want to start with a simple shape like a square or triangle.
- Build your Structure: Continue the steps above to create more shapes and begin building your structure. You can create a 2D or 3D structure based on your preferences and the complexity you want.
- Complete: You are done when you are pleased with your structure. Remember, the goal of this project is to expand your understanding of STEM concepts and to have fun!
STEM Project: Building a Straw Tower
Objective:
Your children will be challenged to create the tallest possible tower using only straws and tape. This project helps kids understand basic principles of engineering, physics and materials science.
Ingredients:
- 50 Drinking Straws: These will serve as the primary material for the tower.
- Scotch Tape: This will be used to connect the straws.
- Ruler or Measuring Tape: To measure the height of the tower.
Instructions:
Step 1: Plan Your Tower
Before you begin construction, it's important to sketch out your tower and plan how you want it to look. Consider the shape, height, and stability of your tower.
Step 2: Begin Construction
Start by connecting two straws together by overlapping the ends and securing them with tape. Repeat this process until you have a base for your tower.
Step 3: Build Upward
Begin extending your tower upward by adding more straws to your base. Remember to keep your tower balanced, as a lopsided tower may fall over.
Step 4: Evaluate and Adjust
Continually evaluate your tower as it grows taller. If you notice it starting to lean or wobble, adjust your design accordingly.
Step 5: Cap Your Tower
Once your tower has reached a height you're happy with, top it off by securing the last straw with a bit of tape. Measure the final height of your tower with a ruler or measuring tape.
Tips:
- Encourage creativity and problem-solving. There is no right or wrong way to build the tower.
- The taller the tower, the more difficult it will be to maintain stability. Challenge your kids to find solutions to this problem.
STEM Project: Creating Water Cycle in a Bag
Ingredients:
- 1 Ziploc baggie (gallon sized)
- A Sharpie permanent marker
- Blue food coloring
- Water
- Tape
Instructions:
- Sketch and Label: Use a Sharpie marker to draw the water cycle diagram on the baggie. Label each stage on the diagram with ‘evaporation’, ‘condensation’, and ‘precipitation’.
- Prepare Mixture: Fill a cup with water and add a few drops of blue food coloring. Mix it well.
- Fill the Baggie: Pour the blue water into the baggie until it is about 1/3rd full.
- Seal and Secure: Carefully seal the baggie making sure that there is no leakage. For extra measure, you may secure the opening with a tape.
- Place the Baggie: Tape the baggie high on a window where there is plenty of sun. The heat from the sun will activate the water cycle.
- Observe: Encourage your kids to observe the baggie each day. They will notice that the heat from the sun causes the water to evaporate and condense on the top of the baggie. The condensation then forms droplets that ‘rain’ back into the water body below, thereby demonstrating the ‘precipitation’ stage of the water cycle.
Moon Phase Calendar Project
This is a wonderful STEM project that will allow children to understand and track the phases of the moon in a practical, hands-on manner.
Materials Needed:
- Poster board
- Printouts of the moon phases
- Glue or adhesive
- Markers or pencils
- Scissors
Instructions:
Step 1: Prepare the Materials
- Collect all required materials listed above.
Step 2: Print Out Pictures of Moon Phases
- Print out pictures of all eight primary phases of the moon. Make sure the images are small enough to fit on your poster board.
Step 3: Cut Out the Images
- Carefully cut out the moon phase images using the scissors.
Step 4: Layout the Poster
- Using a pencil or marker, draw eight equally spaced spots on the poster board for each phase of the moon. Write the name of each moon phase below its designated space.
Step 5: Glue the Images
- Glue each moon phase image onto the spot corresponding to its name with the adhesive. Ensure each image is securely attached to the poster board.
Step 6: Note Daily Moon Phases
- Each day, observe the moon and mark the corresponding phase on your calendar. This will help children understand the moon's progression through its phases over the course of a month.
Completion
- Congratulations! You and your child have now completed the Moon Phase Calendar project.


