


As an affiliate, I earn from qualifying purchases, but this doesn't affect the reviews or recommendations—your trust is important to me!
Creating Your Own DIY Soap Making Kit Experiment Guide

Today, We're Making:
- - DIY Soap Making Kit Experiment,
- - Galaxy-Inspired Bath Bombs: Using the soap-making kit,with the addition of a few natural colorants and glitter,kids can create their very own galaxy colored bath bombs. Make sure to package these in fun celestial-themed wrapping to fit the theme.
- - Crystal Soap Gems: This craft idea involves using the soap kit to make soap gems. All you need is a silicone mold of various gem designs and various colors from the soap dye. They can be made in a single day and kids can learn about different gem shapes while they're at it.
- - Soap-Dough Art: Kids can use the soap kit to make soap-dough,adding in colorants to create different shades. Then they can use the dough to mold into various designs,like flowers.
Ever wondered how your favorite Organic Soap is created?
Ever wondered how that luscious bar of organic soap you reach for during your bath time is created? Or perhaps, you've grown tired of the chemically-laden store-bought soap and want to venture into the all-natural, homemade goodness. Well, today is your 'Eureka' day!
Welcome to DIY Soap Making Kit Experiment Guide!
Welcome to this comprehensive 'DIY Soap Making Kit Experiment Guide', where you will be intrigued, educated, and satisfactorily engaged in crafting your very own artisan soap. Whether you're a novice just starting with the soap making basics or an established soaper wanting to refine your soap making techniques, this guide is designed for you.
Embark on a Journey through the World of Saponification
Together, we will dive deep into the world of saponification, essential oils, and soap molds – taking you through the interesting journey of transforming everyday soap ingredients into a bundle of cleansing joy.
The Chemistry Behind Soap Making
First things first, let's immerse ourselves in the wonderful science of saponification. This is the backbone of the DIY Soap Making process. For the uninitiated, saponification is the chemical reaction that turns ordinary soap ingredients into extraordinary handmade soap. Typically, it involves the reaction of lye (also known as sodium hydroxide) with a fat or oil to create soap and glycerin. The lye is completely used up in this process, ensuring your resulting soap is absolutely safe and gentle on your skin. However, the art of safe soap making demands precision – your proportions need to be exact. Thankfully, our DIY Soap Making Kit Experiment guide includes requisite details and easy-to-comprehend soap making recipes to help you.
Your Personal Crafting Kit
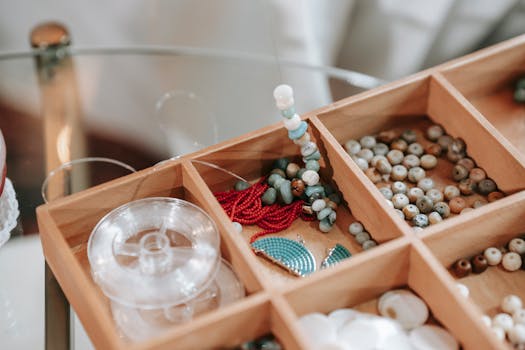
Speaking of the DIY Soap Making process, an essential item in your journey is a comprehensive Soap Making Kit. You might wonder, 'Why a Soap Crafting Kit?' Well, simply because it comes with everything you need to start your soap-making adventure. From the necessary soap making supplies like custom soap molds, soap dye, essential oils for that alluring scent, to the melt and pour soap base - it's your one-stop solution. You can even handcraft soap into your preferred shapes and sizes, creating artisan soap that truly reflects your personality and taste.
Choosing the Right Ingredients for Your Handmade Soap
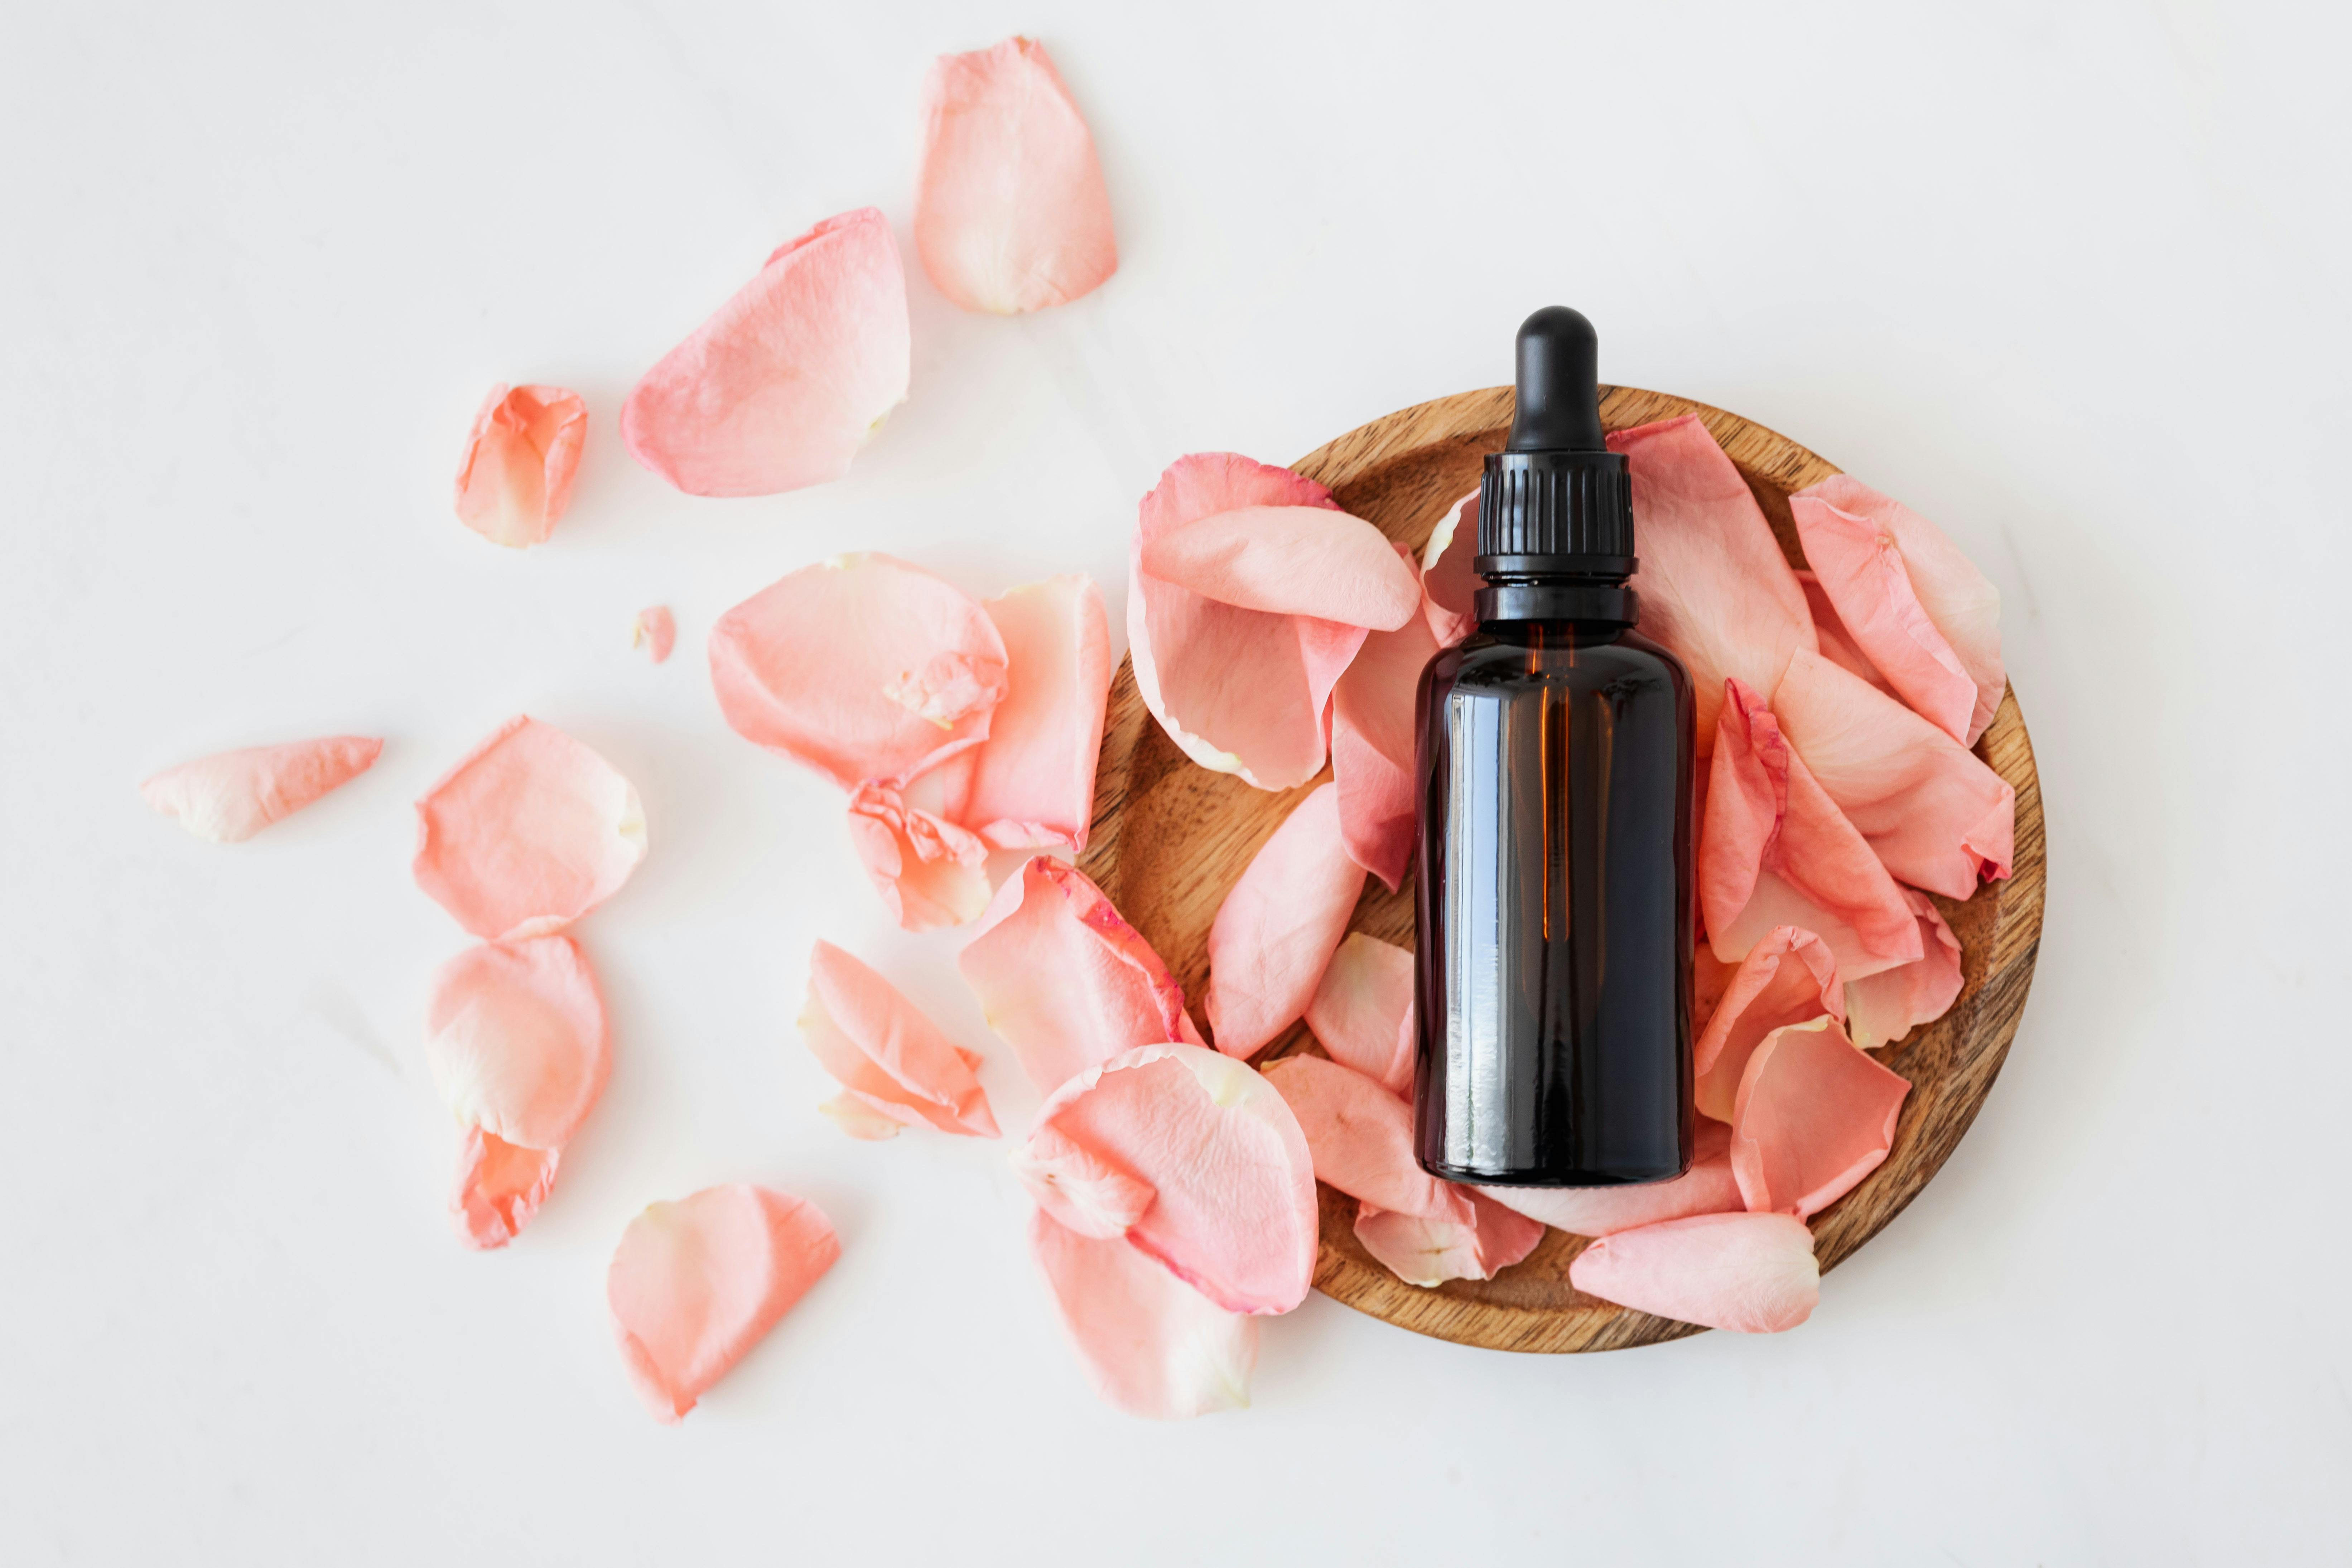
When it comes to selecting soap ingredients for your Homemade Soap, the world is truly your oyster. For beginners, a glycerin soap base or a melt and pour soap base could be the best choice - they're easy to handle and perfect for learning soap making basics. Seasoned soapers might want to experiment even further with lye soap, which allows for more customization and sophistication in terms of texture and appearance. Essential oils offer a fantastic way to bring nature into your soap crafting - with lavender for a calming effect or peppermint for a rejuvenating cleanse. Don’t forget, Soap Making is an artistic expression as much as it is a science experiment.
Exploring Advanced DIY Soap Making Techniques
Once you've mastered the basics in your DIY Soap Making journey, it might be time to uplift your soap crafting game by exploring advanced soap making techniques. Try your hand at layering multiple colors or experimenting with swirling designs, adding a unique aesthetic to your handcrafted soap. Don't shy away from incorporating elements such as oatmeal for exfoliation, or goat's milk for enhanced moisturizing properties. There's a plethora of Soap Making Tutorials available to help you get creative. Always remember, each bar of soap you create is a reflection of your personal creativity and taste!

And there you have it!
Your own soap crafting haven right in the midst of your home. As you embark on this DIY soap making journey, remember that the process is as enriching as the end product.
Every batch of soap you make
Every batch of soap you make is a testament to your creativity, a reflection of your meticulousness, and most importantly, a product that embodies wholesome, natural goodness.
With this guide,
With this guide, you have the liberty to explore and the power to create. So, get ready to experience the magic of creating something truly 'clean' and unique in every sense!
Here's to you, the maestro of homemade soaps,
Here's to you, the maestro of homemade soaps, ready to leave a lasting impression, one bar at a time. Happy soap crafting!
You May Also Like These:
Galaxy-Inspired Bath Bombs Using Soap-Making Kit
Spark your child's interest in the cosmos while providing them a luxurious bathing experience with galaxy-inspired bath bombs. These unique bath bombs are as aesthetically pleasing as they are fun and relaxing. With this step-by-step guide, you can assemble them using your convenient soap-making kit.
Ingredients
- 1 cup of Baking Soda
- 1/2 cup of Citric Acid
- 1/2 cup of Epsom Salt
- 1/2 cup of Cornstarch
- 3 tsp of Castor Oil
- 1 tsp of Essential Oil
- 1-2 tsp of Soap Dye (in multiple colors for galaxy effect)
- 1 tsp Glitter (optional)
- Witch Hazel in a Spray Bottle
Instructions
- Combine Dry Ingredients: Take a bowl and mix baking soda, citric acid, Epsom salt, and cornstarch.
- Add Oils: Add the castor oil and essential oil to your dry mix. Stir until these ingredients are fully combined.
- Divide the Mixture: Divide your mixture evenly into separate bowls depending on the number of colors you want to include.
- Add Dye: Add the soap dye of your choice to each bowl and stir until the color is evenly distributed.
- Moisturize: Spray each bowl a couple of times with the witch hazel, and then stir. Repeat the process until the mixture feels like damp sand.
- Create Layers: In your bath bomb mold, layer the different colored mixtures. Press them down after each layer.
- Let it Dry: Leave the bath bomb in the mold to dry for at least 24 hours.
- Release Bath Bomb: Carefully remove the bath bomb from the mold. If it appears too fragile, leave it in for an additional day.
Now, you have a galaxy-inspired bath bomb ready to infuse tub time with a burst of color, aroma, and fun!
```html
Galaxy Colored Bath Bombs
If you have a budding astronomer or simply a child with a creative streak, these galaxy colored bath bombs would be the perfect project. They make every bath time an adventure through the galaxy.
Ingredients:
- Baking Soda
- Citric Acid
- Epsom Salt
- Cornstarch
- Essential Oils
- Coconut Oil
- Soap or Food Coloring (preferably dark blues, purples, and blacks with some shimmering colors)
- Bath Bomb Molds
Instructions:
- Combine in a bowl 1 cup of baking soda, 1/2 cup of citric acid, 1/2 cup of Epsom salt, and 1/2 cup of cornstarch. Mix well until all dry ingredients are evenly distributed.
- Add in 2 tablespoons of coconut oil and 2 teaspoons of essential oils. Mix until the consistency is like wet sand.
- Divide the mixture into separate bowls and add different colors into each bowl. Mix again until the color is evenly spread.
- Pack the mixture into the bath bomb molds, rotating colors to create a galaxy effect. Allow to dry for at least 24 hours.
- Once dry, remove from molds and they're ready for use, or package them in celestial-themed wrapping for gifting.
Crystal Soap Gems
Learn to shape, color, and create with this fun and easy project. These soaps look just like gems and are wonderful for gifting or personal use.
Ingredients:
- Glycerin Soap Base
- Soap Dye
- Essential Oils
- Silicone Gemstone Molds
Instructions:
- Cut soap base into cubes and melt them in the microwave or on the stove. Allow it to cool slightly.
- Stir in the soap dye until desired shade is reached. Add a few drops of essential oil.
- Pour the soap mixture into the silicone molds and let them cool completely.
- Once fully cooled, remove from the molds. The soap gems are then ready to use or gift.
Soap-Dough Art
A combination of soap and play dough, this soap-dough is a great way to encourage creativity and cleanliness at the same time.
Ingredients:
- Glycerin Soap Base
- Soap Dye
- Essential Oils
- Cornstarch
Instructions:
- Melt soap base gently in the microwave or on the stove. Allow it to cool.
- Slowly add cornstarch to the melted soap, stirring constantly until it reaches a dough-like consistency.
- Add soap dye and essential oil and continue to knead until color and scent are evenly spread.
- From here, encourage your child to use the soap-dough just like play dough. They can mold it, shape it and make it into whatever they like.
- Once they're finished with their art, allow it to dry and it will become a usable piece of soap.
Galaxy Colored Bath Bombs
Ingredients:- Bath bomb mixture
- Galaxy colors - blue, pink, purple, and black
- Glitter (optional)
- Prepare the bath bomb mixture according to the instructions on the packet.
- Separate the mixture into four portions.
- Add the blue, pink, purple and black colors to each portion respectively.
- Mix each portion until the color is well blended.
- Layer the colors in a bath bomb mold until it is full.
- Let it dry overnight.
- If you wish, add some glitter to make it look like a galaxy.
- Once dry, package the bath bombs in celestial-themed wrapping.
Crystal Soap Gems
Ingredients:- Soap base
- Soap dye in various colors
- Silicone mold of various gem designs
- Melt the soap base according to the instructions on the pack.
- Separate the melted soap into different containers.
- Add a different color of soap dye to each container and mix well.
- Pour the colored soap base into the silicone mold.
- Let it cool down and harden.
- Once hardened, pop out your crystal gem soaps!
Soap-Dough Art
Ingredients:- Soap base
- Soap dye in various colors
- Melt the soap base according to the instructions on the pack.
- Divide the melted soap into different containers.
- Add a different color of soap dye to each container and mix well.
- Let the soap cool down but not harden. It should be dough-like consistency.
- Use this dough to create various shapes and designs.
- Let it harden overnight.
- Once hardened, you have your colorful soap-dough art ready!
Parental Guide on Crafts with Dough Colorants
This guide will show you the step-by-step process for creating shades of colored dough for crafting.
What You Will Need:
- Plain Dough
- Food Coloring (Red, Blue, Green, and Yellow)
- Gloves (to prevent staining on hands)
Steps:
Step 1: Preparing the Dough
Wear your gloves and ensure your working area is clean. Take a handful of dough and flatten it in your palm.
Step 2: Adding the Colorant
Choose any of the food colors and add a few drops onto the flattened dough. Fold and knead the dough until the color is evenly distributed.
Step 3: Creating Different Shades
- To create a lighter shade: Add a little more plain dough and knead again till the color lightens.
- To create a darker shade: Add a few more drops of the colorant to the dough and knead again till the color darkens.
Step 4: Final Touch
Once you're satisfied with the shade, you can start molding the dough into your desired shapes and designs. Remember to keep unused dough covered to prevent drying.
Step 5: Repeat Process (Optional)
Repeat the above steps for each shade of color you wish to create. Get creative and experiment with mixing different drops of colorants to create your unique hues!
Note: If there is concern over dough drying whilst you work, you can add a few drops of water and knead again till the consistency returns.
Paper Flower Craft for Kids
Ingredients
- Colorful Construction Paper: Brightly colored paper to create visually appealing flowers.
- Scissors: To cut out petals and leaves.
- Pencil: For tracing and marking.
- Glue: To stick petals together to form a flower.
- Green Pipe Cleaners: For the flower stems.
- Buttons or Beads: To act as the flower's center (optional).
Instructions
- Pick your colorful construction paper and mark the petal design using your pencil.
- Cut the petals along the pencil markings. For one flower, you might want to cut out around 5-6 petals.
- Repeat step 1 and 2 for as many flowers as you would like to make. Remember, you can use different colored papers for a variety of flowers.
- Add a small amount of glue to the bottom of each petal and pinch together to form a slight curve which will give your petal a 3D appearance.
- Glue the petals together in a circle to form a flower and allow to dry.
- Attach the button or bead in the center of the flower for added aesthetic.
- Cut the green construction paper into leaf shapes and attach to green pipe cleaner stems.
- Finally, attach your paper flower to the top of the pipe cleaner stem with a dab of glue.
Repeat these steps for each flower you wish to create. In no time, you will have a beautiful bouquet of paper flowers that are perfect for any occasion.


