As an affiliate, I earn from qualifying purchases, but this doesn't affect the reviews or recommendations—your trust is important to me!
Today, We're Making:
- DIY Tie-dye T-shirt
- Model Volcano Eruption Experiment
- Rainbow Spaghetti Cupcakes
- DIY Bottle Rocket Experiment
- 'Capture the Flag' Outdoor Game
- DIY Mini Gravity Well for understanding gravity
- Edible Solar System using different types of fruits
- Creating Handmade Marbled Paper Using Shaving Cream
- DIY Marshmallow Catapult for simple machine understanding
- Homemade Pizza Dough Shaping Competition
Family Time and Creativity: The Appeal of Fun DIY Activities
With family time on the rise and the ongoing desire to spark creativity, there's an undeniable appeal of Fun DIY Activities that not only engage the mind but also provide an avenue for laughter and shared memories. Whether it's a DIY Tie-dye T-shirt adding color to your wardrobe, or a riveting Model Volcano Eruption Experiment suddenly becoming the highlight of your kid's science project portfolio, DIY Home Activities have the power to transform our everyday into memorable adventures.
Why Stay Indoors When You Can Play Outdoors?
More so, why save all the fun for indoors when Outdoor Games like 'Capture the Flag' are promising heaps of excitement, and offering an opportunity for wholesome family engagement and education. If homemade projects pique your interest and you've been itching to get those creative juices flowing, you're in the right place.
Explore Exciting DIY Project Ideas
Through this blog, we are all set to explore an exciting array of DIY Project Ideas that promise loads of fun and family bonding.
DIY Fun Activities
DIY Tie-dye T-shirt: A Splash of Creativity
Few things are as fun or as synonymous with summer as creating your own DIY Tie-dye T-shirt. Not to mention, it’s one of the easiest DIY Project Ideas you can undertake. There's something truly magical about seeing how ordinary shirts transform into vibrant, personality-filled masterpieces. Imagine the smiles when your children proudly wear their Personalized Clothes, radiating their personal Colorful Crafts to the world. This Homemade Tie-Dye venture is more than an Art Project Idea; it's a chance for kids to express their individuality, an exciting avenue for Family Crafts, and a gateway into countless Fun DIY Activities.
Model Volcano Eruption Experiment: The Thrill of Learning
Moving from DIY Clothing to science experiments, the Model Volcano Eruption Experiment will take the excitement up a notch. It’s a grand display of nature's power, right in your living room! Moreover, it’s an opportunity to introduce children to science in a fun and engaging way. Look on as the excitement unfolds and the ‘volcano’ spews a harmless eruption. This brain-stimulating activity should definitely be on your list of Homemade Projects. It’s not just about having fun, it’s also about cultivating a passion for learning through DIY Fun Games.
Rainbow Spaghetti Cupcakes: A Deliciously Creative Venture
While we're channeling creativity, why not bring it into the kitchen too? Rainbow Spaghetti Cupcakes are one of those delightful At-Home Crafts that combine the fun of crafting with the joy of cooking. As you mix, knead, color and bake, you're creating more than just a snack. You're creating lifelong memories around Creative Activities. Plus, who can resist the appeal of cupcakes with a DIY twist?
DIY Bottle Rocket Experiment: Sky-High Fun
Just imagine: a sunny afternoon, an open yard, and a DIY Bottle Rocket Experiment set to launch. Making, decorating, and launching your own rocket is an ecstatic experience for children (and let's face it, for adults too). It encourages curiosity, fosters a love for science, and gets everyone involved in a meaningful yet easy DIY task. This experiment not only promises DIY Outdoor Fun, but provides a chance for valuable learning as well.
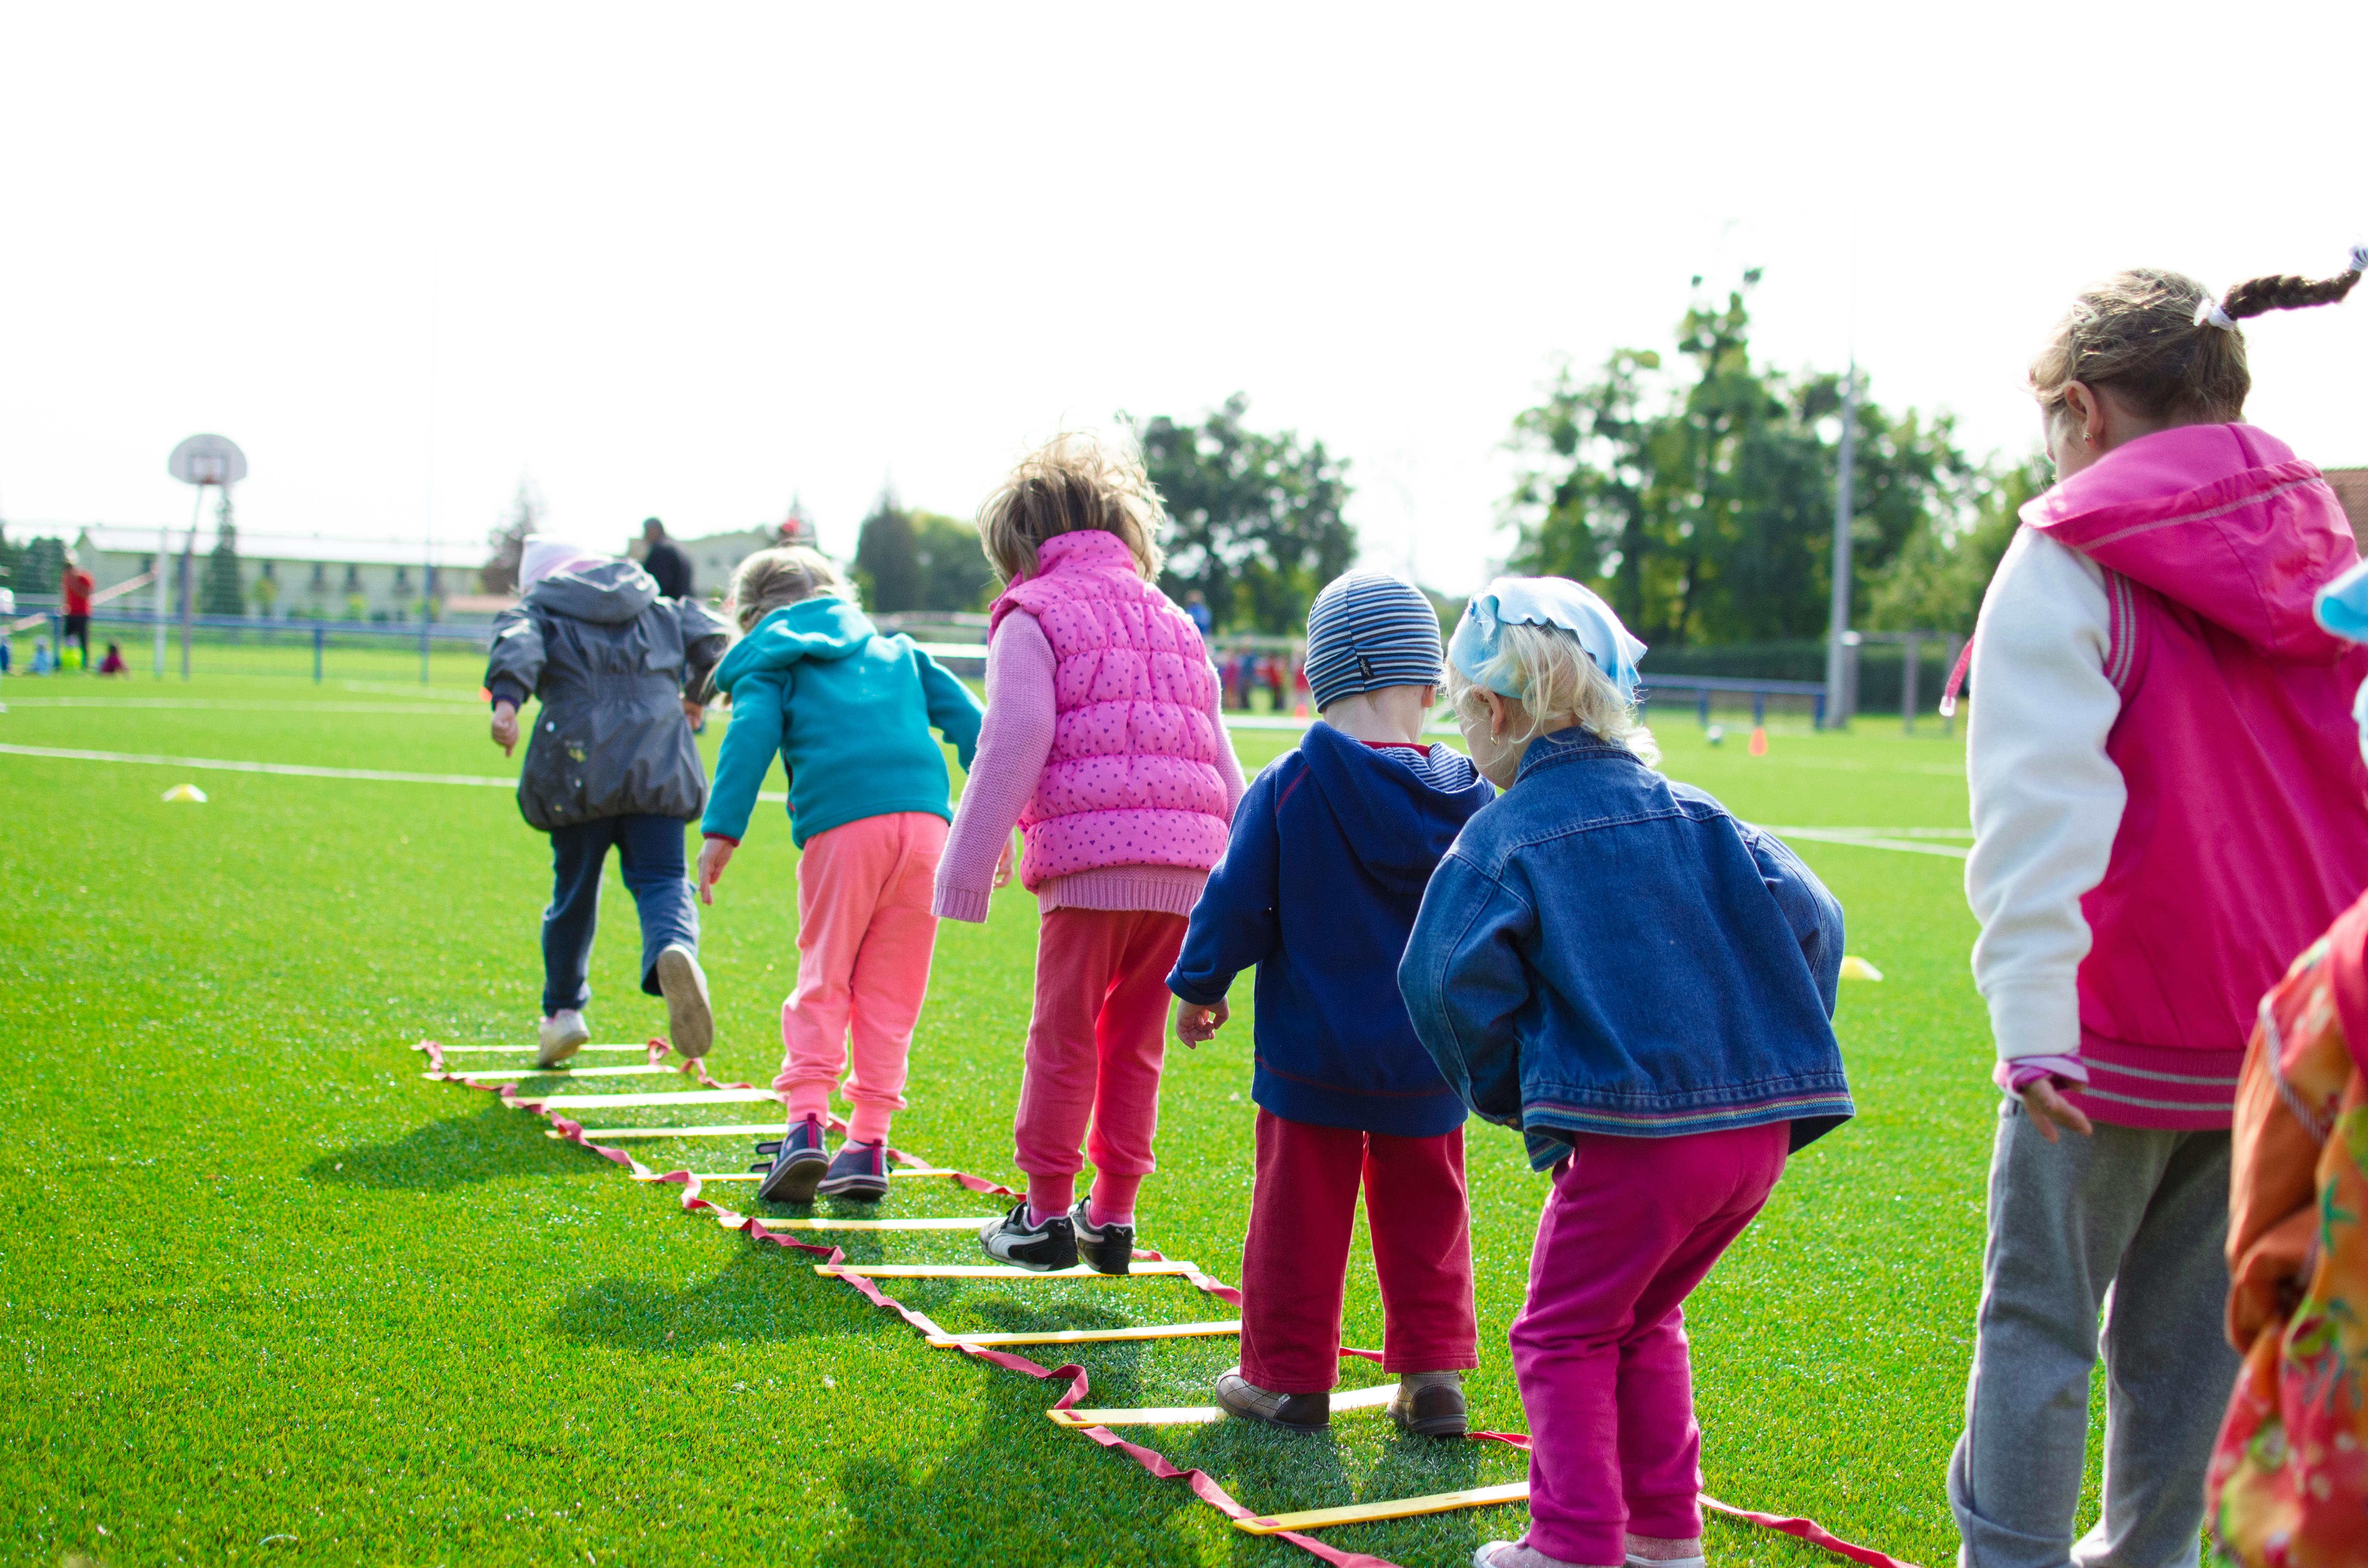
'Capture the Flag' Outdoor Game: The Joy of a Garden Adventure
Finally, what could be more captivating than the traditional yet nail-biting 'Capture the Flag' Outdoor Game as part of your Outdoor Activity Ideas? This game is a mixture of strategy, team spirit, physical exercise, and sheer joy. Whether you have a gigantic yard or a small patch of grass, this Garden Game can be scaled and adapted to fit your space. This all-time favorite game forms the perfect conclusion to your DIY fun, infusing action-packed moments into your day of Fun DIY Activities.
Blog Post
As we conclude this exciting journey from Tie-dye Shirts to Outdoor Games...
Let's remember that the essence of these DIY activities rests not in the perfection of the end product,
but in the shared joy of crafting, learning, and playing together.
Have fun splashing color, erupting volcanoes, baking colorful cupcakes, launching rockets, and capturing flags.
Whether it's a rainy day indoors or a sunlit afternoon in the garden, remember that every moment spent creating and
engaging is a memory treasured.
So go on, roll up your sleeves, dig out those forgotten materials, and turn every day into a magical experience
of Fun DIY Activities.
Let's nurture creativity, learning, and most of all, let's nurture joy. Happy DIY-ing!
You May Also Like These:
DIY Mini Gravity Well Project - Understanding Gravity
Introduce your kids to the Science, Technology, Engineering, and Mathematics (STEM) world with this engaging and educational DIY mini gravity well project. This hands-on activity helps kids understand how gravity works in a fun and interactive way.
Materials Needed:
Large plastic sheet or shower curtain
Marker
Elastic bands or large clips to attach the plastic to the hoop ( size depends on hoop)
Embroidery hoop or hula hoop (30 inches in diameter or larger)
Marbles of different sizes and weights
Weights to hang from the hoop (like heavy-duty binder clips or weights from a weight belt)
Step-by-Step Instructions:
Lay out the Plastic Sheet: Spread your plastic sheet or shower curtain out on a flat surface. It should be large enough to comfortably cover your hoop.
Assemble the Hoop: Attach the plastic sheet to the hoop using the elastic bands or clips. Make sure the sheet is snug and forms a well when it hangs.
Add Weights: Hang the weights evenly around the hoop. This forces the plastic sheet to form a 'gravity well' shape.
Create Your Planets: Use the marbles to represent planets. Each marble should be placed at the top of the well. Note that the heavier marbles sink deeper and move faster.
Observe and Learn: Instruct your kids to observe the marbles as they roll towards the center of the well. Explain to them that this represents the force of gravity in the universe pulling objects towards a central point.
This DIY project presents an exciting and simple way to learn about the principles of gravity. Happy crafting and exploring!
Creating Handmade Marbled Paper Using Shaving Cream
Get ready for a fun and creative activity with your kids. This activity not only brings out creativity but also introduces kids to the basic principles of art and mixing colors. Let's learn how to make marbled paper using shaving cream.
Materials Needed:
Shaving Cream
Food Coloring
A Tray or Shallow Dish
White Cardstock or Construction Paper
Toothpick or Skewer
Butter Knife or Scraper
Paper Towels
Instructions:
Prepare the Tray: Fill the tray or shallow dish with shaving cream.
Add Colors: Drop food coloring on the surface of the shaving cream. Choose to use one or multiple colors depending upon your preference.
Swirl the Colors: Use a skewer or toothpick to swirl the food color around, creating a marbled effect in the shaving cream. Make sure to not over-mix to keep the swirls distinct.
Press the Paper: Place the cardstock or construction paper on the top of the colored shaving cream and press down gently ensuring the paper has contact with the cream all over.
Scrape Off the Cream: Lift up the paper and use a butter knife or scraper to remove the excess shaving cream. You should see a marbled pattern left behind on the paper!
Let it Dry: Lay the paper to dry on a flat surface. Once dried, the marbled paper can then be used for various crafts and projects.
Status: For this activity, kids have the pleasure of creating marbled patterns while learning about color mixing and hands-on creativity. You can extend this activity by asking the kids to create art out of the marbled paper or using it for handmade cards, bookmarks, or other craft projects. Enjoy!
Creating Handmade Marbled Paper Using Shaving Cream
This engaging and fun craft project is an excellent way to inspire creativity and teach kids about color mixing and patterns. Kids of all ages will love creating their own unique handwritten marbled paper using shaving cream.
Materials Needed
Shaving cream
Food coloring (several colors)
White cardstock
A shallow tray
Toothpick or skewer
Squeegee or ruler
Disposable gloves
Instructions
Follow the steps below to create your own marbled paper:
Spray the Shaving Cream: Begin by spraying a reasonable amount of shaving cream into the shallow tray.
Add Food Coloring: Next, drop several drops of different colors of food coloring onto the surface of the shaving cream.
Create your Design: Use a toothpick or skewer to swirl around the food coloring in the shaving cream until you're satisfied with your design.
Dip the Paper: Now gently lay a piece of cardstock on top of the shaving cream and press lightly so it picks up the colored surface.
Remove and Scrape: Lift up your paper from the shaving cream and use a squeegee or flat ruler to scrape off the excess shaving cream. What will remain is your marbled design.
Let it Dry: Place your paper flat in an area where it can dry undisturbed. After it's dry, your marbled paper is complete! You can use as unique greeting cards, fancy invitation or simply a fun and colorful decoration.
Remember, no two pieces of marbled paper will look the same -- that's part of the fun! Also, we recommend wearing disposable gloves and doing this activity in a place where mess won't be a problem.
DIY Marshmallow Catapult
Overview
This fun DIY marshmallow catapult combines the excitement of launching objects in the air with the opportunity to learn about simple machines and STEM concepts.
Materials Needed
7 Popsicle sticks
4 Rubber bands
1 Plastic spoon
Marshmallows
Procedure
Stick Popsicle Sticks Together: Bundle 5 popsicle sticks together and secure both ends with rubber bands. This creates the base of the catapult.
Construct the Arm: Take a single popsicle stick and attach the plastic spoon to one end using a rubber band. This forms the launching arm.
Build the Base: Place the remaining popsicle stick on top of the bundled popsicle sticks, perpendicular to them, near one end. Then, place the launching arm on top of this.
Secure the Arm: Using the last rubber band, secure the launching arm to the base, ensuring it can rotate freely and launch objects.
Launch Marshmallows: Place a marshmallow on the spoon, pull down on the back of the arm, then release to launch your marshmallow.
Cautions
Ensure children are supervised while using the catapult, and remind them not to aim at people or animals. Marshmallows should always be aimed at safe targets.
Learning Objectives
Through this project, children will learn about potential and kinetic energy, simple machines, and how lever fulcrum works. They will also develop hand-eye coordination and fine motor skills.
Homemade Pizza Dough Shaping Competition
A fun and engaging activity for kids that combines cooking and STEM concepts.
Ingredients
1 cup warm water (110 degrees F/45 degrees C)
2 teaspoons sugar
2 1/4 teaspoons active dry yeast
3 cups bread flour
2 tablespoons olive oil
2 teaspoons salt
Instructions
Step 1: Combine the warm water and sugar in a bowl, then sprinkle the yeast over the top. Let it stand for about 10 minutes, until it becomes frothy.
Step 2: In another bowl, mix the bread flour and salt, making a well in the center. Pour the yeast mixture and oil into the well, then mix until you form a dough.
Step 3: Knead the dough on a lightly floured surface for about 10 minutes, until it's smooth and elastic.
Step 4: Place the dough in a greased bowl, cover it with a clean towel, and let it rise for about 1-2 hours, until it doubles in size.
Step 5: Preheat your oven to its highest setting and place a pizza stone or a large baking sheet in the oven.
Step 6: Divide the dough into pieces (depending on the number of participants), and start the competition! You can utilize a judge to decide the best-shaped pizza. Have fun while learning about dough elasticity and yeast activation!
Step 7: Once you're done forming your pizzas, bake them in the preheated oven until the crust is golden and the cheese is bubbly and slightly browned.
About the Author
Other Blog Posts You May Enjoy...
Wendell Longpants
Meet Wendell Longpants, our whimsical word wizard at AngelinaAllsop.com, where screen-free fun is the game, and imagination runs wild for kids 9-12. With a knack for noodling up the nuttiest narratives, Wendell's the mastermind behind our giggle-packed adventures. He's a storytelling sorcerer, turning plain old play into epic escapades without a screen in sight. Dive into the delightful world Wendell weaves—where laughs are aplenty and the fun never stops!