As an affiliate, I earn from qualifying purchases, but this doesn't affect the reviews or recommendations—your trust is important to me!
Mastering Fun DIY Crafts, Experiments, and Recipes for Kids

Today, We're Making:
- - DIY Wind Chime Craft
- - Marshmallow Catapult Experiment
- - Veggie Pizza Bites Recipe
- - Game of Life Board Game
- - Homemade UFO Craft
- - Solar System in a Box STEM Project
- - Galaxy Popcorn Recipe
- - Classic Tic Tac Toe DIY Board Game
- - DIY Sun Catchers Craft
Is there a better sound than children's laughter as they dive into mesmerizing DIY crafts for kids or master the art of kid-friendly DIY recipes?
As a parent, finding new and creative learning activities can often feel like looking for a needle in a haystack. But fear not, because this blog is your treasure trove! Here, we're all about making DIY fun for kids with projects like the whimsical DIY Wind Chime Craft, the intriguing Marshmallow Catapult Experiment, and not forgetting, the infinitely delicious and healthy Veggie Pizza Bites Recipe.
A fun Game of Life Board Game could easily turn a lazy Sunday afternoon into an engaging and educational event. Get ready to embrace the joy of crafting and cooking, transforming regular indoor activities for kids into hands-on learning experiences that are nothing short of unforgettable.
We've rolled up our sleeves and combed through countless craft ideas for children to bring you the very best. So tie on your aprons and gather around the kitchen table - it's time to start mastering DIY!
DIY Wind Chime Craft: A Symphony of Joy for Little Craftsmen
Among the vast array of DIY crafts for kids that we've experimented with, one clear winner has always been the enchanting DIY Wind Chime Craft. This enthralling project not only keeps your little ones engaged for hours but also fills your home with delightful tinkling sounds. Picture this: your children, completely absorbed, selecting and painting little bells or reused items; their cute hands arranging these to create a musical charm. What beats the joy of seeing their faces light up when they hear the chimes they've created! This simple and fun DIY project intertwines creativity and learning through craft, blending artistry, craft techniques for kids, and a pinch of science knowledge—an absolute delight for your budding artist and scientist.
The Marshmallow Catapult Experiment: Fun and Learning in One Fling!
Moving on from the world of crafts, let's dive into one of the most fun experiments for kids: the Marshmallow Catapult Experiment! No, you didn’t read it wrong. We're talking about turning marshmallows into ammo and teaching physics in a much less intimidating way than traditional classroom lectures. This exciting, hands-on learning activity is sure to please both your future engineers and candy lovers. Taking everyday items to construct a basic lever system, children can learn about fundamental physics principles while simultaneously having a great time watching their marshmallows fly high in the sky. Who said science can't be sweet?
Whip Up a Storm with Kid-Friendly DIY Recipes: Veggie Pizza Bites
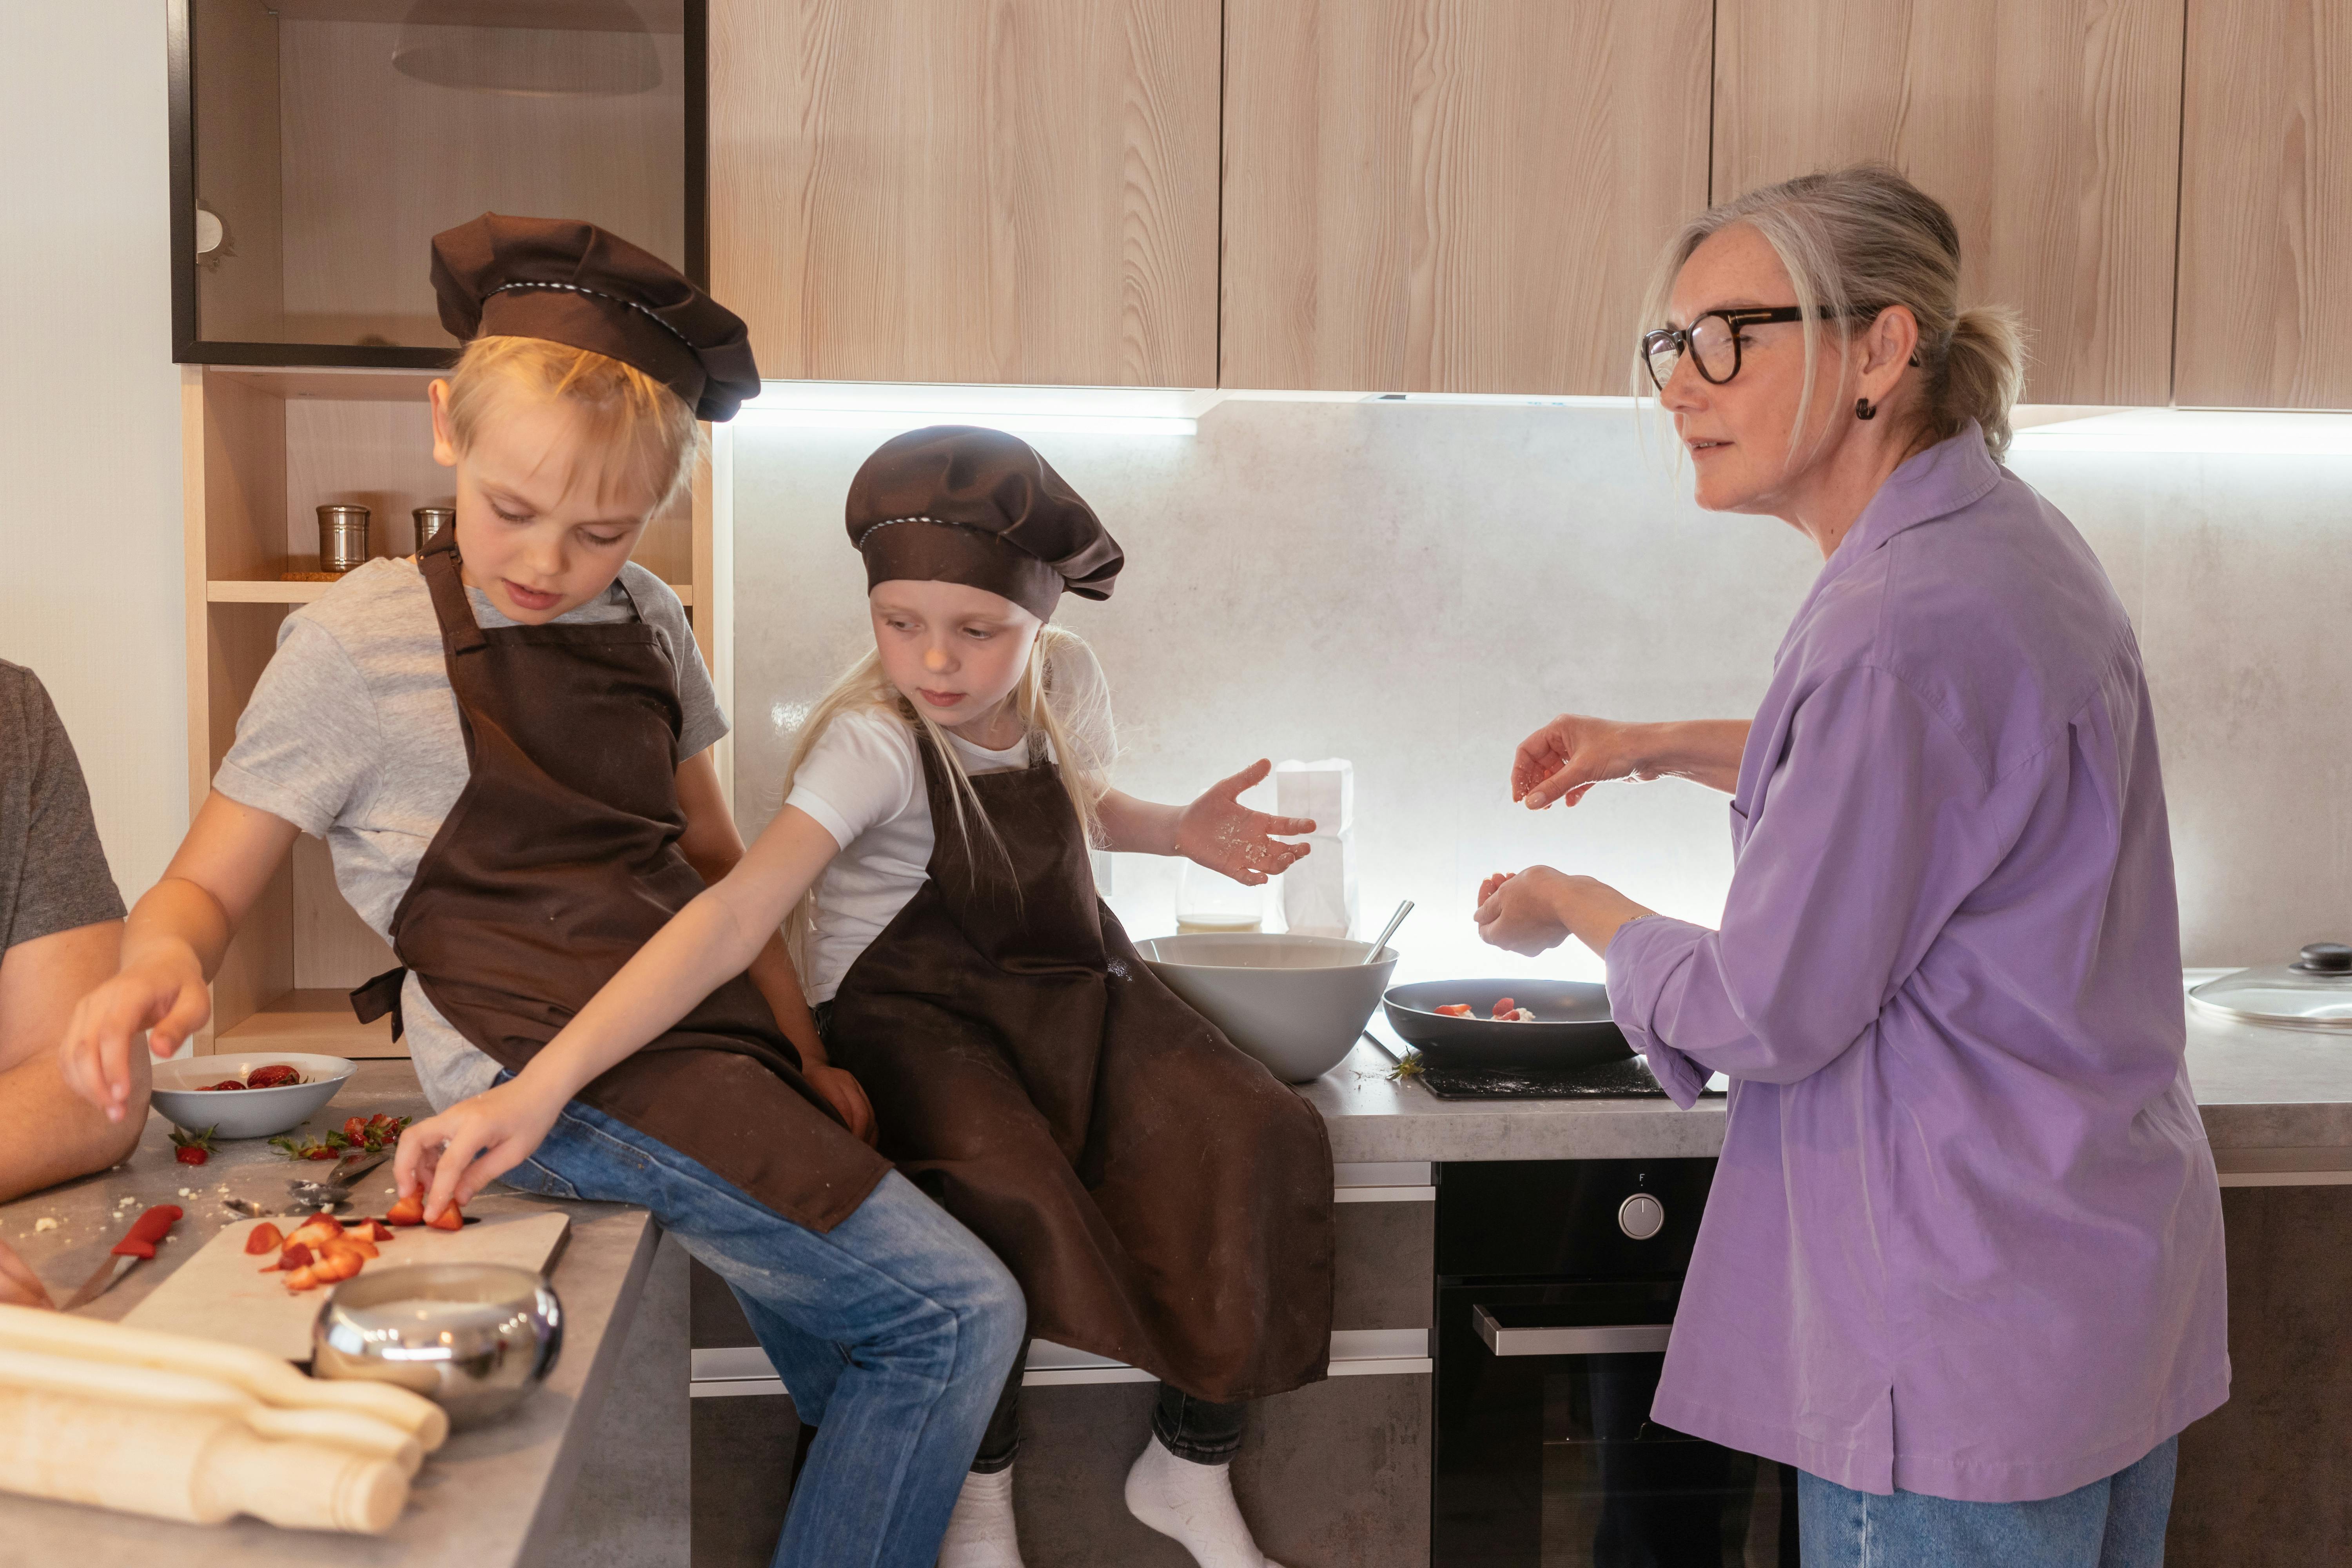
Now let's swap the crafting table for a kitchen counter and venture into the world of easy recipes for kids. Prepping and cooking our Veggie Pizza Bites Recipe not only offers a fun, hands-on experience, it also introduces kids to the multicultural fascinating world of cooking. The vibrant colors of veggies and aroma of melted cheese will have your kids doing their happy dance. And voila! This is an excellent way to educate your young ones about nutrition, while mastering DIY principles in the kitchen. Plus, it can tactfully encourage them to consume their not-so-favorite vegetables.
More Than Just a Game — Engage with Life!
While we won't be forgetting the importance of fun indoor activities for kids, let's appreciate the timeless enjoyment derived from playing board games. Incorporating the good old Game of Life Board Game creates fantastic opportunities to teach kids about life's reality in a fun and exciting way. This seemingly simple game can unbox conversations about careers, finances, and life decisions, effectively teaching children real-life concepts, all while having fun! It's never too early to equip them with life skills, right?

So Ignite those Creative Sparks in your Kids!
Dive headfirst into fun DIY crafts, hands-on experiments, and making wholesome meals together. By incorporating education into play and everyday tasks, you're nurturing your child's creativity while fostering a love for learning. They develop practical life skills, gain knowledge, and most of all, make unforgettable memories with you!
Let your home become a magical place of self-expression, discovery, and delicious recipes. So get set, have your crafting gear at hand, your kitchen prepped, and let the adventure of mastering DIY with your kids begin.
Here's to a Home Filled with Laughter, Learning, and the Delightful Aroma of Pizza Bites!
Remember, it's not just about the destination; it's about the shared journey of exploration and creation as well. Happy crafting, experimenting, and cooking!

You May Also Like These:
Home-Made UFO Craft for Kids
A fun, easy and educational project to embark on with your kids. Get ready to create your very own homemade UFO Craft!
Materials Needed:
- 2 Paper Plates
- Paints
- Glue
- Scissors
- Foil
- Glow in the dark stickers
Instructions:
Step 1:
- Start by taking one of the paper plates and paint it in a color of your choice. This will be the main body of the UFO. Let it dry completely.
Step 2:
- While the painted plate is drying, take the second plate and cut out a small circle. This will serve as the top of the UFO.
Step 3:
- Paint the circle that was cut out in the previous step and let it dry.
Step 4:
- Glue the cut-out circle on top of the fully-dried painted plate.
Step 5:
- Attach glow in the dark stickers on the body of the UFO to give it a real space look.
Step 6:
- To add extra effects, cut out some pieces of foil and attach them under the main body of the UFO.
Enjoy your homemade UFO Craft!
Galaxy Popcorn Recipe
Bring some cosmic magic into your kitchen with this fun and easy to make Galaxy Popcorn recipe. Perfect for a fun family movie night, or just a unique snack, this recipe is sure to impress kids and adults alike.
Ingredients:
- 8 cups of Popcorn
- 1 cup of Purple Candy Melts
- 1 cup of Blue Candy Melts
- 1 cup of Black Candy Melts
- Silver Star Sprinkles
- Edible Glitter (Optional)
Instructions:
- Prepare your popcorn: Depending on your preference, you can pop store-bought popcorn in the microwave or use a popcorn machine. Spread the popped popcorn out on a large baking sheet.
- Melt the candy melts: In three separate bowls, melt the blue, purple, and black candy melts according to the package instructions. Be careful not to overheat as this can cause the candy to seize.
- Drizzle the popcorn with melted candy: After your candy melts are smooth and completely melted, drizzle them over your popcorn in the order of black, blue, and purple to mix the colors and give a galaxy effect.
- Decorate: While your candy covered popcorn is still wet, sprinkle over the edible silver stars. For additional dazzle, you can also add edible glitter.
- Let it cool: Allow your Galaxy Popcorn to dry thoroughly. This usually takes about 10 to 20 minutes at room temperature. Once dry, break it apart and serve.
Enjoy the crunchy, sweet taste of this unique Galaxy Popcorn. Its vibrant colors and fun look will surely thrill any astronaut-at-heart.
Galaxy Popcorn Recipe
Ingredients:
- 8 cups of popped popcorn
- 1 cup of granulated sugar
- 1/4 cup of unsalted butter
- 1/2 cup of light corn syrup
- 1/4 teaspoon of salt
- Various food coloring (Purple, Blue and Pink recommended)
- Edible glitter or edible star sprinkles (Optional)
Instructions:
- Start by preheating the oven to 250 degree
- Spread the popcorn on a baking sheet and put it in the oven to warm.
- In a medium saucepan, combine the sugar, butter, corn syrup, and salt over medium heat. Stir until the butter is melted and the mixture comes to a boil.
- Once the mixture is boiling, continue to boil for 4 minutes without stirring.
- Remove the saucepan from the heat and divide the syrup into three separate bowls.
- Add different food colorings to each bowl and stir until the colors are evenly mixed.
- Remove the popcorn from the oven and separate it into three parts. Pour each color of syrup over one part of the popcorn and stir it until the popcorn is evenly coated.
- Return the popcorn to the oven and bake for 15 minutes, stirring every five minutes.
- Remove the popcorn from the oven and let it cool on the baking sheet.
- Sprinkle with edible glitter or star sprinkles for the final galaxy effect.
Classic Tic Tac Toe DIY Board Game
Materials Needed
- 1 square wooden board (approximately 12” x 12”- can be bigger if you want larger squares)
- Paint (2 different colors): one for the board, one for the X’s and O’s
- Paint brushes
- Painter's tape
- 10 flat stones (5 for X's, 5 for O's)
Instructions
Step 1: Prepare your Board
First, grab your square wooden board. If desired, paint the board with one color and let it completely dry.
Step 2: Draw the Tic Tac Toe Grid
Use painter's tape to create a tic tac toe grid on your board. Lay down two strips of tape horizontally and two vertically to create 9 equal squares. Take your second color paint and paint between the strips of tape.
Step 3: Create your X's and O's
With your flat stones, paint 5 with a big 'X' and the other 5 with a big 'O'. Let them dry before using.
Step 4: Play Tic Tac Toe
Now that your unique, homemade Tic Tac Toe game is ready. Enjoy playing it with your kids!
Note: This game works just like the traditional Tic Tac Toe game you are used to, where the goal is to get 3 of your marks in a row (up, down, across, or diagonally) before your opponent does.
DIY Sun Catchers Craft
Bring the sun into your home with this beautiful and fun DIY Sun Catchers Craft. This project is great for kids and adults alike and it only takes a few simple supplies.
Materials Needed:
- Clear plastic plates
- Tissue paper in various colors
- Clear glue
- Scissors
- String or yarn for hanging
- Hole punch (optional)
Instructions:
Step 1: Prepare Your Materials
Gather all your materials. Cut the tissue paper into small pieces – they can be any shape you like.
Step 2: Design Your Sun Catcher
Arrange the pieces of tissue paper on your plastic plate in a design you like.
Step 3: Glue the Design
Once you’re happy with your design, glue the pieces of tissue paper to the plate. Allow them to dry completely.
Step 4: Hanging Your Sun Catcher
If desired, punch a hole at the top of your sun catcher and thread a string or yarn through the hole for hanging. Alternatively, your sun catcher can be hung in a window with a suction cup hook.
Step 5: Enjoy Your Sun Catcher
Hang your beautiful sun catcher in a sunny window and watch as the light shines through, creating a lovely effect. Enjoy the beauty of your handmade sun catcher!


